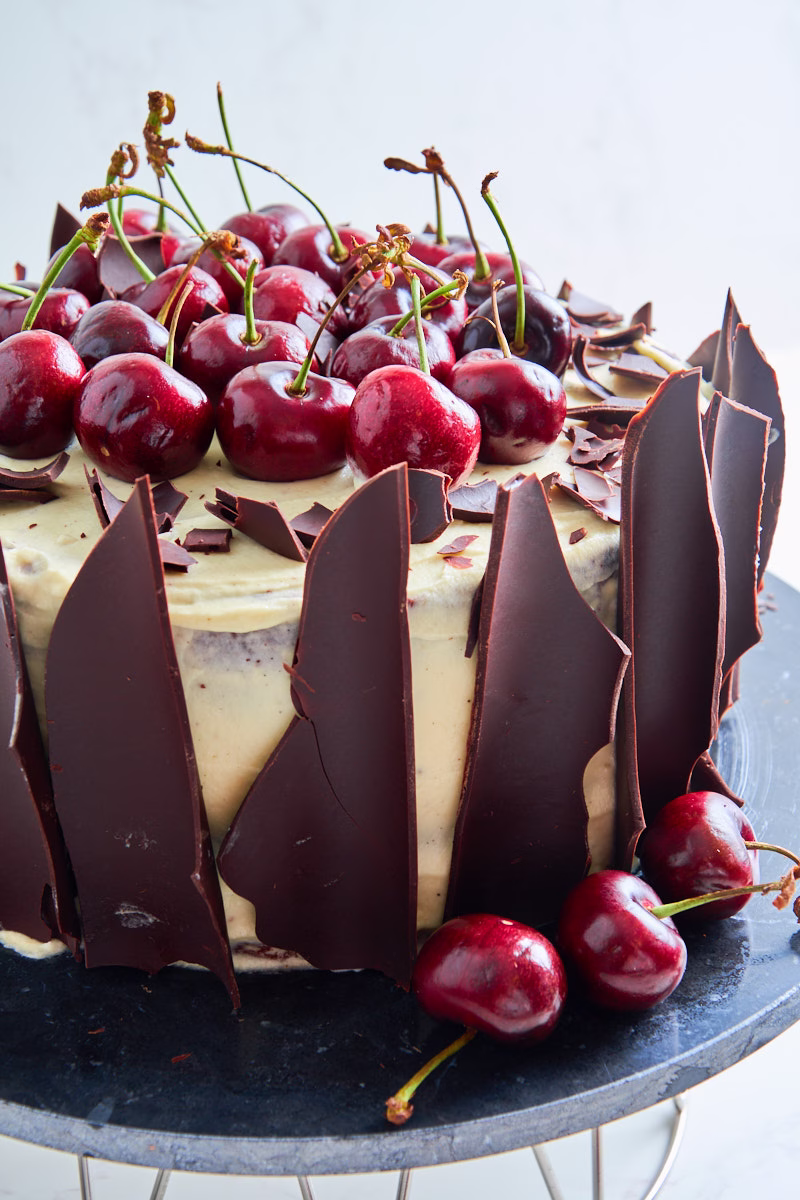
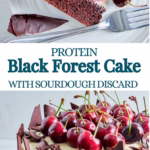
Black Forest Protein Cake With Sourdough Discard
Most people think of Black Forest Cake as a dry, sugary sponge that relies entirely on syrup to be edible. I grew up with the classic Schwarzwälder Kirschtorte, but I always felt it could be more—more chocolatey, moister, and a bit better for you. This version uses sourdough discard for depth and chocolate whey protein for a nice nutritional boost, resulting in a cake that tastes like a professional patisserie find but actually supports your goals.
This post may contain referral links for products I love.
For The Pleasure Of Eating earns a small commission on these links at no cost to you.
- Why You’ll Love This
- The Ingredients
- Substitutions
- Equipment Used
- How to Make this
- How To Store
- FAQ
- Other Recipes You Might Enjoy
Why You’ll Love This
TL;DR
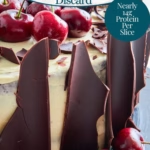
- Protein-Packed: A generous slice offers nearly 14g of protein, making it a dessert that actually keeps you full.
- Sourdough Moisture: The discard ensures a tender, “multidimensional” crumb that stays moist for days.
- Natural Stabilization: No need for extra sugar or cornstarch; the protein powder stabilizes the whipped cream perfectly.
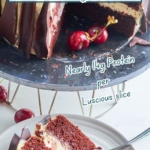
- Perfect for Chocoholics – A super moist and intensely chocolatey sponge makes this cake a pleasure to eat.
- Authentic German Soul: Features the classic Kirsch (cherry brandy) soak and rich chocolate without the dry “sponge” texture.
- Dramatic Shard Decor: An easy, high-impact way to decorate that adds a much-needed chocolate crunch.
A German Fan Favorite Improved
If you were to ask me (or many other Germans for that matter) what their favorite layered German cake is, many would probably say “Black Forest Cake” (or gateau, depending on where you are in Germany).
On the other hand I always had tiny niggles about the way it’s classically made. So I decided to make my own version, adding not just protein and sourdough discard, but flavor and moisture too.
Why Black Forest Gateau isn’t Perfect
See, in the classic version, a relatively dry chocolate sponge is used, with the thought of adding the Kirsch (cherry brandy) syrup to it, so it gets soaked. And my version has the soaking part too, which was the perfect part I didn’t want to mess with. Even though I added a bit more cherry flavor. But more on that in a bit.
Unfortunately though, the sponge only relies on a bit of cocoa powder for flavor, which to me, as chocolate lover, feels utterly unsatisfying! Plus, the nutrition is pretty much non-existent.
And let’s talk about the cream: Sure, vanilla whipped cream is…uhm…ok I suppose? But maybe we can add some nutrition to it too?
Then there are those decorative chocolate shavings. And I get it, chocolate isn’t cheap, so patisseries prefer using small amounts. But when we make it at home, can we give it a bit of oomph?
Don’t mess with Perfection – Too much.
And with all those tiny rants, here is how I fixed them in my Black Forest Protein Cake With Sourdough Discard.
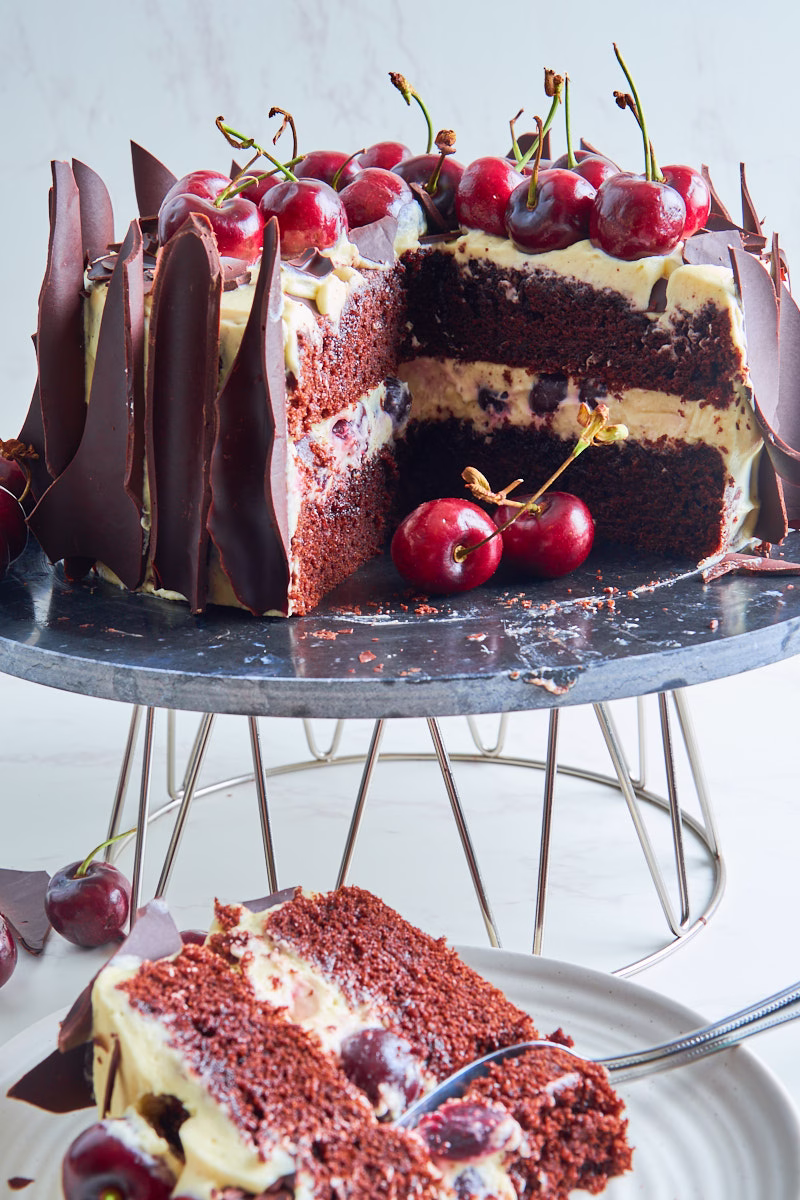
Starting with the sponge layers, my super moist protein chocolate cake as base, which has not just cocoa for the flavor, but real melted chocolate and hot coffee, dialling up the chocolatiness all the way. And adds of course a solid 11g protein per slice on its own. Turns out, it holds up just fine to the syrup. (Maybe those pâtisseries have been to us all those years with their stability concerns, and we were eating sub-standard cake for no reason? No offense, but I take my chocoholic status seriously.)
The Kirsch Syrup with more Cherry flavor
Using the juice from a can or jar of black cherries in light syrup doesn’t only already take care of part of the sugar addition but also captures all that cherry flavor which escaped sneakily, so we can boil it down to a syrup together with the Kirsch, to get the classic soaking for the base.
Adding Nutrition and Flavor to The Cream
This was nearly too obvious frankly. I was humming and hawing over the confectioners’ sugar and what better to use to stabilize the whipped cream filling and topping, I wondered mainly about the cornstarch in said sugar, which gives you the structure you need to coat a cake, that lasts until it’s eaten, it suddenly occurred to me: Protein powder, more so if we use vanilla flavor, does the exact same thing by adding sweetness, flavor and stabilisation (think about how creamy your shake gets!), but with a much better nutritional profile. In it went. First looking a bit lumpy but quickly mixing up into a smooth and spreadable cream topping. Marvellous.
And The Sourdough Discard?
Why am I adding sourdough discard you ask?
For one, if you bake with sourdough, you’ll always have some discard hanging out in your fridge, begging to be used. And look, its good quality flour I’m using, so throwing it away is sheer waste, right?
But mainly, it really adds a whole different level of depth of flavor to anything it touches and just makes sweet things taste multidimensional instead of…just sweet. The hint of tang is there, sure (it won’t taste sour, I promise! My sourdough hating partner never even notices I add sourdough to all my sweet bakes and munches them with utter enthusiasm! Shhh, don’t tell him!), but it’s those malty undertones that prompt the urge for just one more bite.
For me, this cake is my favorite sourdough discard dessert!
Intense And Dramatic Decoration
Ah yes, I nearly forgot my last complaint, the chocolate shavings, didn’t I?
For this I went with the brilliant idea Olivia from “Liv For Cake” had for her version of this classic: Big shards of dark chocolate, melted, rolled up and broken into pieces. It doesn’t just look dramatic and stunning, it also tastes amazing and gives the cake a much needed crunch factor.
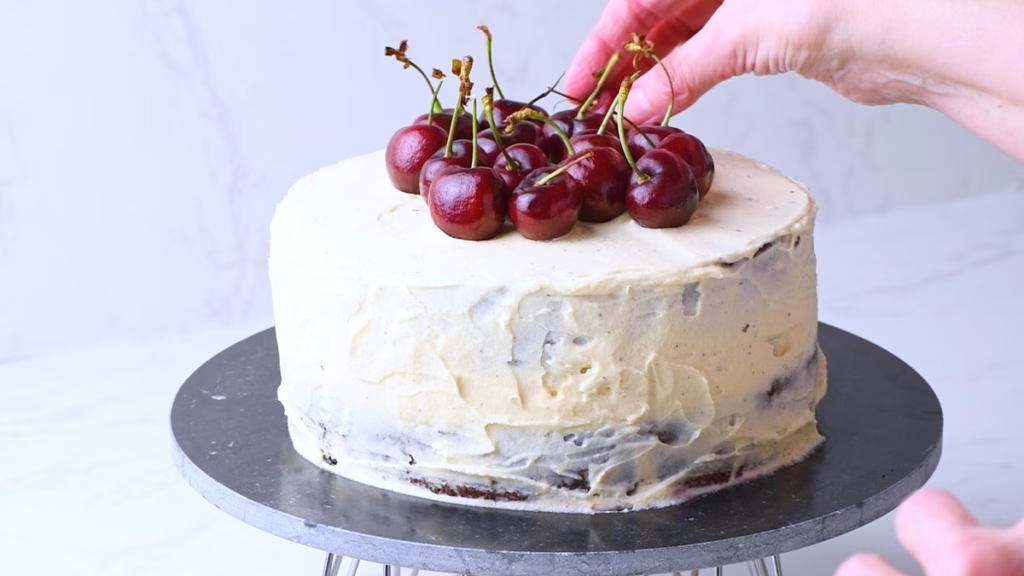
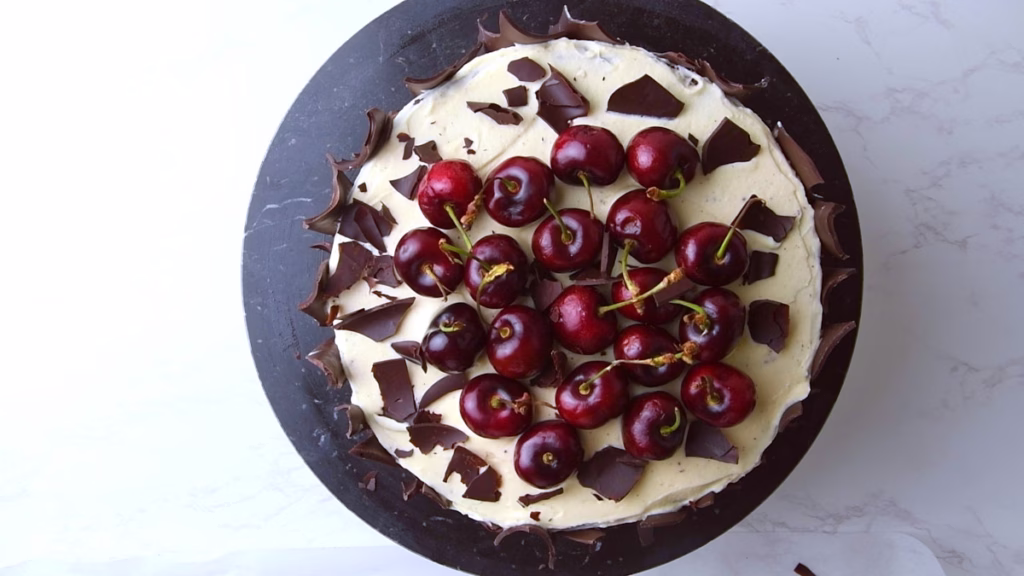
And on top, instead of hard to pipe cream puffs with overly sugary maraschino cherries, I simply went with a tumble of fresh cherries, for even more flavor. And another excuse to eat this: More fresh fruit! Of course there are already cherries between the layers serving as anchors in the cream for the top layer. But more cherries are never a bad thing in my book.
And The Resulting Gateau?
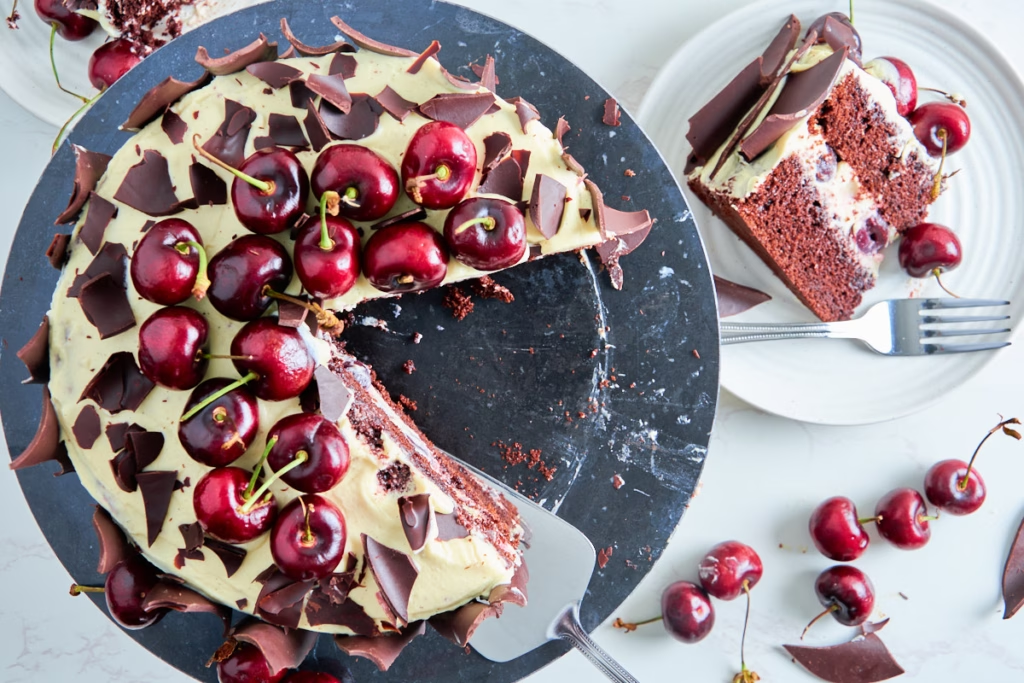
Apart from the rather decent 13.8g protein per slice (calculating with 12 generous portions here), I can honestly say this is the best Black Forest Cake (Or “Schwarzwälder Kirsch Torte”, its original German name) that I have ever eaten. Sourdough and Protein or not. I’d happily leave any patisserie unvisited, having this at home. So I declare this a full success.
And how about you? If you made this, what did you think? Do you have another tiny things you’d change? Or did I catch your own complaints too?
Ingredient Notes
As usual, just the most relevant ones that I feel need notes. The full list including amounts is in the recipe card.
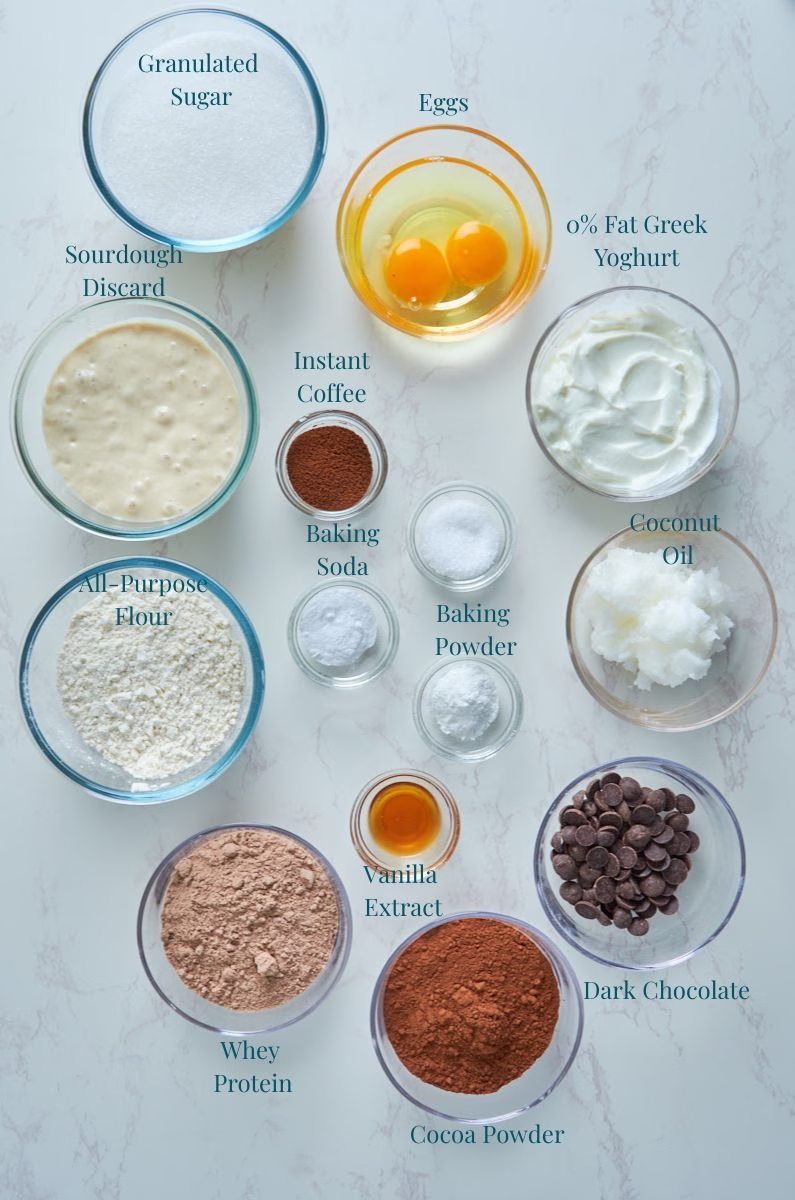
High Protein Chocolate Cake Ingredients
- All-Purpose Flour – This is the best flour for cake, as it gives you a tender and fluffy result.
- Sugar – Granulated or caster sugar work best to give you the volume and lightness.
- Cocoa Powder – Non-Dutch is best for intense chocolate flavor and it’s slight acidity. In the original recipe the acidity also helped to activate the baking soda, but with my additions that wouldn’t be a concern.
- Personally I adore Valrhona for its incredibly intense flavor, but any unsweetened cocoa powder will be fine.
- Just don’t use anything labelled “Drinking chocolate”, as these powders are usually sweetened and often have other ingredients (like milk powder and cornstarch) added, that would throw off the balance here.
- Baking Soda & Powder – With sourdough discard some might wonder (as I did) why I would add it, with the sourdough rise and all. But for one, since I’m not leaving it to ferment overnight, as I don’t want much gluten development for a tender cake, the sourdough won’t get around to adding much air to the batter. However the discard does add a little acidity. And while I do appreciate a slight tang and love how it balances the sweetness in chocolate cake, the baking soda neutralises a bit of it, to keep it gentle and not overpowering. Plus of course the combo of soda and baking powder gives a lovely rise.
- Whey Protein Powder – Whey concentrate to be exact, as it still has a bit of fat and lactose (minimal) helping with the softness and moisture of the cake. Ideally chocolate flavored, since I replaced part of the cocoa from the original recipe with it.
- Fat Free Greek Yoghurt – Why am I choosing fat free? Because it is there to replace milk as liquid and a full fat version would make this cake much heavier. So you get lower calories and higher protein with this swap.
Also: This will not make the cake taste sour in the slightest. And just as the sourdough, the acidity from the yoghurt tenderizes and counters any potential drying protein powder effect. - Coconut Oil – Oil gives cakes an incredible moisture and I find coconut just goes perfect with chocolate.
- Dark chocolate – I’m only using a tiny bit, to emphasize the chocolate flavor. For me, in the first try, it just felt a little too…gentle. But then, I usually like really dark and fudgy brownies. So if you are a fan of the more milk chocolate candy-like flavor in chocolate cake, feel free to leave it out and add back ¼ cup sugar instead.
- Sourdough Discard – Mine was fed about 3 days before making the cake. You don’t want it unfed for too long, to control the acidity. I’d say stored in the fridge anything up to 5 days is fine.
- If your discard has been in the fridge for more than 5 days, I highly recommend feeding it 1:1:1 and waiting about 6 hours before using it, to ensure the right acidity and balance.
- Coffee – This might be the most unusual ingredient in this cake but trust me it really works. The coffee flavor amps up the chocolate, and the hot liquid gives moisture. I use fresh americano, but instant coffee will be fine.
The Kirsch Syrup And Cherry Filling
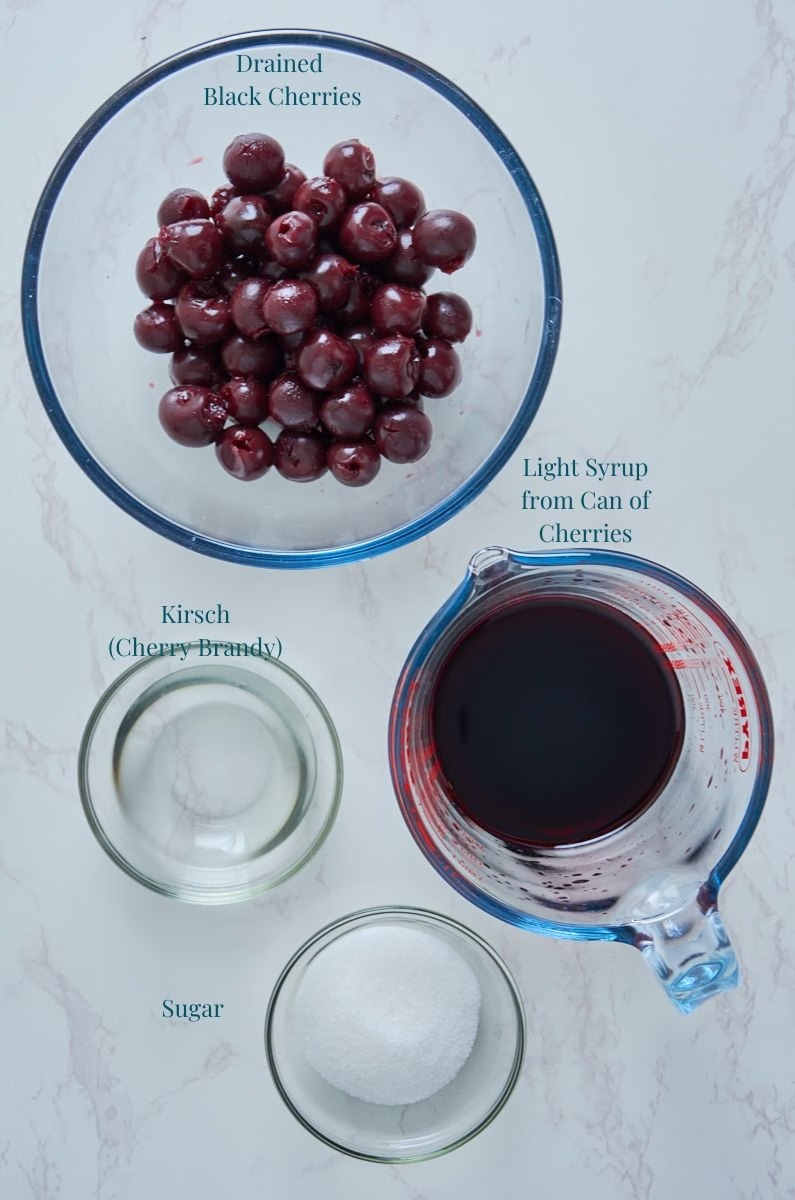
- Kirsch – A classic German, clear, sweet cherry brandy that tastes intensely of cherries in all the best ways. This is what imparts most of the typical flavor. It gets cooked down, so most of the alcohol evaporates in the process, making it pretty safe to eat. But if you can’t find it or would rather not use any alcohol, good quality cherry juice boiled down will work too.
- Cherries – Here is where the world is split in two: Fresh or canned? Frankly, in Germany I never had a cake with fresh cherries as filling. They were always made with canned/jarred and readily destoned black or sometimes even sour cherries. The consistency just matches the cake texture better and feels like a unit. It also gives us the juice/light syrup from the can to work with and add even more flavor to the syrup to soak the cake layers.
Sour or Sweet Cherries?
The traditional Schwarzwälder Kirsch Torte is made with sour cherries. But many versions use sweet, just as mine. They are usually more readily available, and I feel they also go better with the chocolate than sour cherries.
But it’s a bit like with coffee I suppose: If you are a fan of fruitiness and acidity in your coffee, you might prefer the fruity sour pops in your cake. I’m just not. Use what you enjoy!
Protein Cream Filling And Topping
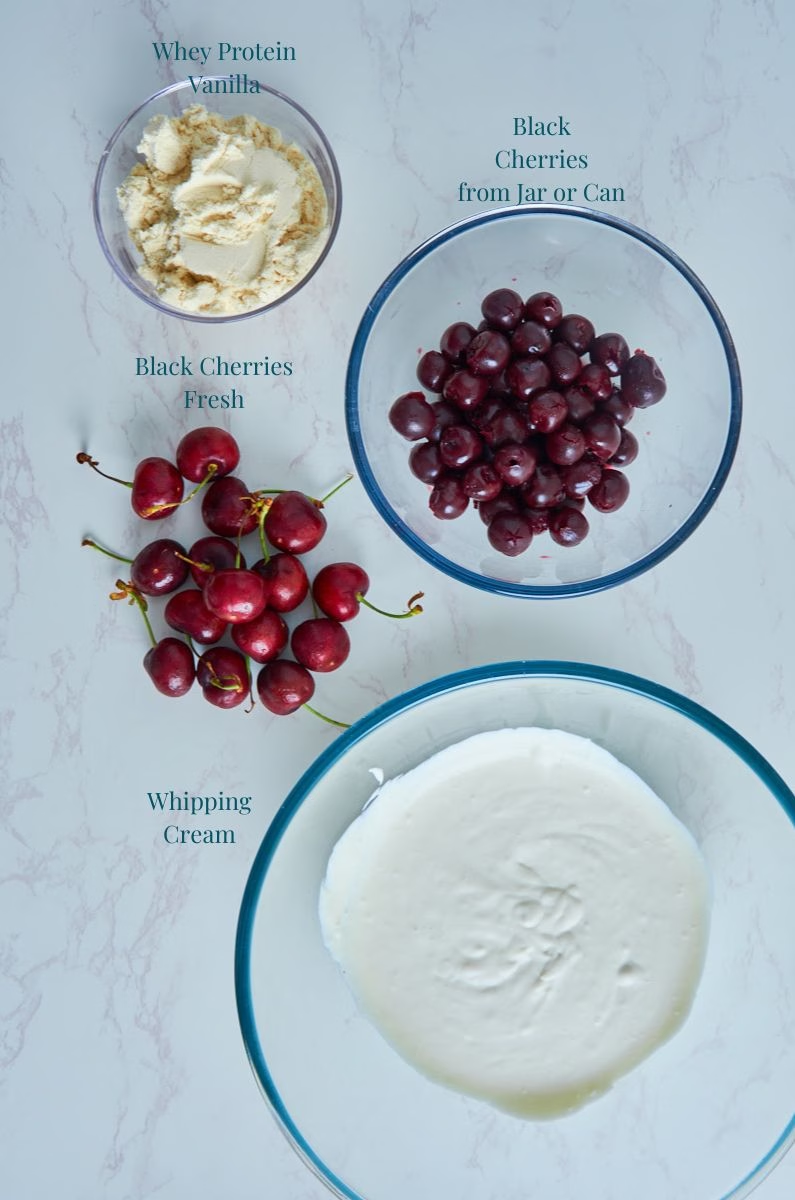
- Cream – My personal favorite is the Oatly Whippable Creamy Oat, as I’m lactose intolerant and this one has given me the best whipping results of all plant based cream substitutes I tried. But of course you can use simple whipping cream.
- Vanilla Whey Protein – This replaces the classic cream stabilizer of either confectioners’/icing sugar with its added cornstarch while disposing of any need for added sugar and making the cream miraculously even creamier. I still added a little extra real vanilla powder to get the little black specks, but it’s not absolutely necessary.
Cake Decoration
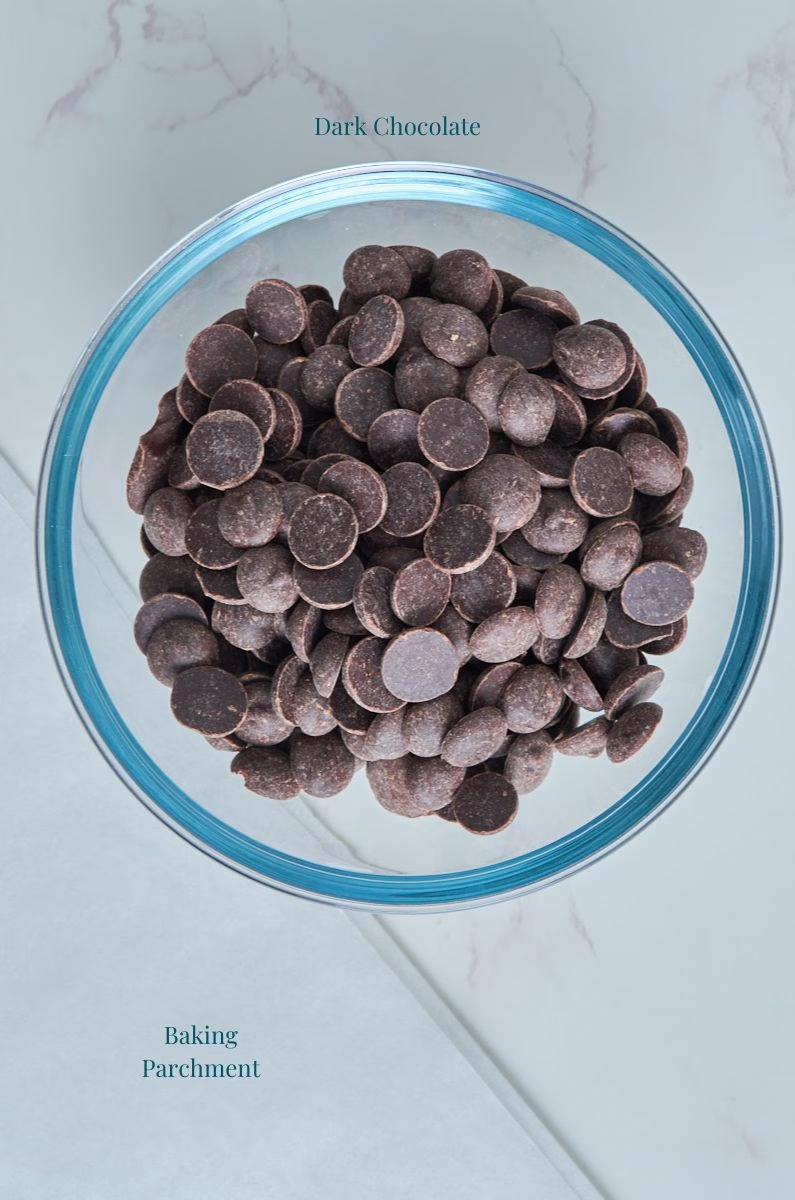
- Dark Chocolate – My favorite to use for this are Callebaut Dark chocolate chips, as they melt incredibly well and give you really lovely tasting, shattering chocolate shards. Which is what I’m after here. Any good, dark eating chocolate will do though.
- Fresh Cherries – Obviously this is your cake, so you decide how you decorate it. I just really love some sort of fresh fruit in my cakes and for this one a tumble of fresh black cherries is absolutely perfect. I didn’t destone and left the stems on for the looks, though you can of course destone them if you prefer. Either way it’ll look and taste amazing.
substitutions
While I give a whole list of substitutions here, each of them alters the texture and flavor ever so slightly. So I would advise to only pick one or two, not all of them, as that might lead to rather wild results.
As an example: While you can swap the eggs and greek yoghurt for the vegan version, I would then not necessarily want to add gluten free flour too, as it can have quite an impact on texture. Does that make sense?
High Protein Chocolate Cake Ingredients
- Flour – While I haven’t tried this myself, as we don’t get it here, I read that King Arthur Gluten free flour is a great substitute for all purpose. But with the sourdough discard adding some gluten, I would still only advise this swap if you were gluten sensitive, not celiac.
- You could however replace about 1/3 of the AP flour with fine whole wheat flour. Your cake may not be as soft but will gain a lovely nutty flavor.
- Eggs – If you’d like to replace the two eggs, add 60ml/1/4 cup plant milk and 40g flour to get very similar results in texture.
- Sugar – If you’d like to make a sugar free cake, Xylitol will work well as replacement.
- Whey Protein Powder – While I feel whey concentrate works best in the context of this rich and fluffy sourdough chocolate cake, you could use Casein and add two tablespoons more hot water to balance its higher liquid absorption.
- If you’d like to use a vegan powder, I would firmly vote for the Plant Protein Superblend from MyProtein (not sponsored or affiliated, but the only vegan protein so far I really enjoyed to use in my baking) and reduce the water from the brewed coffee by two tablespoons, to compensate for its lower liquid absorption.
Note:
If you happen to use any other protein powders, I’d love to hear from you about how they worked, as it helps me with recommendations in my recipes.
- If you’d like to bake this cake entirely without protein, you can simply replace it with the same amount of flour and it’ll work wonderfully.
- Sourdough Discard – You can of course use active sourdough starter. If you want to skip the sourdough entirely, replace it with 120g flour (1 cup) and 105ml more hot water.
- Coconut Oil – Any neutral oil like canola or avocado will work. I often use olive oil instead and adore the flavor. For once I would not use butter, as oil is giving you a decidedly moister result.
- Fat Free Greek Yoghurt – A vegan version will work, so will full fat Greek yoghurt. Your cake will be even richer.
- Dark Chocolate – You could use milk chocolate for a sweeter flavor or leave it out. Your cake will have a slightly less intense chocolate flavor but still be utterly delicious.
- Coffee – I love using freshly brewed americano, but instant coffee works just fine. If you don’t want the caffeine, but keep the flavor, decaf is a great option. Or just use hot water.
The Kirsch Syrup And Cherry Filling
- Kirsch – If you can’t find it or would rather not use any alcohol, good quality cherry juice boiled down will work too.
- Cherries – Use a cup of frozen cherries instead of canned and just let them thaw, catching their juices. Then add ¾ cup cherry juice to the kirsch when boiling it down to a syrup. Adjust the sweetness depending on your juice. If you can’t find pure cherry juice, see if you can find a red berry with cherry juice. They tend to be quite common in the supermarkets these days.
Cream Filling And Topping
- Cream – As mentioned above, I love Oatly as plant based option, but if you’d like to add a little more fiber to your diet, a homemade cashew cream is a possibility too. Soak 1 cup of cashews in boiling hot water for 10 minutes, drain. Add to a high speed blender with 1/3 cup water and blend until super smooth. Add the whey protein, blend again and adjust the taste to your liking. Let it cool and thicken in the fridge and then whip it up. It won’t be as stable as classic cream, but a great healthy replacement and more reason to eat the cake quicker. 😉
- Whey Concentrate – You can use any protein powder with vanilla flavor here that you enjoy. I’d be careful with whey isolate, as it soaks up more liquid, so can be a bit drying. Same with pea protein, which can also add a weird, chalky texture and odd flavor. I’d say for vegan versions, the Orgain brand tastes best to me after I recently tried it.
- Use what you enjoy and you’ll be fine.
Cake Decoration
- Chocolate – Most dark chocolates are vegan by accident. Check the label if you are unsure. Of course, because we are talking decoration, you can go entirely wild here. I’ve seen a rather tempting chocolate ganache drizzled on top, running down the sides. Or of course the very classic shavings (and cream puffs, if you are better with the piping bag than me).
- Cherries – If you are a fan, Maraschino cherries are always an option. I wouldn’t necessarily add canned or frozen cherries on top, as they tend to water down the cream and just don’t look particularly pretty.
Weigh Your Ingredients
Being from Europe, for me, weighing ingredients has always been the standard. When I spotted the American cup system, I thought, “Well, that’s kinda handy!” until I noticed how wildly different the weight vs. volume can be, especially for ingredients like flour.
You can easily add an extra 30g of flour (1/4 cup) by simply dragging your measuring cup through the bag instead of gently spooning and leveling it. This leads to wildly different results in baking.
And when it comes to sourdough discard, volume measurements are especially tricky. Just think about freshly fed starter versus discard that’s been in the fridge for a few days—the volume can change drastically, so you most certainly want to weigh yours!
Another benefit of weighing your ingredients? You only have your mixing bowl and a spoon to wash, not a mountain of measuring cups! Just use the Tare function on your scale and weigh ingredients right into your bowl.
Equipment Used
- Bowls – I used one large bowl to mix the batter and a smaller bowl for the dry ingredients. You could just add the dry ingredients on top of the wet and give them a quick stir, if you want to only use one bowl.
- Whisk – You can of course use a hand mixer or stand mixer like the KitchenAid, but I decided to make the cake batter by hand, as it’s easy enough even with my arthritis.
- Cake Pans – 8 x 2 Inch deep
- Saucepan – To boil down the Kirsch syrup, evaporating the alcohol, leaving behind an intensely flavorful syrup to drizzle over the sponge.
- Hand mixer – To whip the vanilla protein cream. You could use a stand mixer, but personally I prefer the better feel I have for cream when using a hand mixer. It’s just way too easy to turn cream into butter. Though oat cream isn’t at risk here.
- Offset Spatula – Makes decorating a cake so much easier!
- Cake Carrier – This is a live saver to store this cake in the fridge or transport it. I honestly don’t know what I did all those years without one!
 Buy Now →
  Buy Now →
  Buy Now →
 How to Make this
Making The Chocolate Cake Layers
Preparations
- Pre-heat your oven to 350°F/175°C
- Weigh your mixing bowl and write the weight down. This means, you can then weigh it again to get the weight of the batter, divide it by 2 and get the exact amount to add to each cake pan. That way you’ll have very evenly baked and sized layers.
Line Your Cake Pans

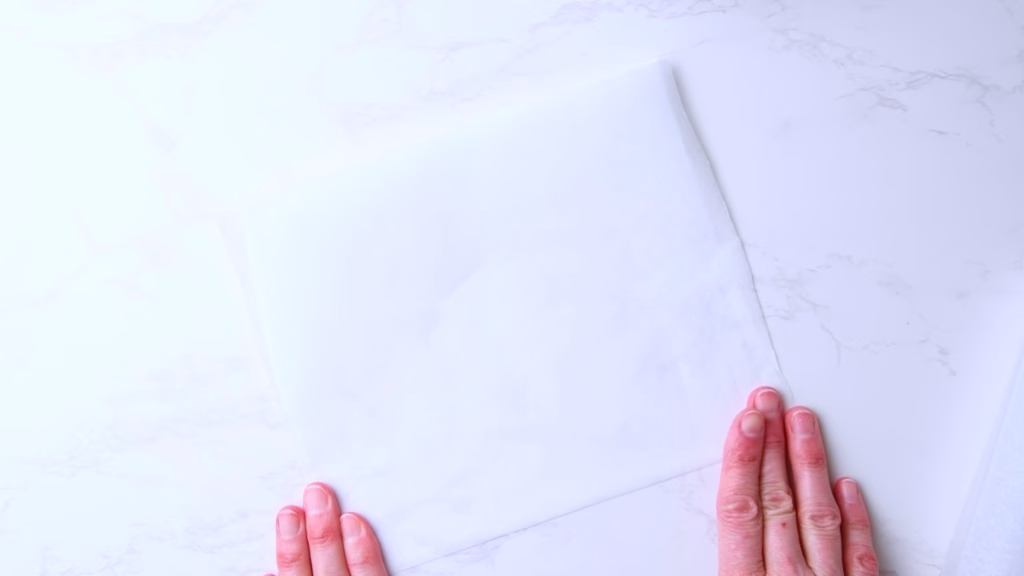
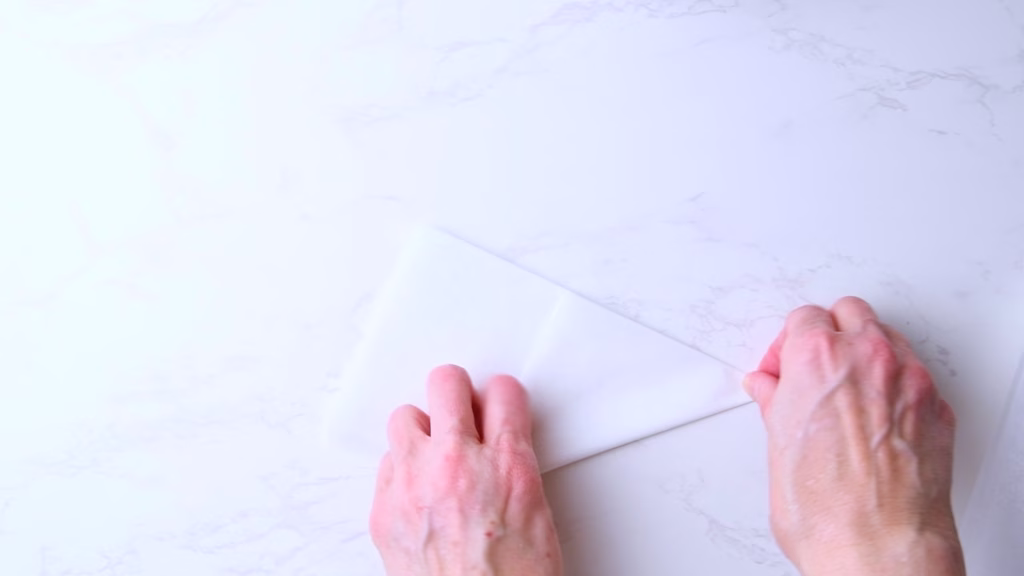
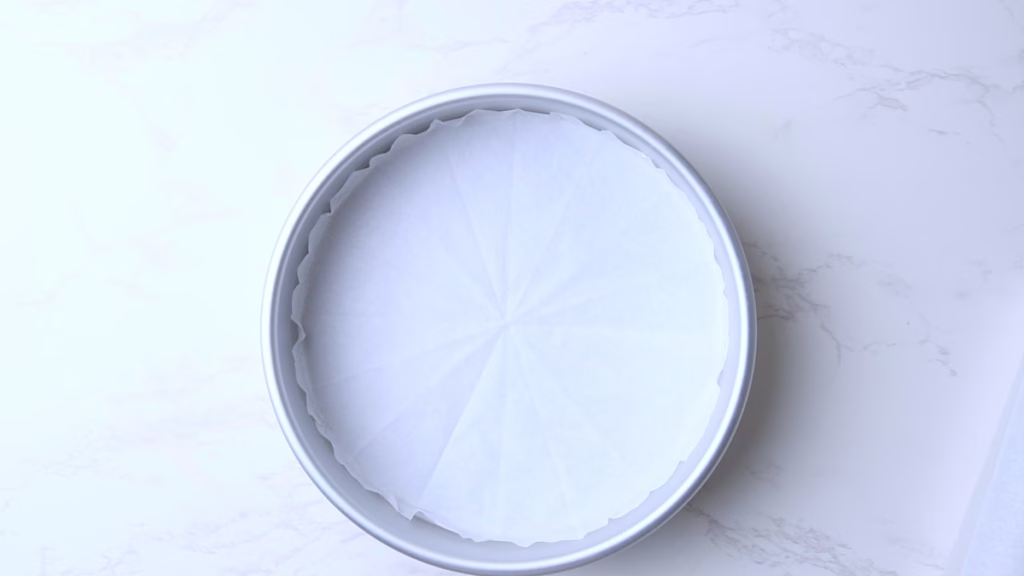
- Measure and fold the baking parchment by cutting off a piece as wide as your baking pan.
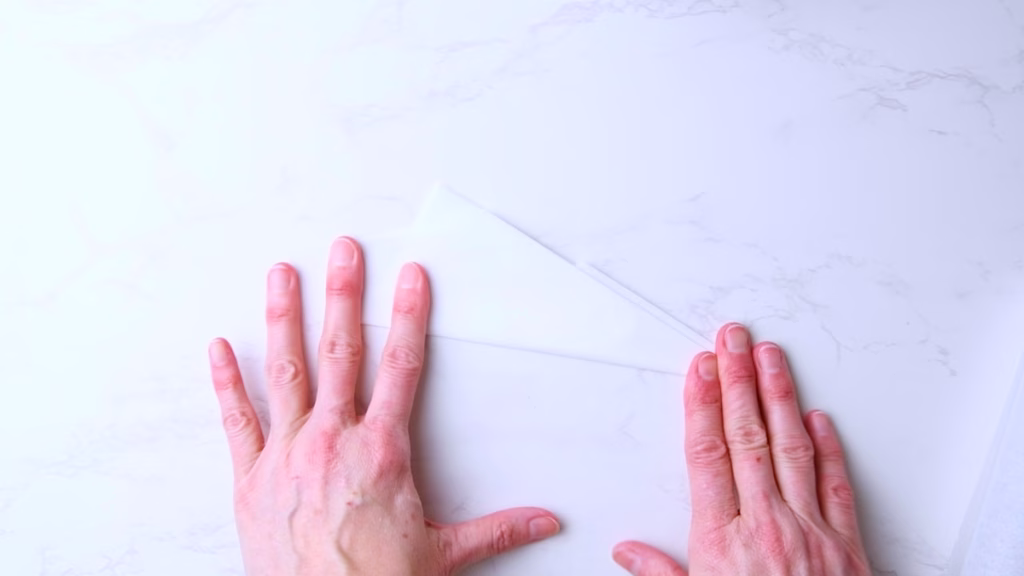
- Fold in half horizontally, then turn by 90 degrees and fold in half again, followed by folding in half diagonally, so you get a triangle. And that triangle once more in half.
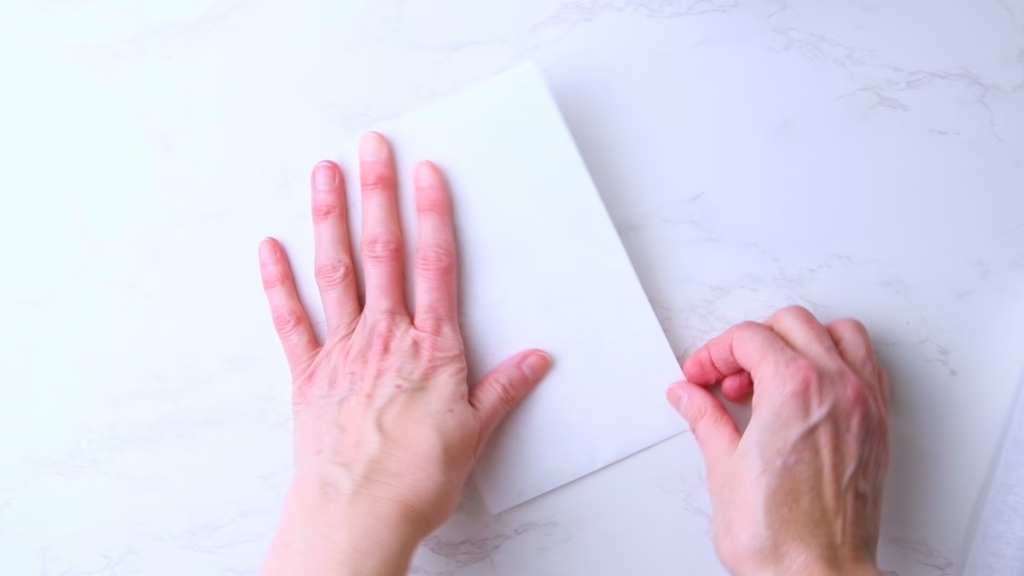
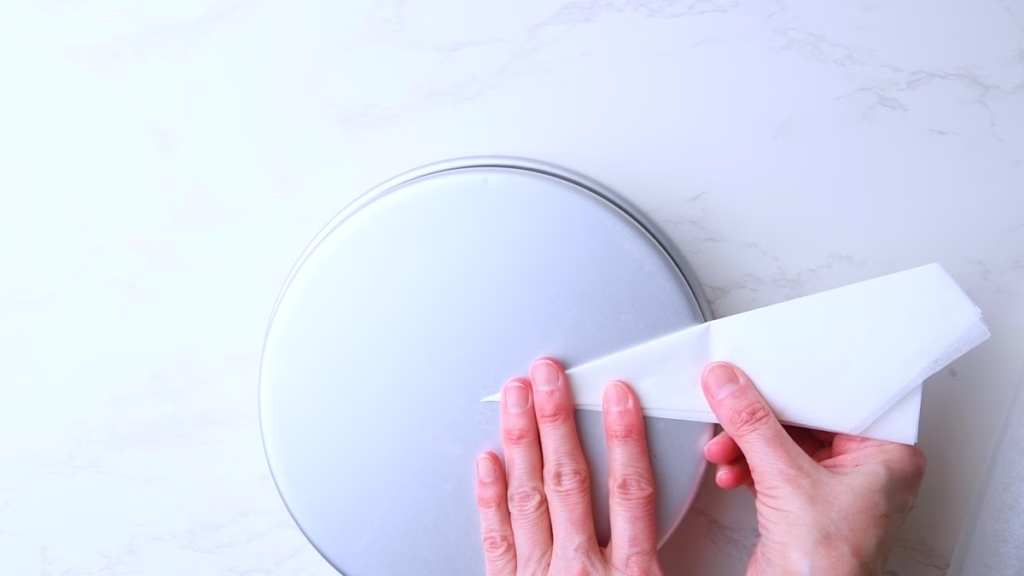
- Hold the tip of your narrow triangle to the center of your cake pan.
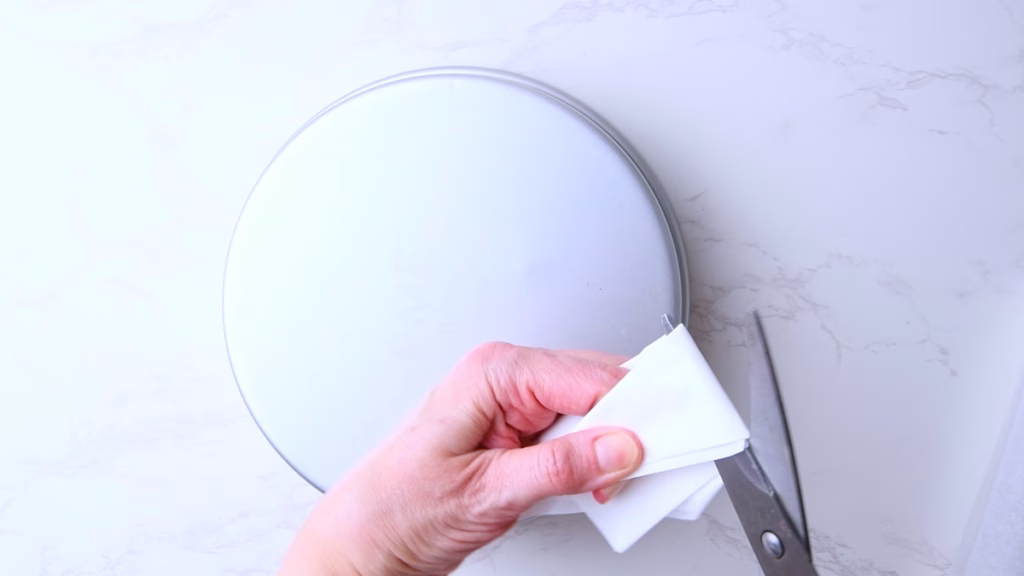
- Fold over the edge and cut a straight line with scissors right along that fold.
- Open up and you have a perfectly sized cake pan lining.
Grease and Dust Cake Pans With Cocoa

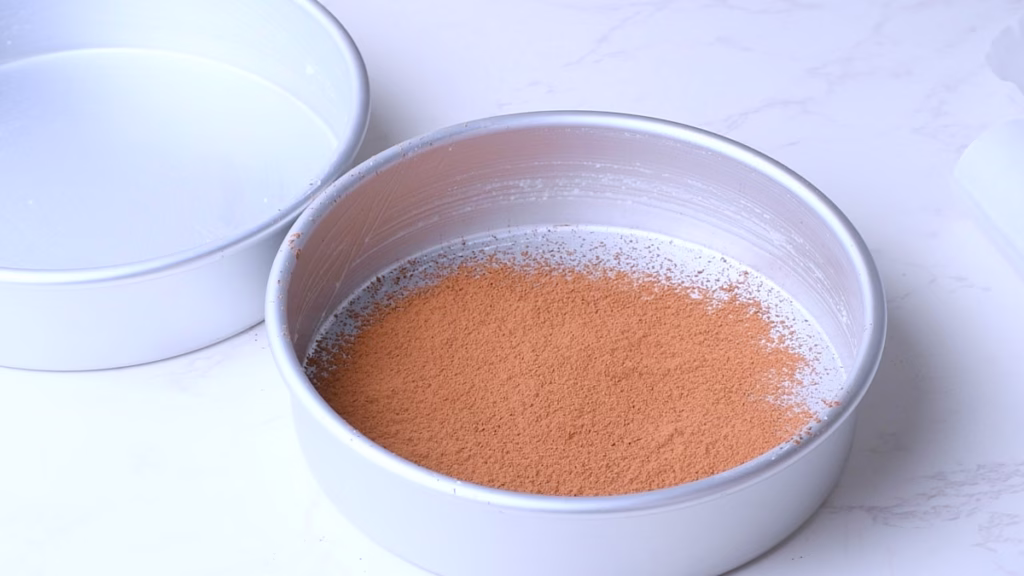
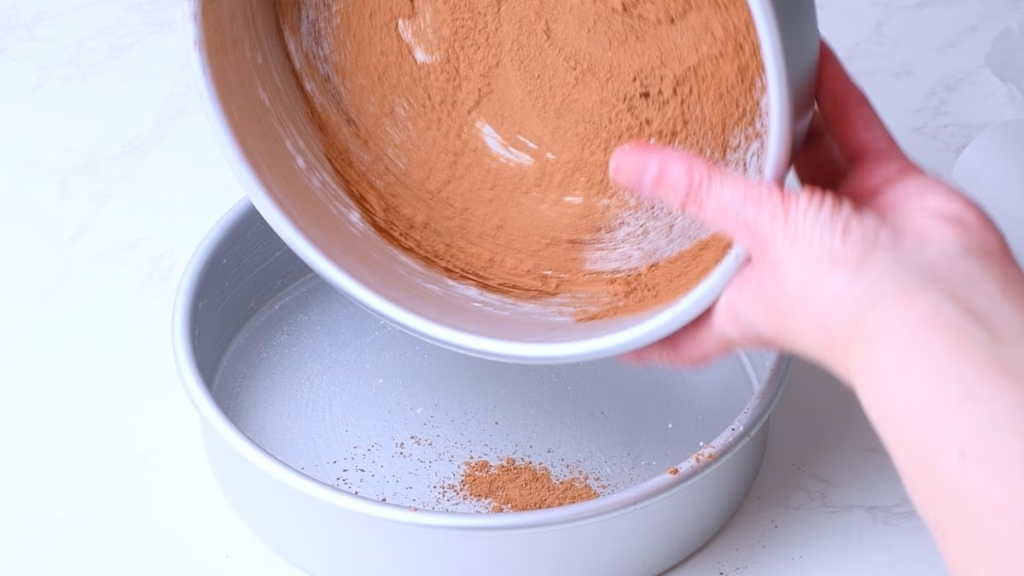
- For this cake I wanted the sides of the sponge to “climb” a bit up the sides of the pan. So I greased it first with a bit of coconut oil. This also helps with the parchment staying put.
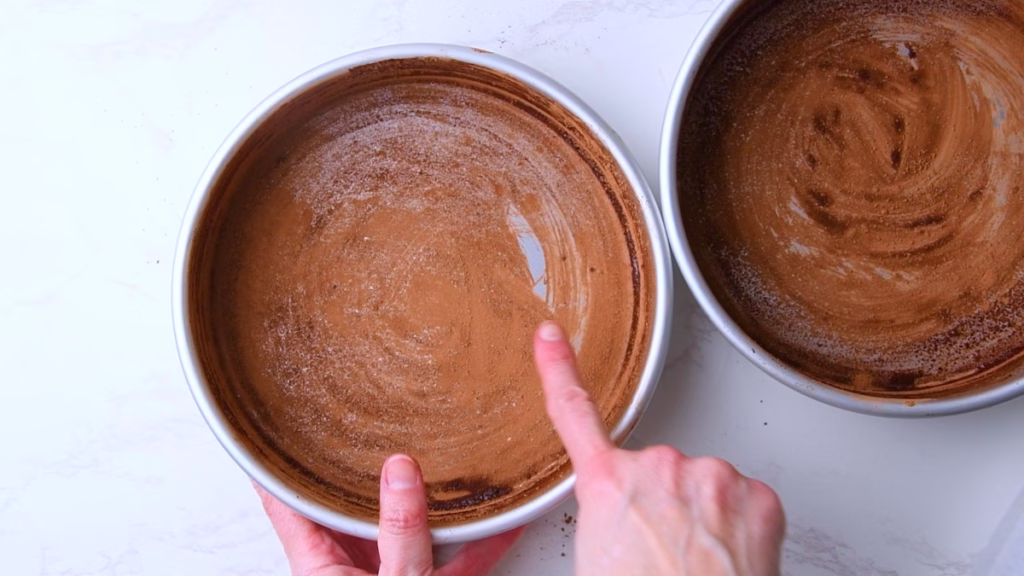
- Then I sifted about 1 tbsp cocoa powder into the first pan and tilted it around over the second pan until it was well coated. You could use flour for this, but I take every bit of chocolate flavor I can get.
- Tip the leftover cocoa into your second pan and repeat until both are coated.
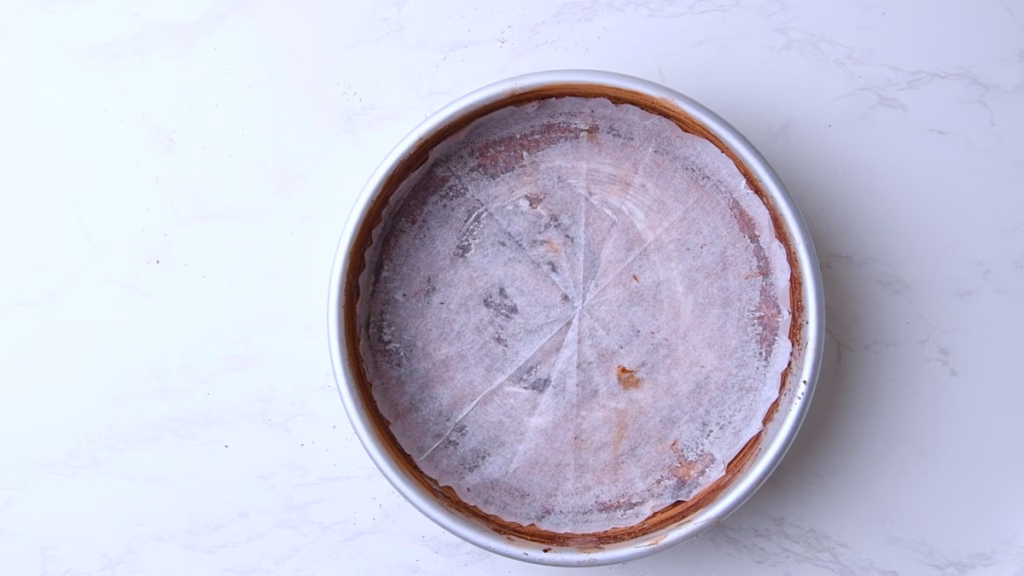
- Now line the bottom with the parchment to prevent any possible sticking.
- As you can see here, at least in mine are always small gaps in the coating, which is exactly where the batter would get stuck.
Melt Your Chocolate
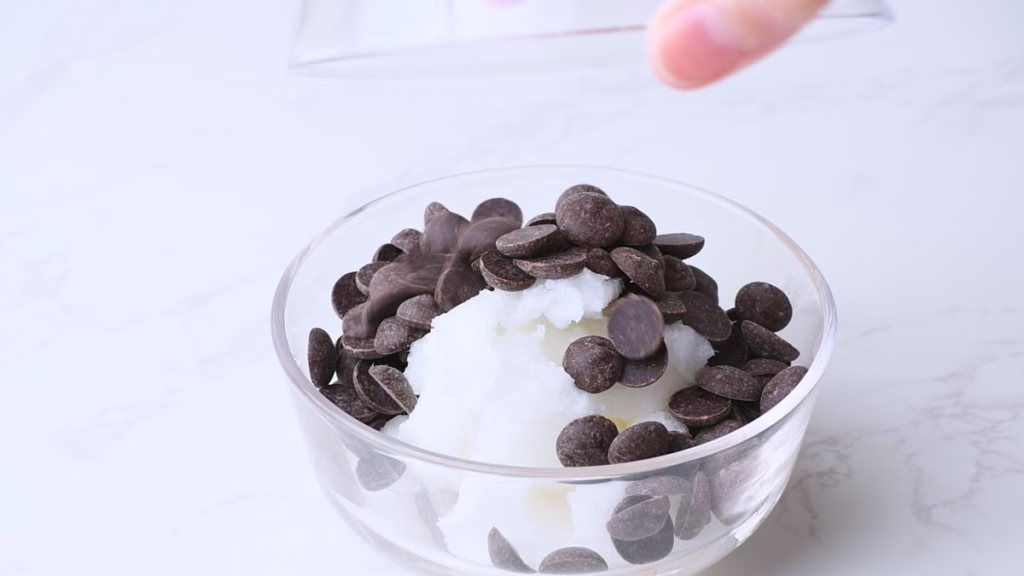
- Add coconut oil and chocolate either to a microwave safe bowl or a double boiler and gently melt.
- Give it a stir
- Allow to come to room temperature while you mix your remaining ingredients.
Mix The Dry Ingredients(except instant Coffee)
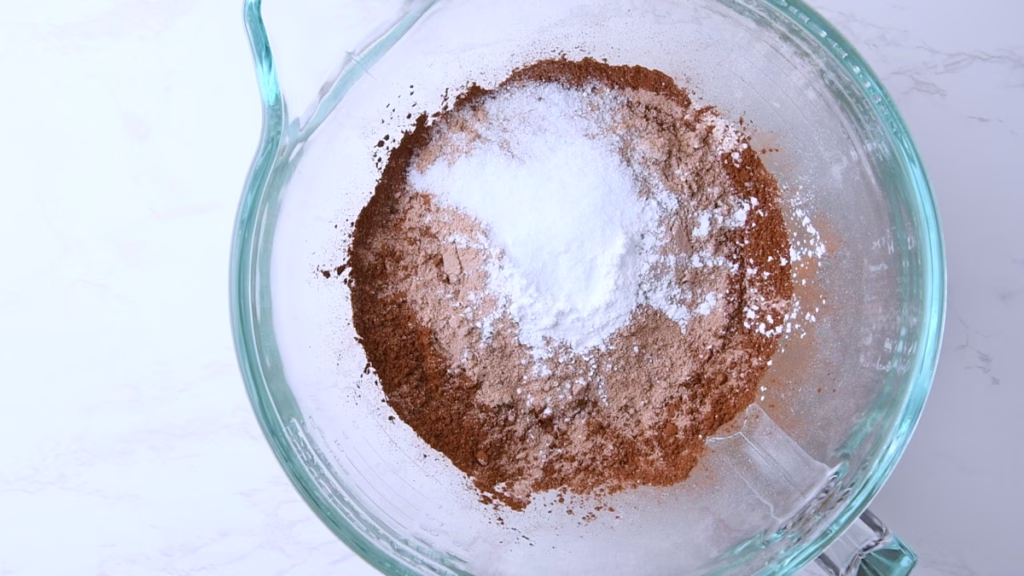
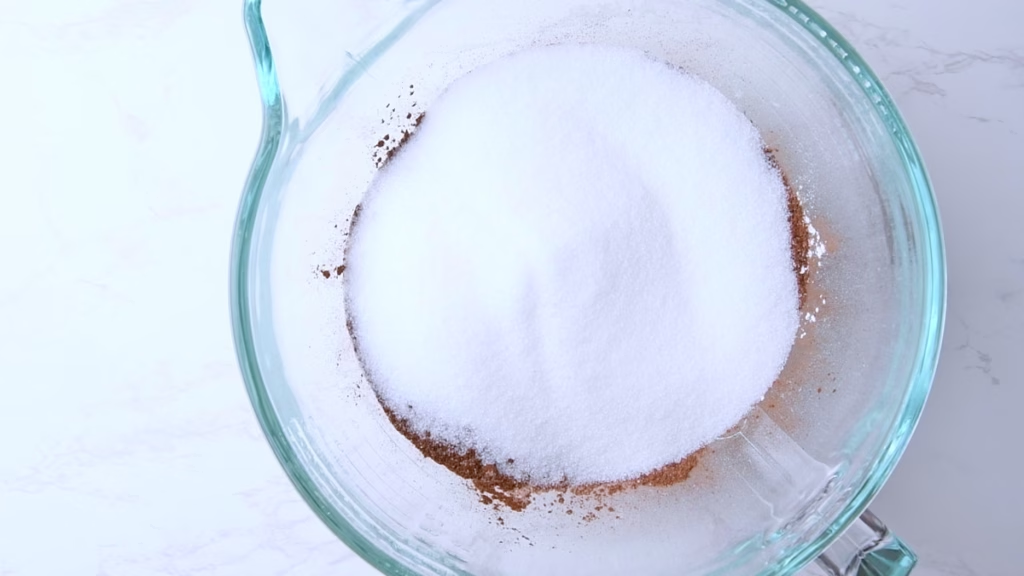
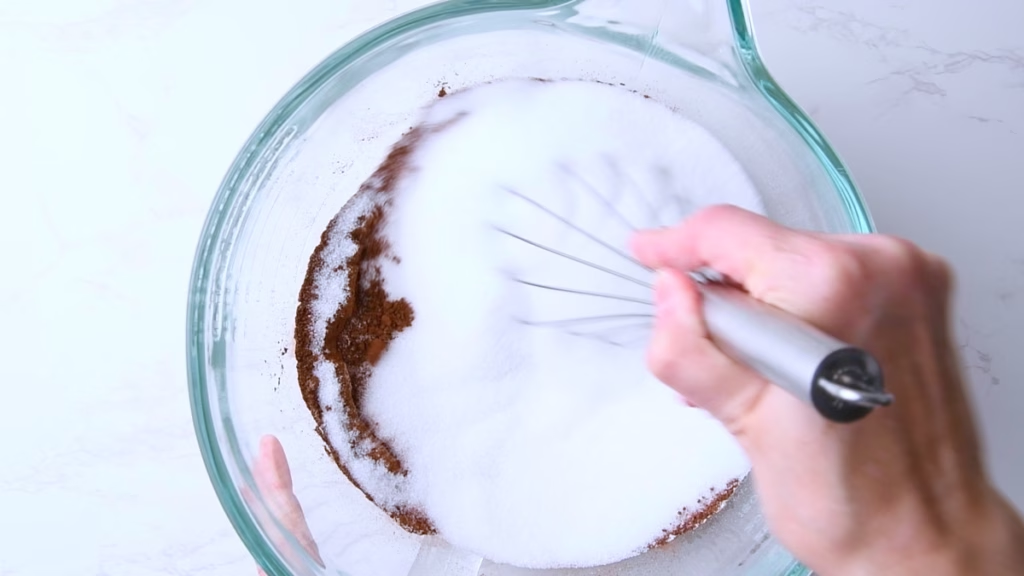
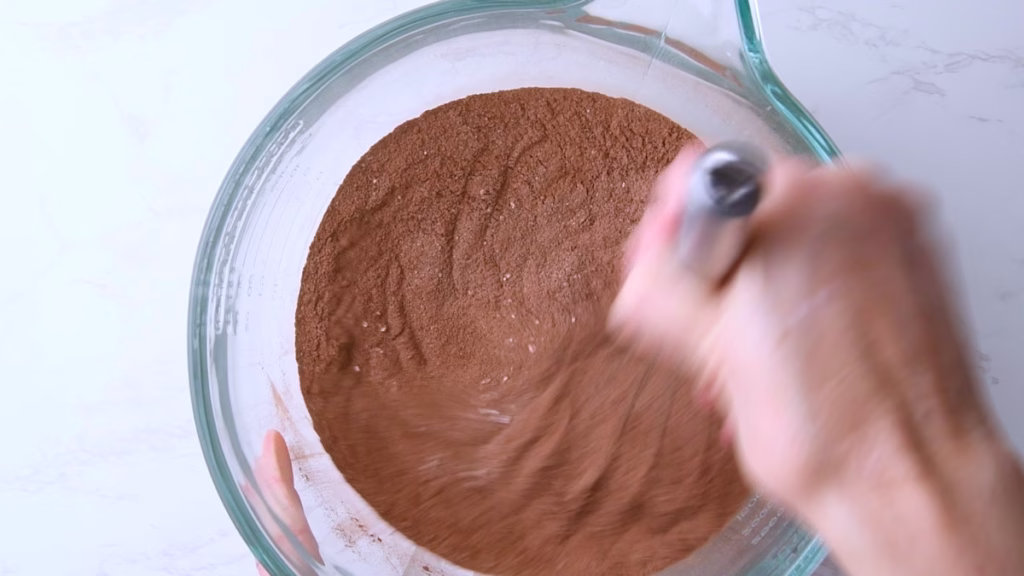
- In your large mixing mix flour, sugar, cocoa powder, baking powder, baking soda and salt. A whisk works best for this.
Add The Wet Ingredients
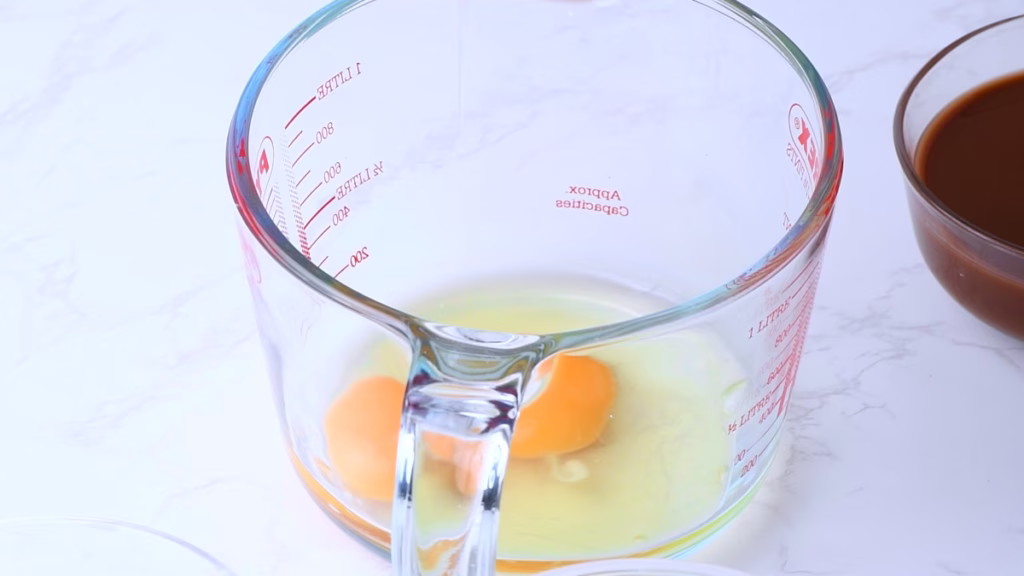
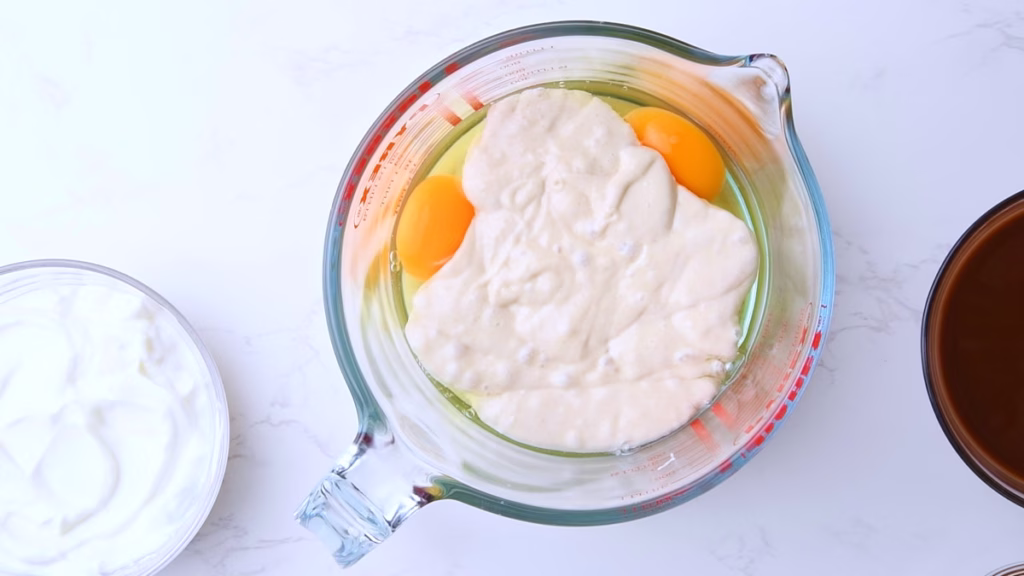
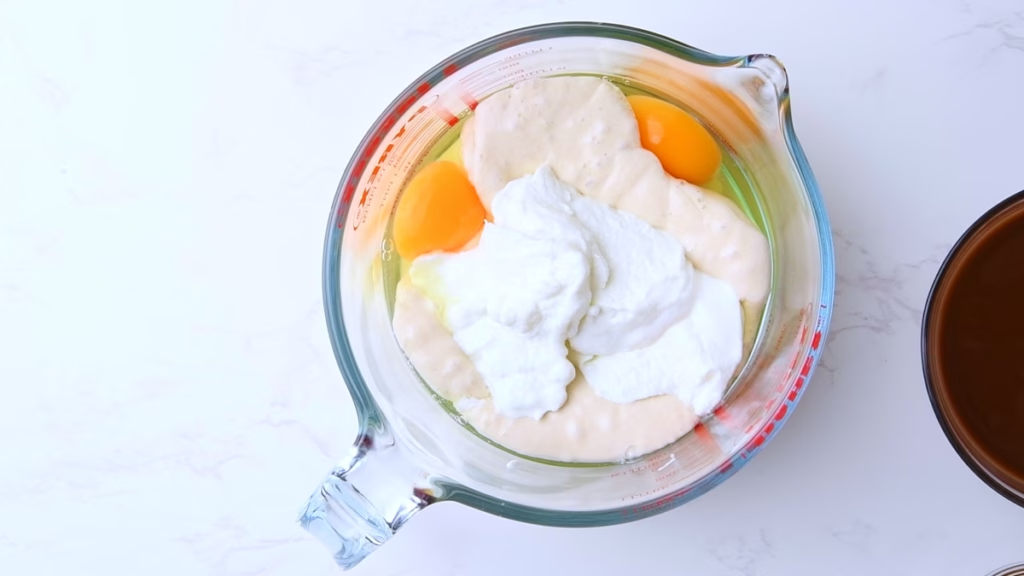
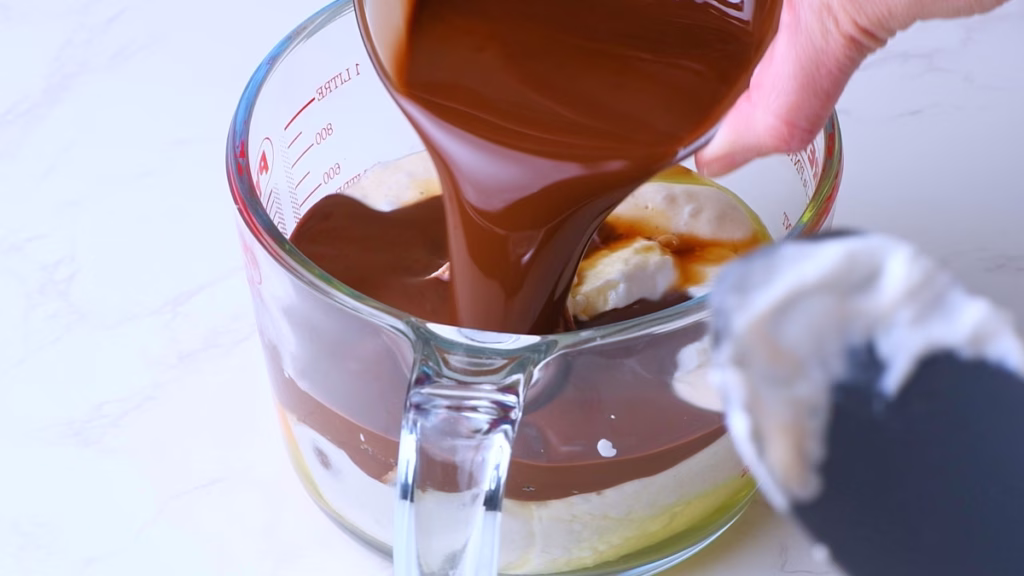
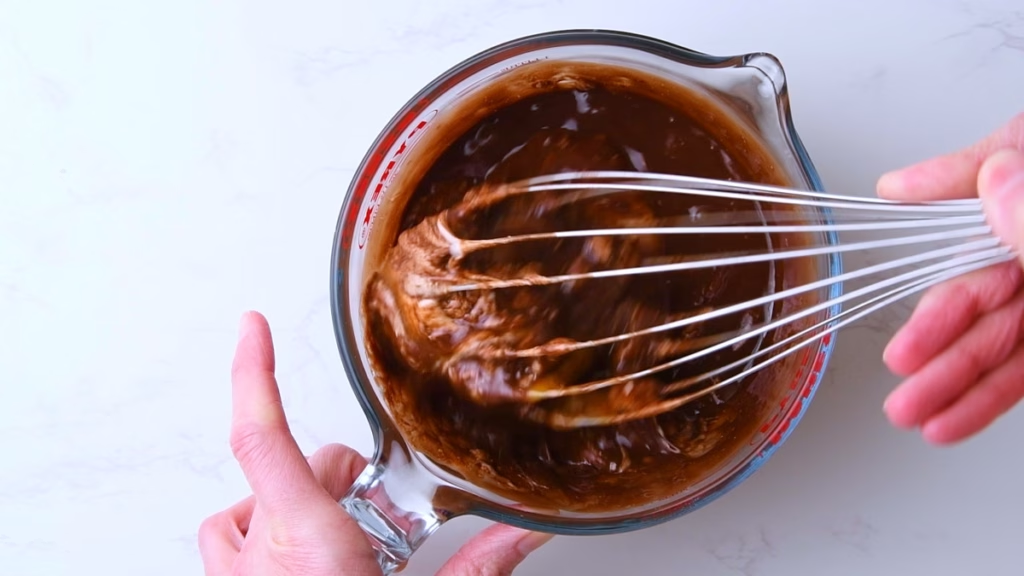
- Add the sourdough discard, eggs, Greek yoghurt and vanilla extract and cooled, melted chocolate with the coconut oil and mix until just combined.
Add The Wet Chocolate Mix to The Dry mix
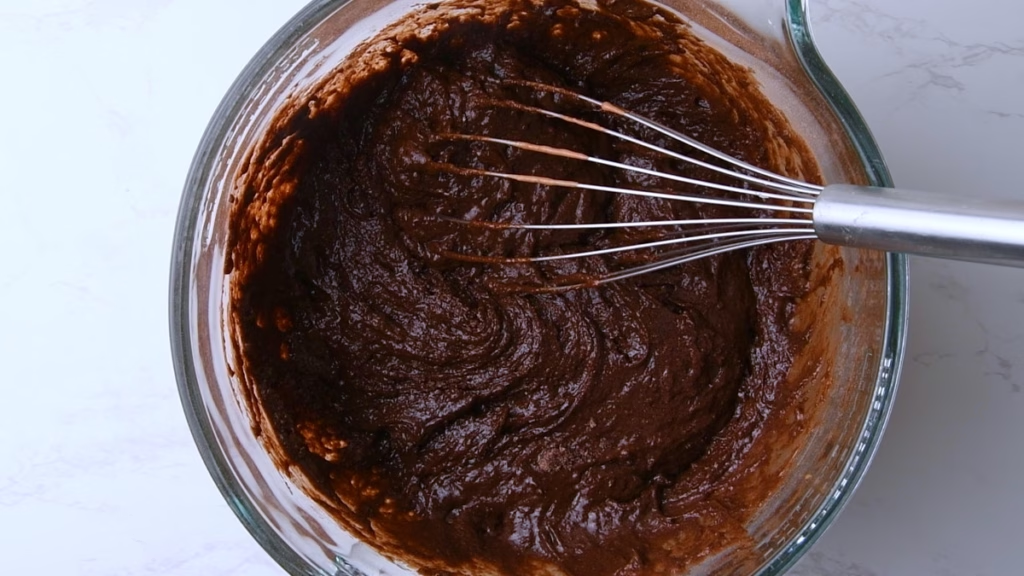
- Pour the wet chocolate mix into your dry ingredient and give everything a quick stir until you have a shaggy batter.
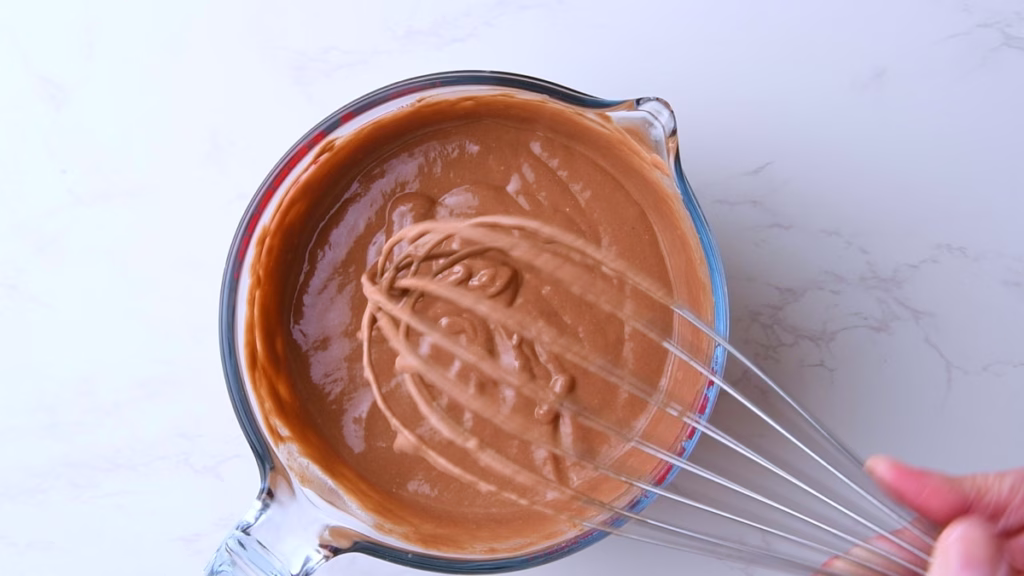
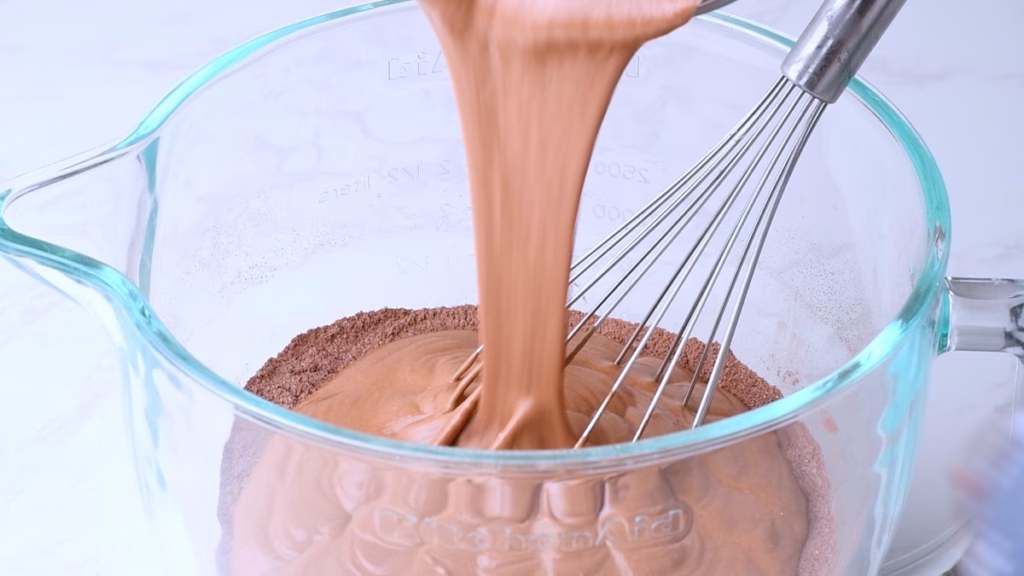
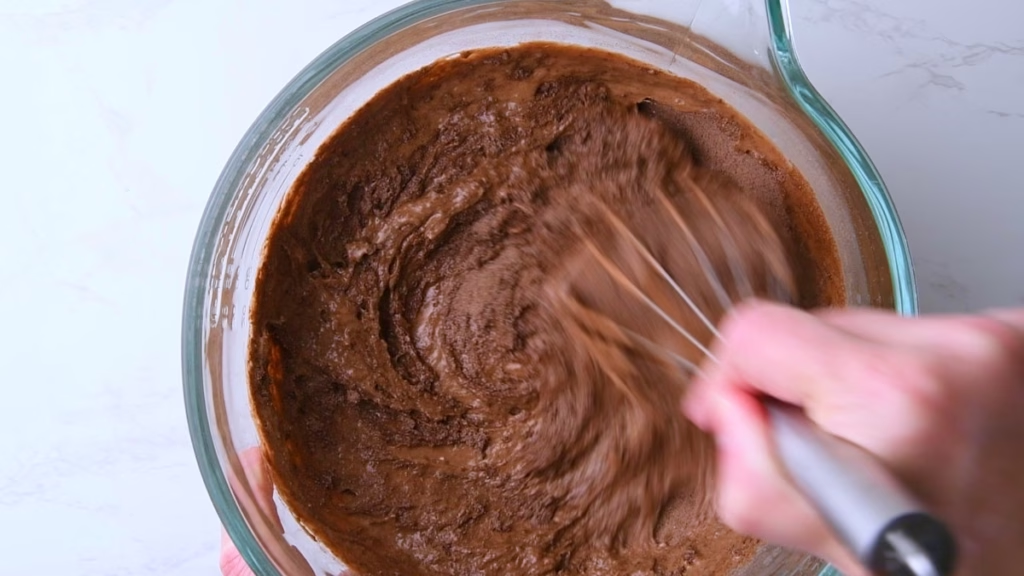
Pour Over Coffee
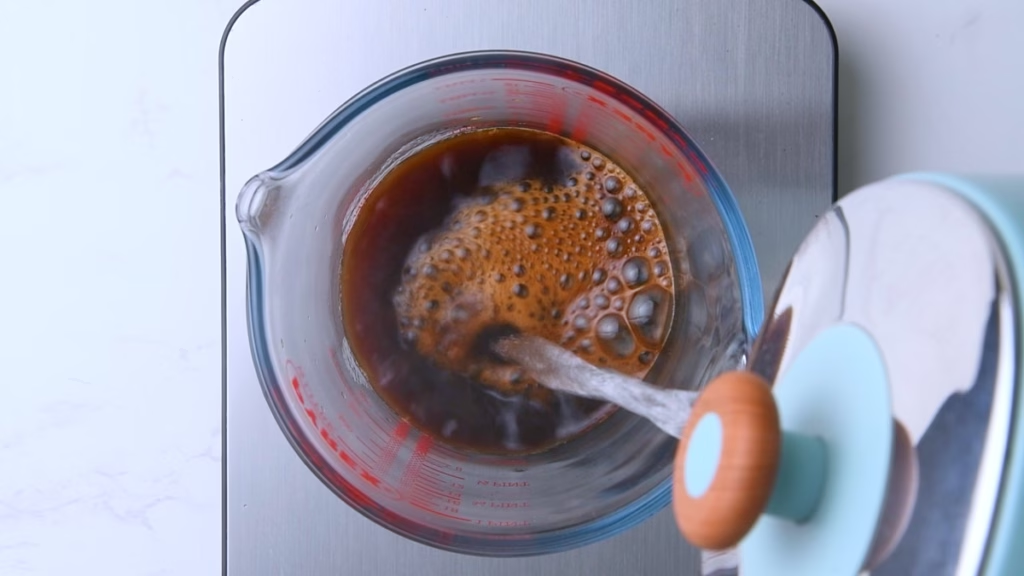
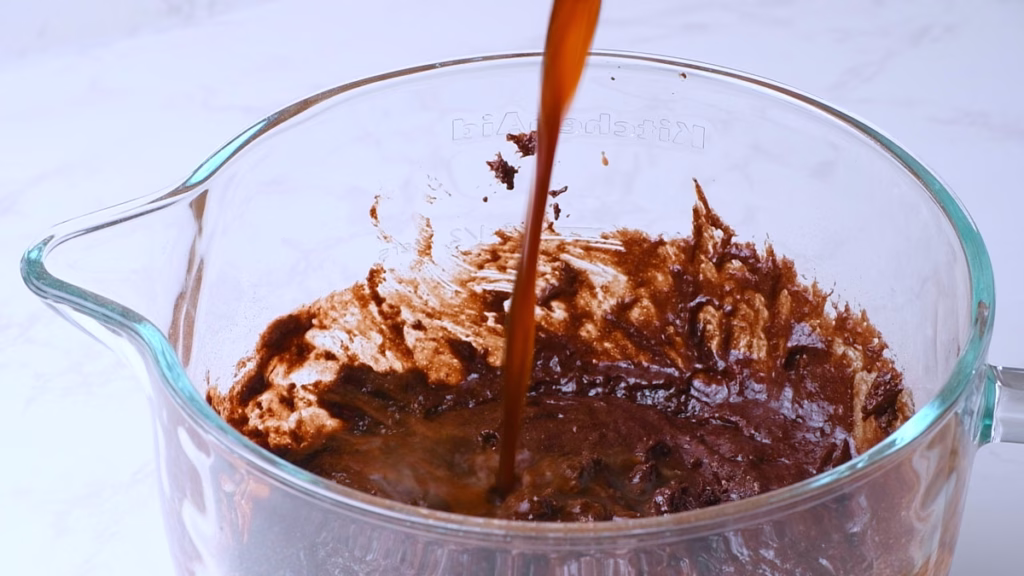

- Brew some coffee freshly (either Americano or instant coffee). Don’t do this ahead of time, you want it still hot, so it activates the full cocoa flavor and keeps the dough super moist. This works very similar to the Yudane method I used in my Fluffy Sweet Potato Rolls, in gelatinizing part of the flours starches, giving you a super soft interior.
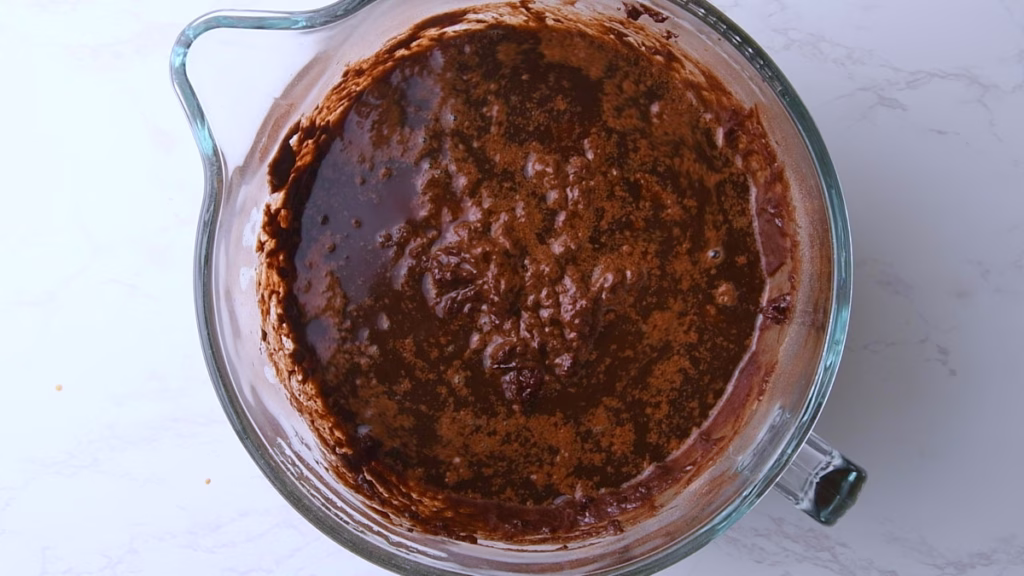
- Whisk until everything comes together in a pourable batter. This will be very runny; don’t be alarmed. It’s working as intended.
Divide Between The Cake Pans
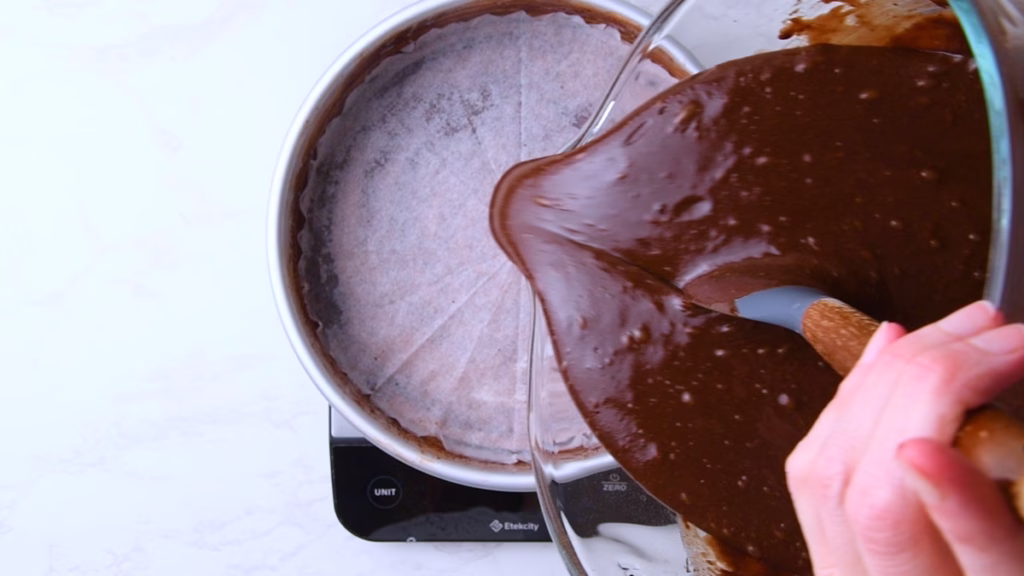
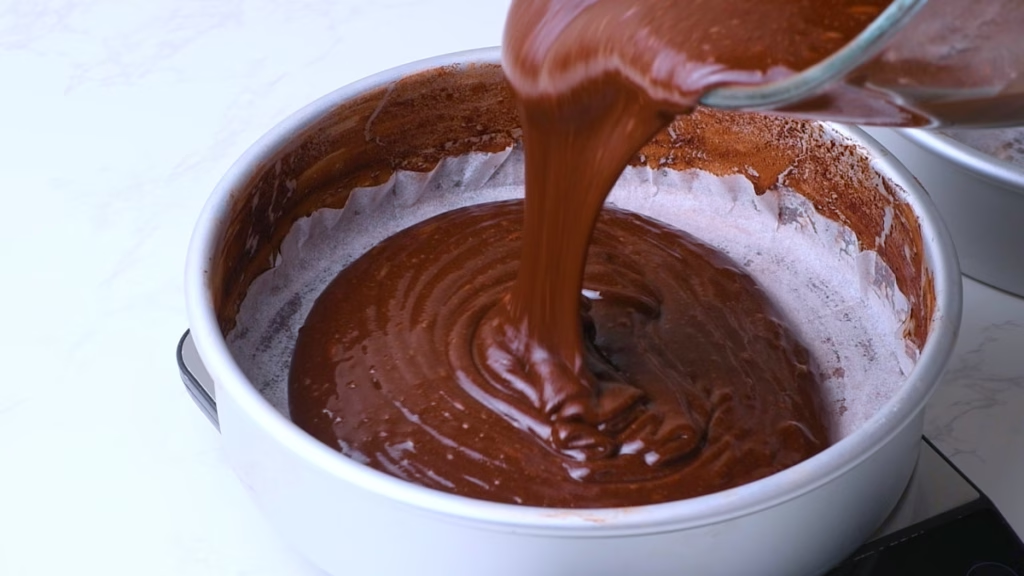
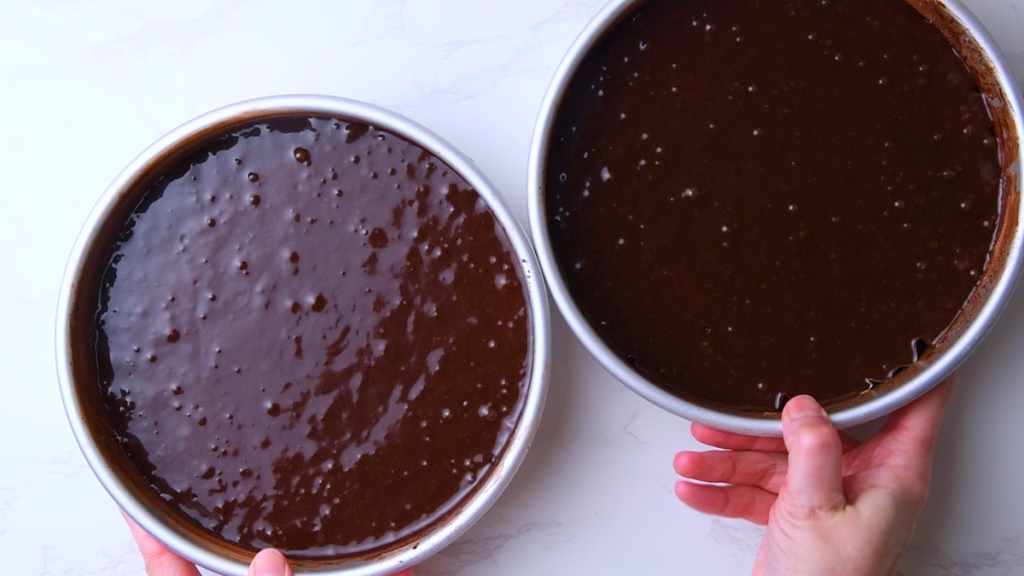
- Now, since you wrote down the weight of your mixing bowl (you did, right?), weigh your bowl with the batter again. Subtract it’s weight from the bowl. Then pour half of it into one of the prepared baking pans and the other half into the second.
- In case you forgot: The batter weighs about 1420g, so you pour about 700g into each of the cake pans. That leaves room for the 20g that might just stick to the sides of the bowl. Of course you could scrape them out, but I think they make a great bakers snack.
- Of course you could just eyeball it (I did so many times). Just make sure to then test them separately for doneness, as one might need longer than the other.
Bake Your Protein Chocolate Cake Layers
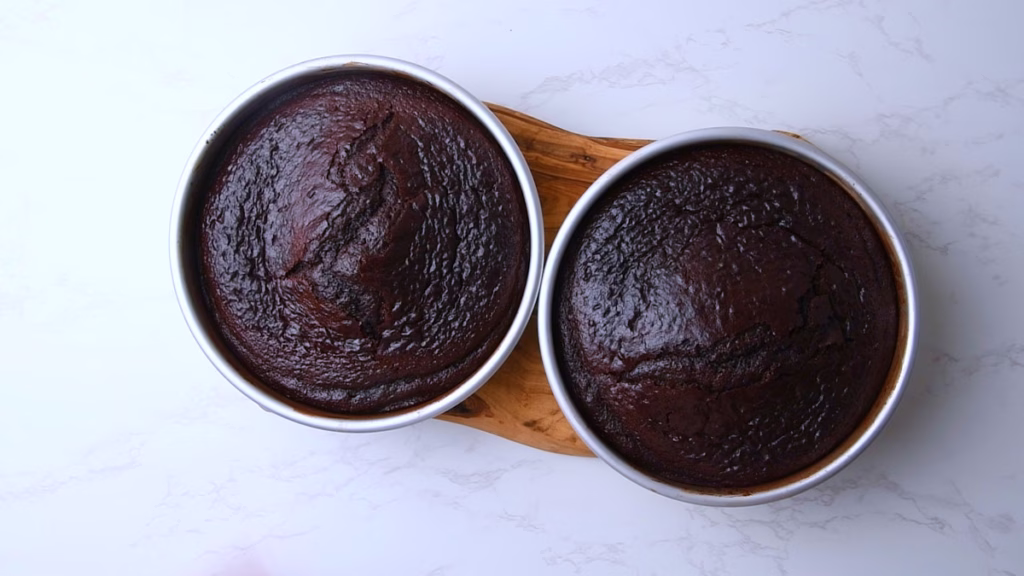
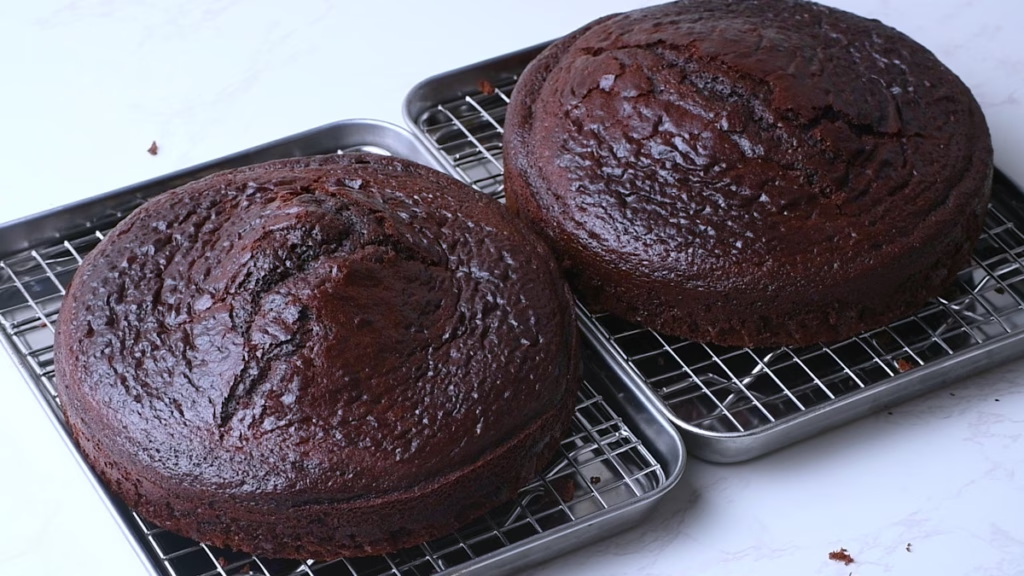
- Bake for 35 to 40 minutes, or until a toothpick inserted into the center comes out clean.
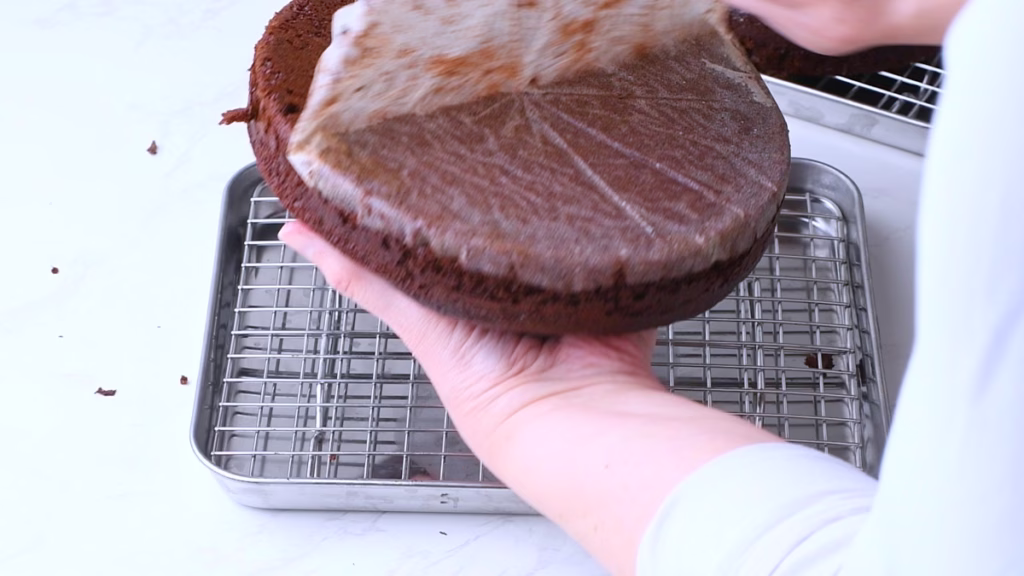
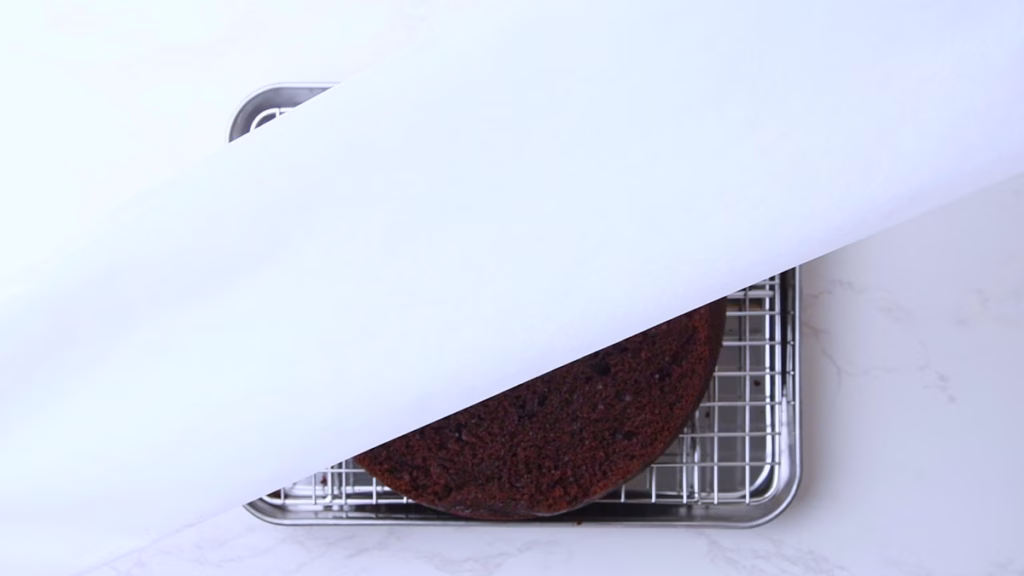
- Allow to cool for about 10 minutes in the pans, then turn out onto a cooling rack until completely cooled.
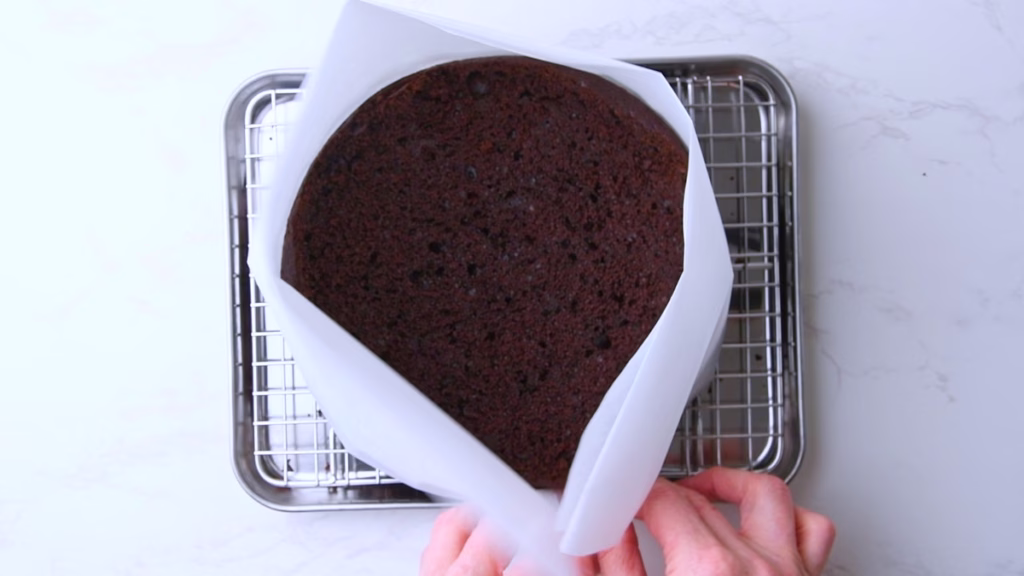
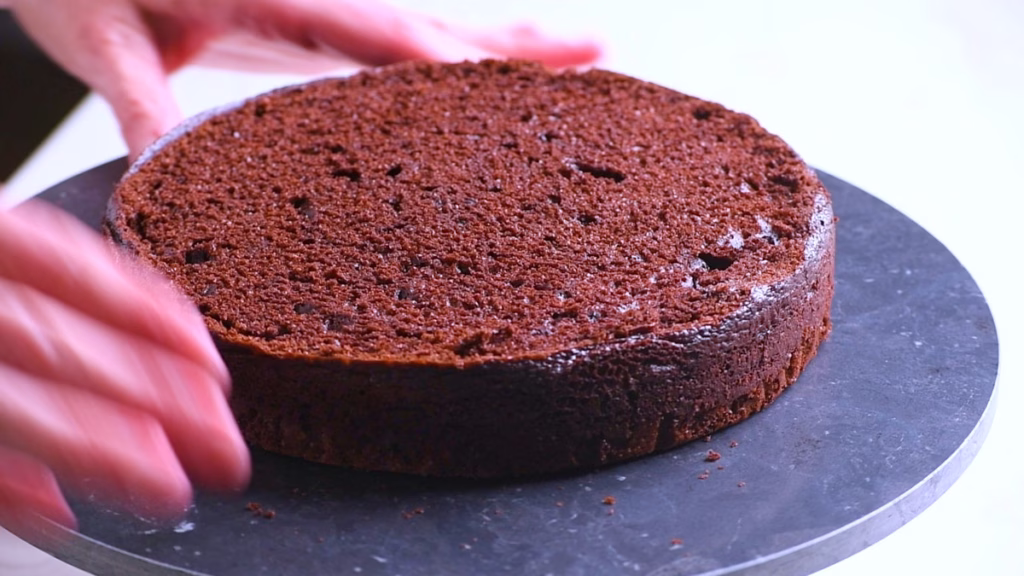
Levelling The Cake Layers
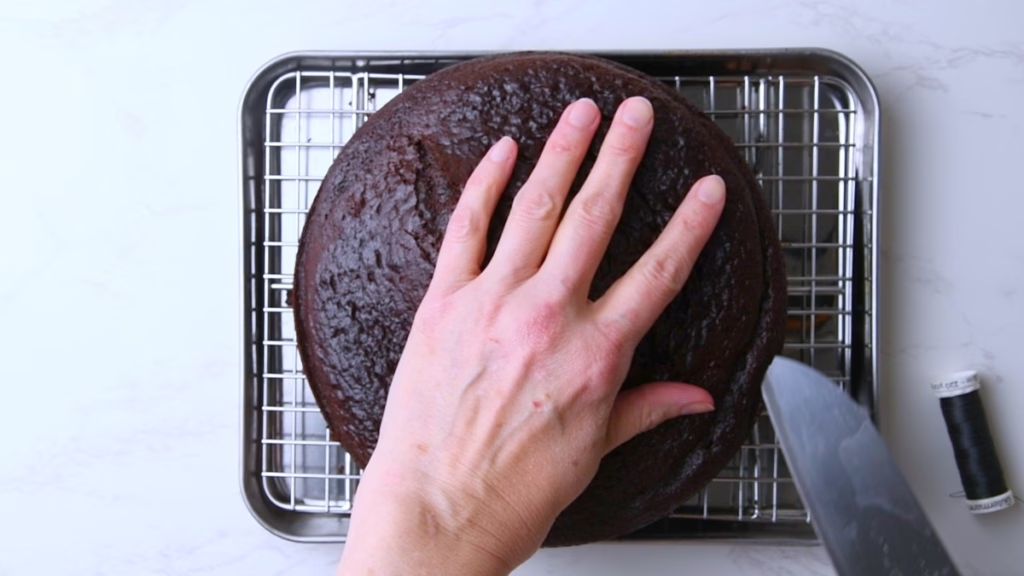
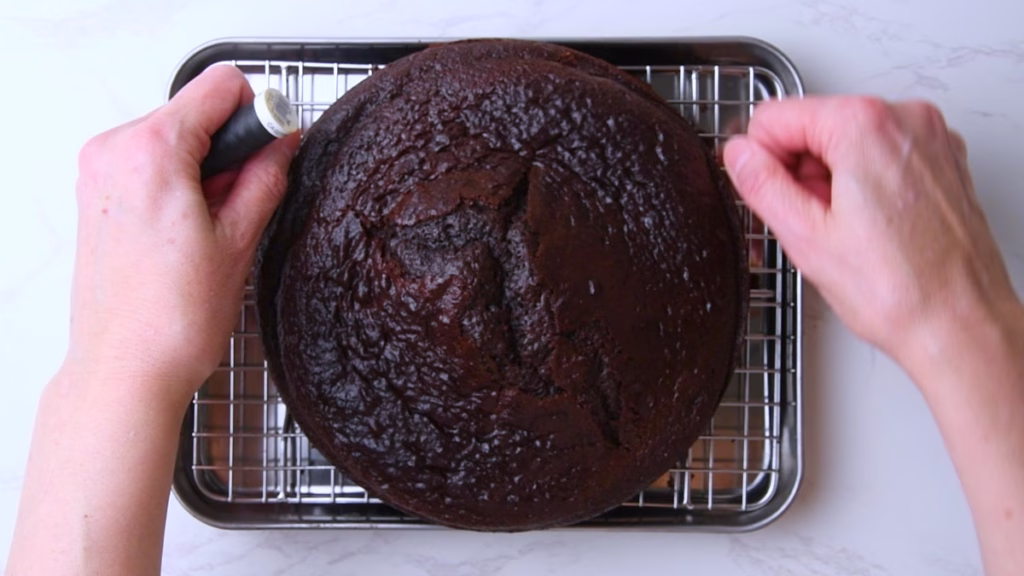
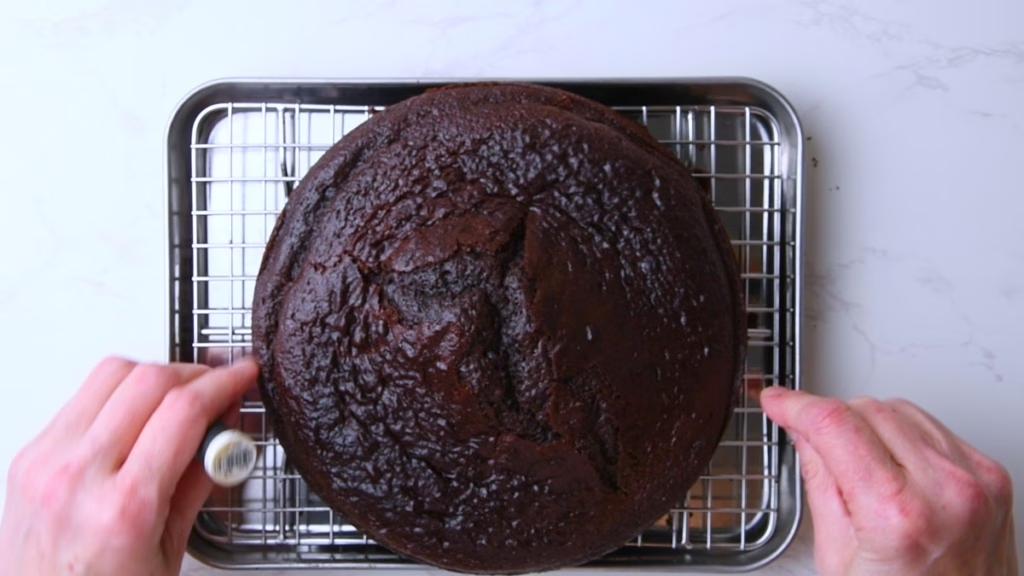
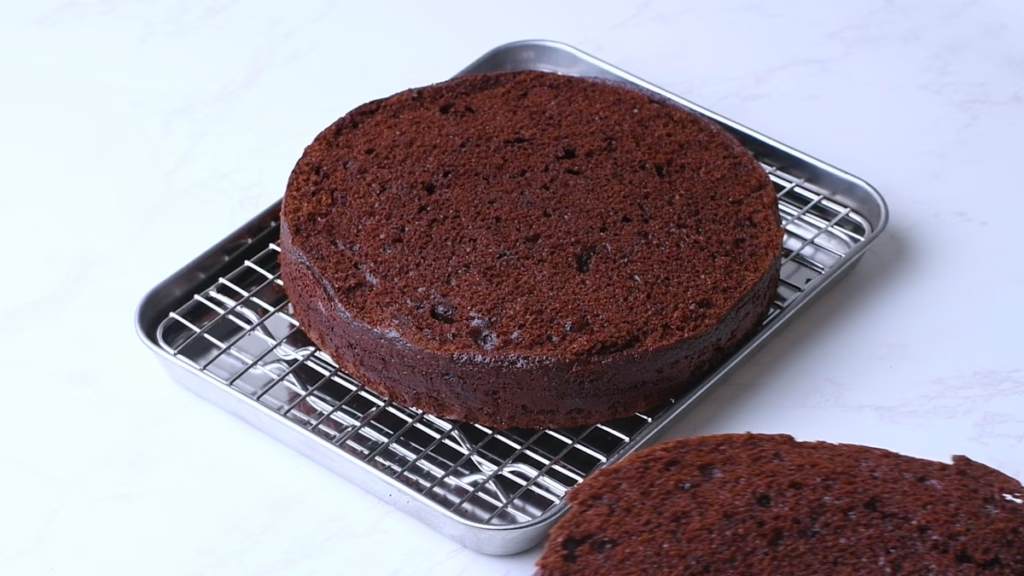
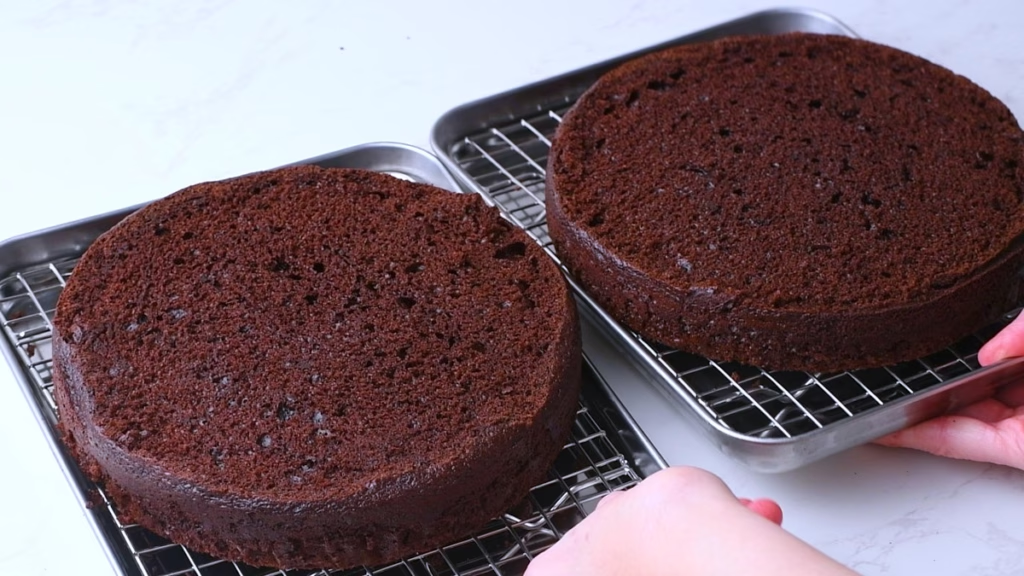
- If you want a perfectly flat top (I don’t mind mine being a bit domed), you could flatten your cake disks by slicing off the top with a sharp knife.
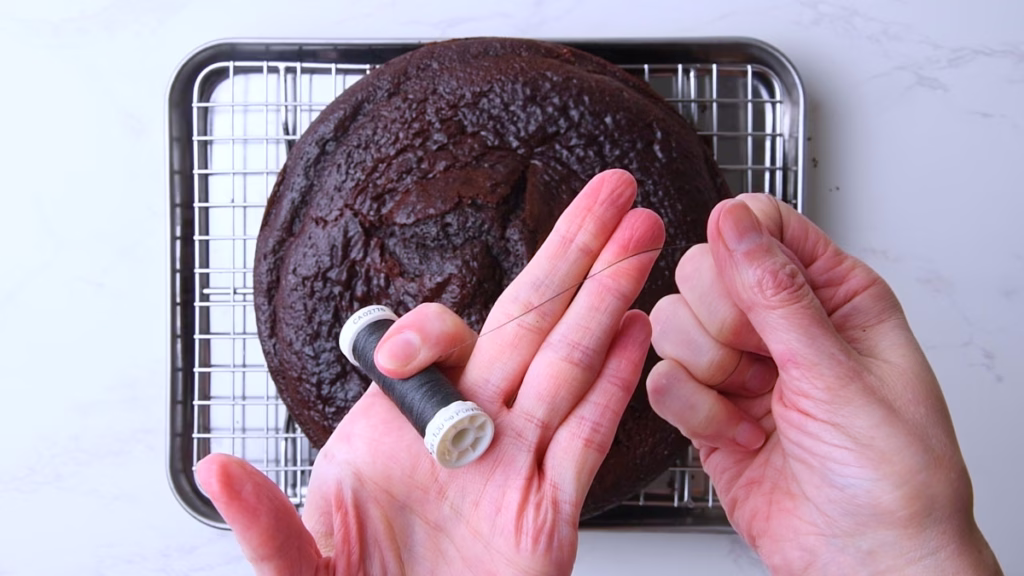
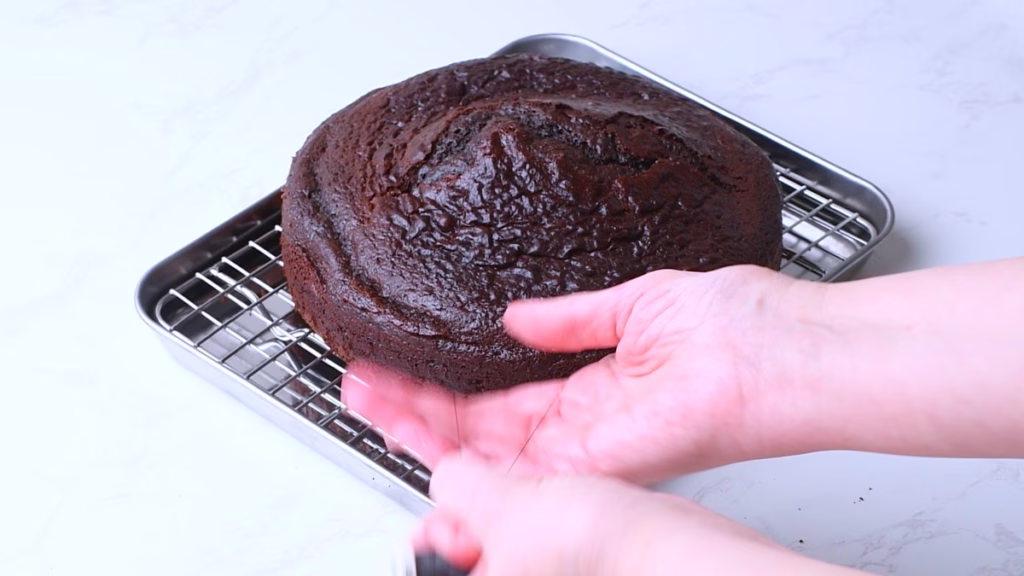
- Or use the method I learned from my Grandfather, by running a sharp knife just around the top corner, then grab some sewing thread, lay it into the groove you just cut, cross over itself at the front of the cake and pull. You can see this best in the video.
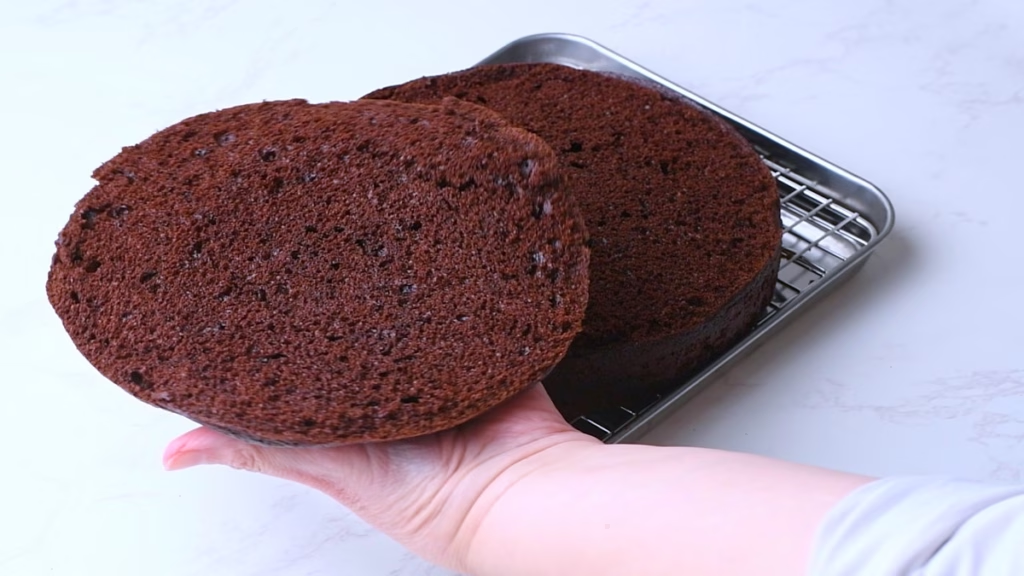
- Lift off the domed tops and use them as bakers snack or crumbled over ice cream. It tastes incredible, so I’m sure it won’t be wasted.
- Pick from the two bases the one that looks best for the top of the cake.
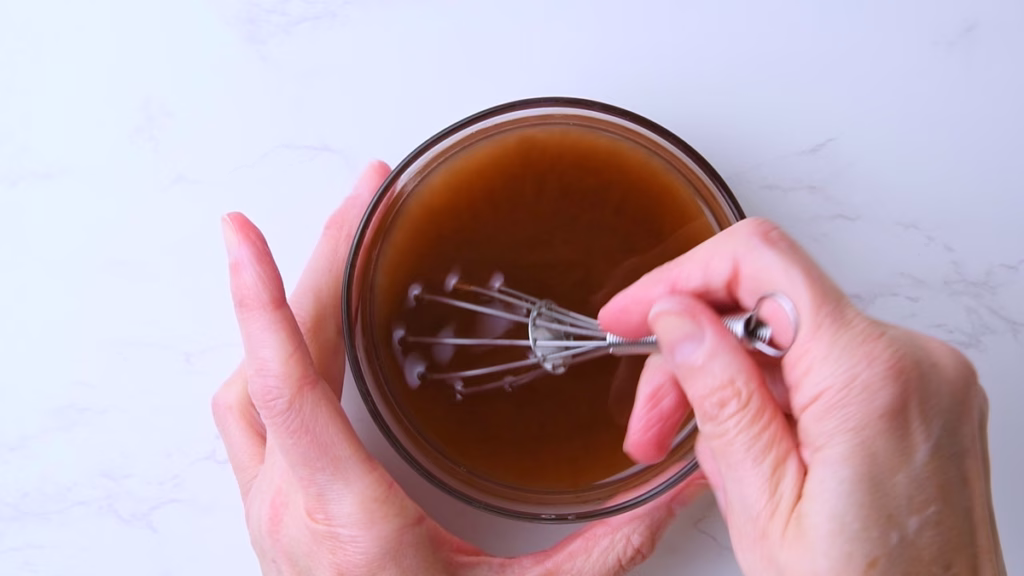
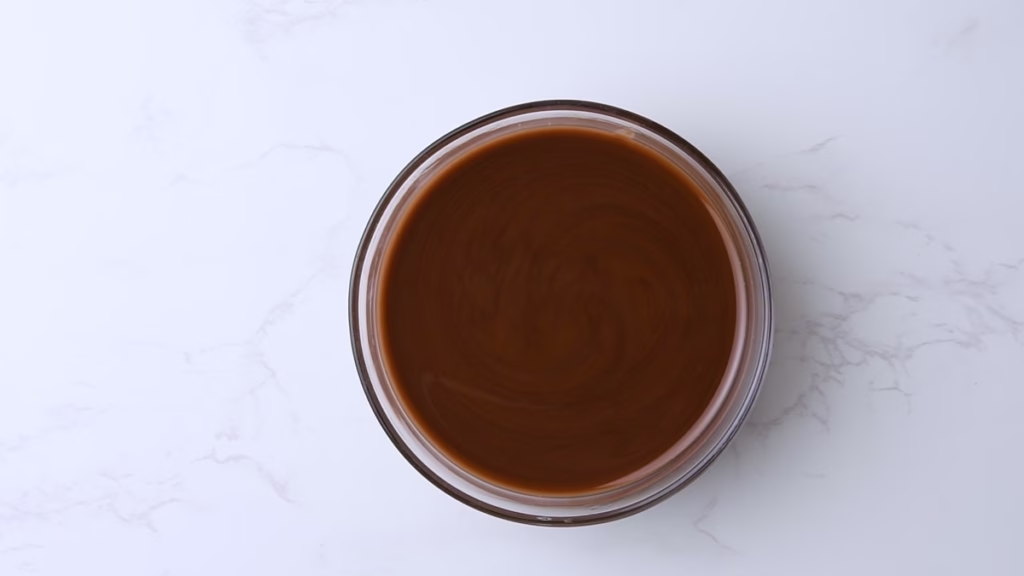
Make The Kirsch Syrup
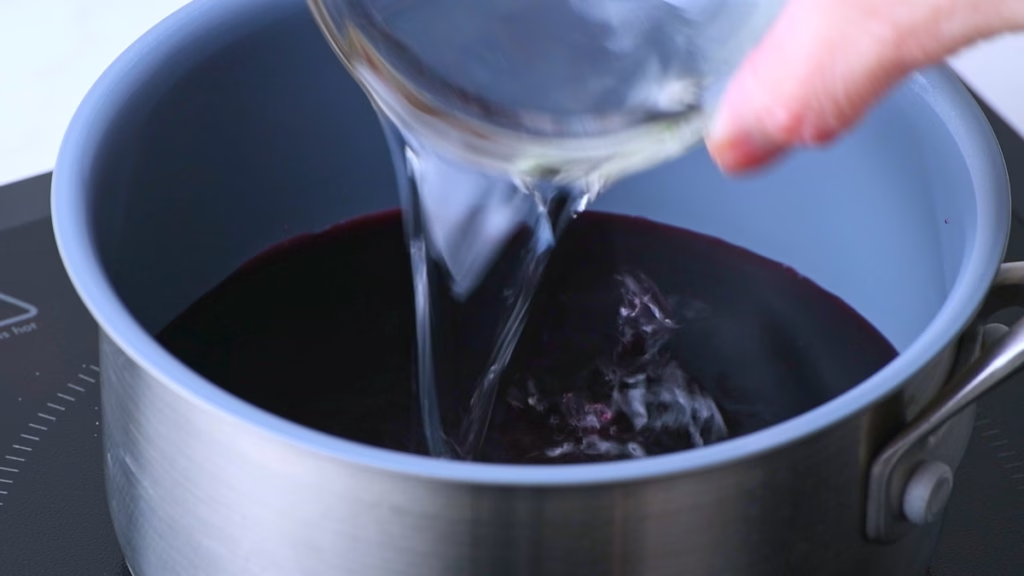
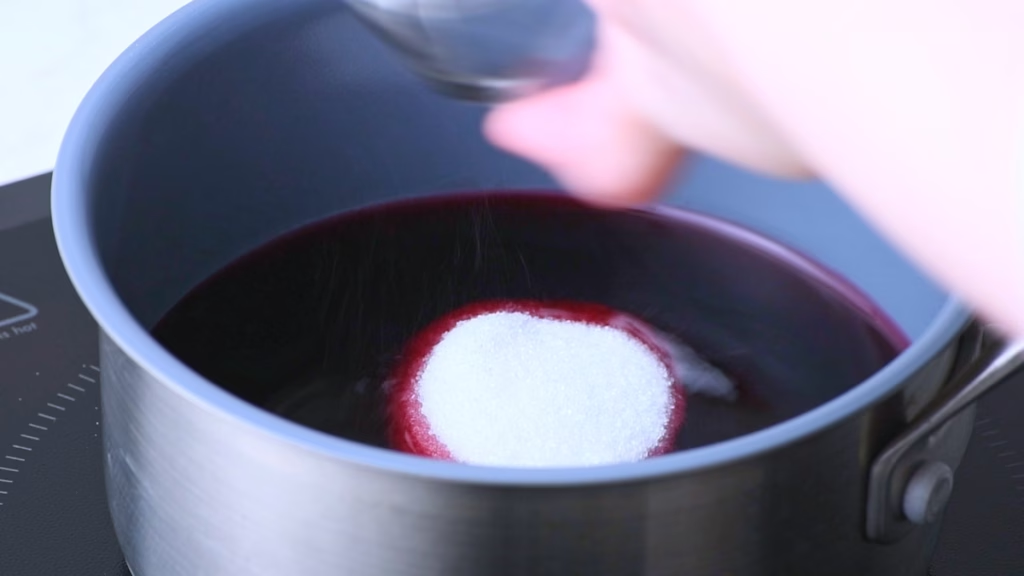
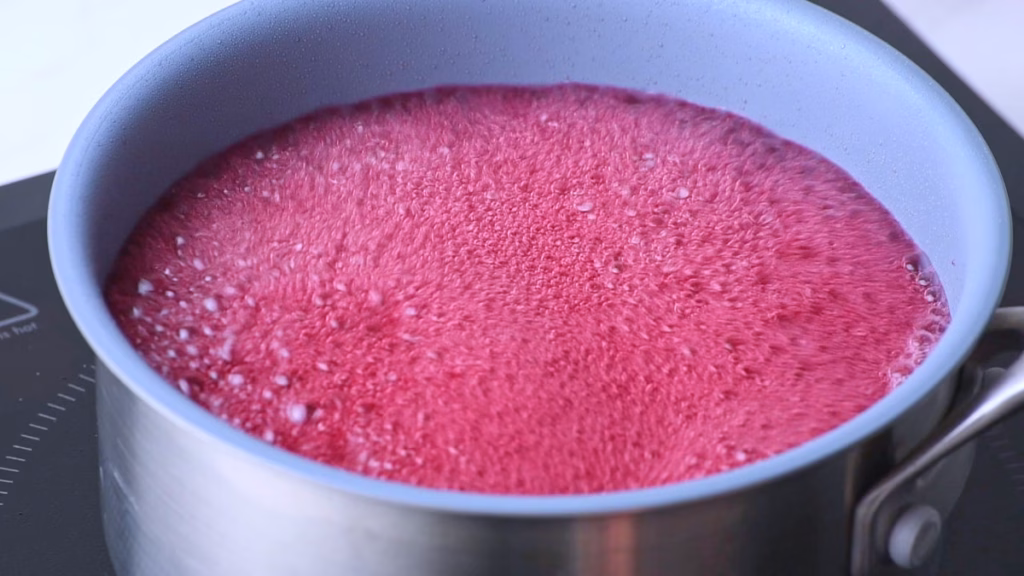
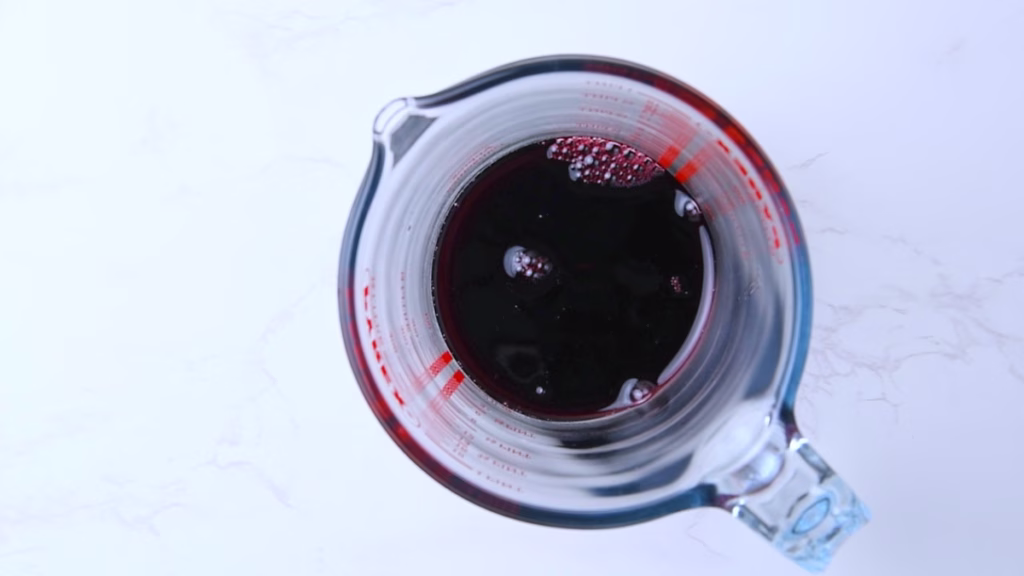
- Add your Kirsch, cherry juice and sugar to the saucepan.
- Let it come to a boil on high heat, then turn down to medium high and allow to simmer until you are left with about ¼ cup of super concentrated cherry flavored syrup.
- Allow to cool.
Prepare The Chocolate Shards for the Decoration
- Add your chocolate chips or chopped dark eating chocolate to a microwave safe bowl and melt in short bursts until liquid.
- Get a large sheet of baking parchment and fold in in thirds horizontally, to give you marking lines for spreading the chocolate. Unfold.
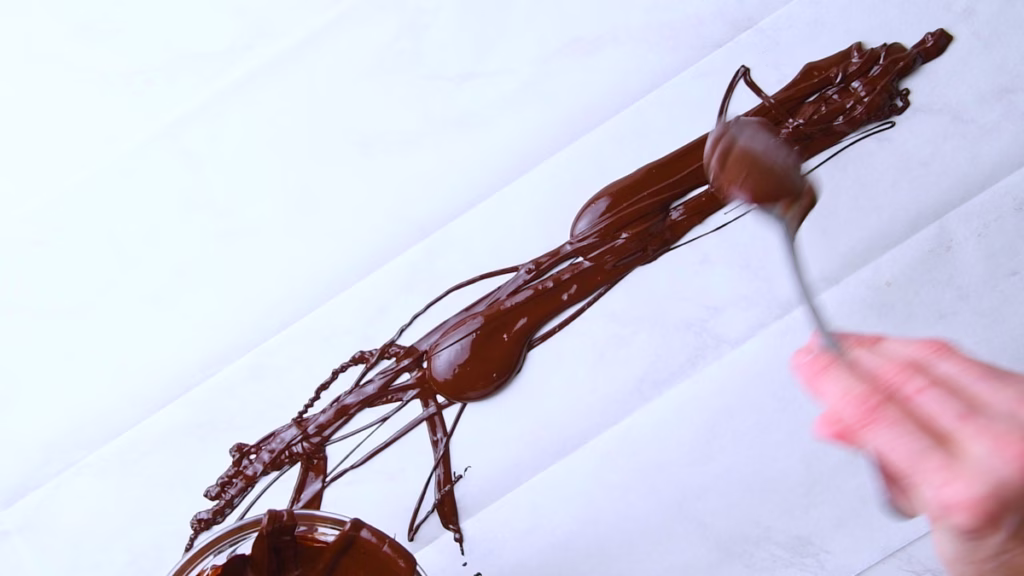
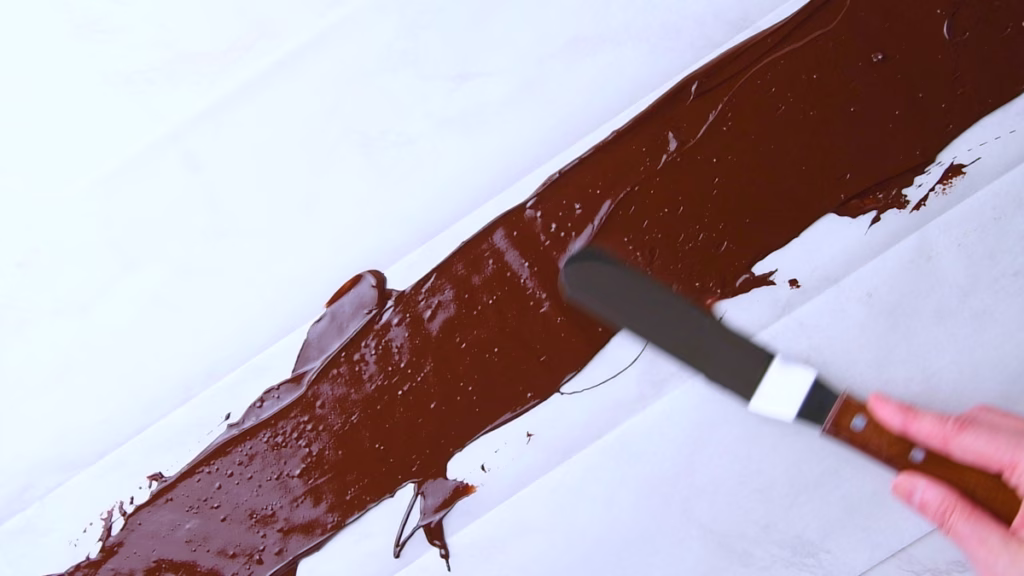
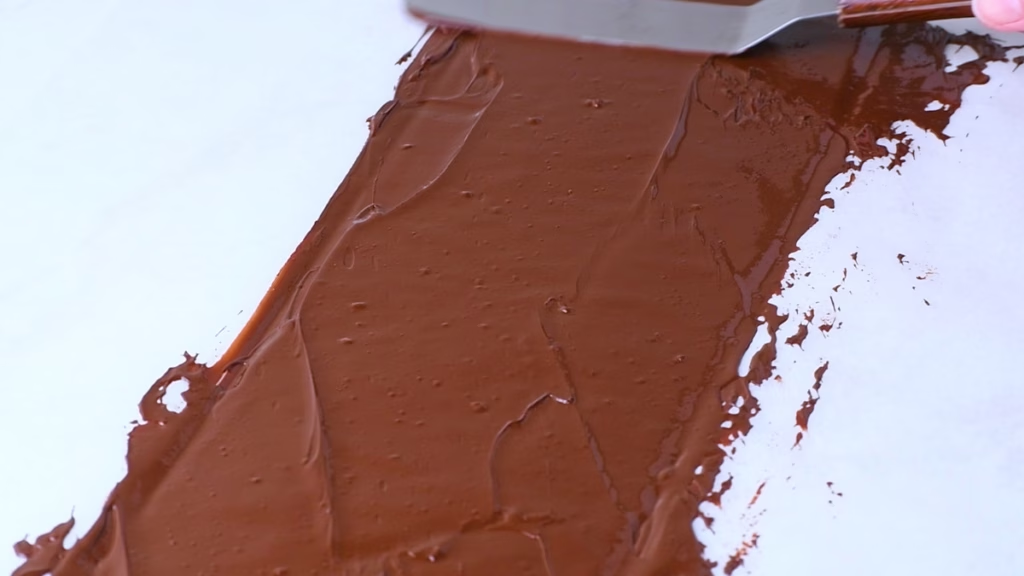
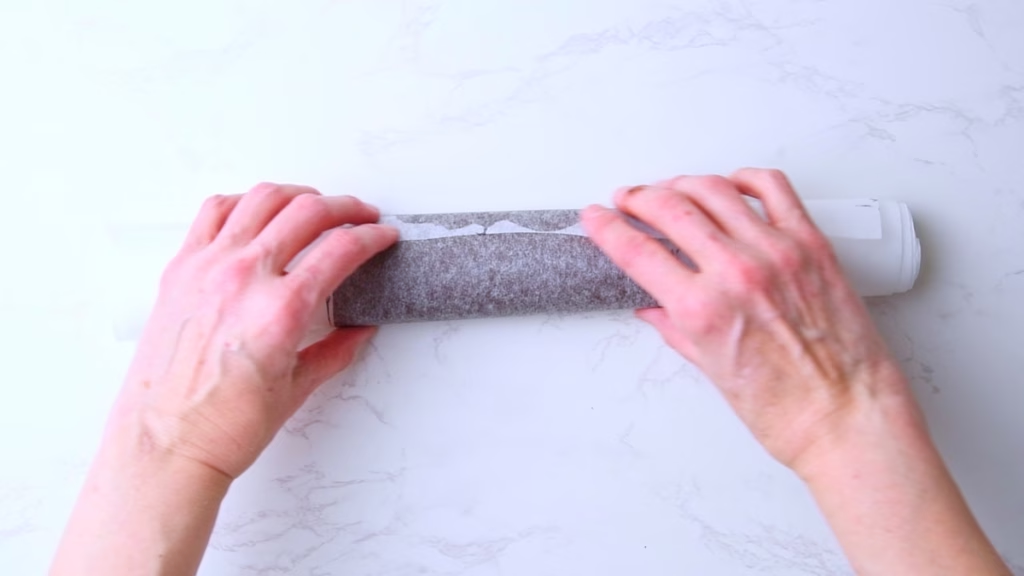
- Drizzle your melted chocolate over the center third, then spread it out relatively thinly with an offset spatula or large knife. You want it just about 2mm thick. Enough that it can be crackly later, but not too thick.
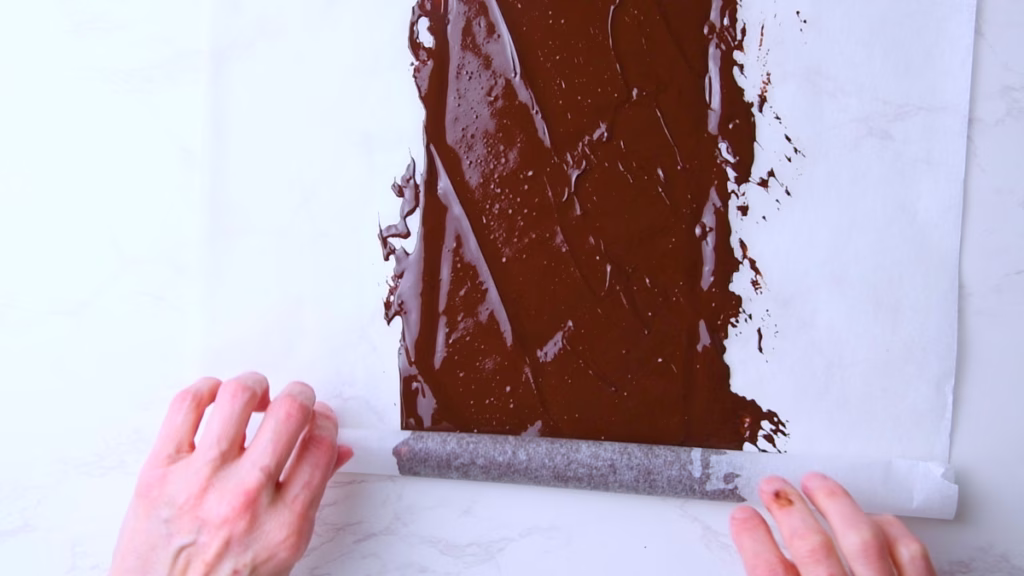
- Starting from one side, roll up your baking parchment into one neat roll and store in the freezer until firmed up and you are ready to use (About 30 minutes will do. Longer is fine. You can do this the day before if you want to get ahead).
- While you are at it, put your cream, cream whisking bowl and whisks in the fridge or freezer too, to get them nice and cold. For the cream: Be careful not to accidentally freeze it, as it can split. You can want it very cold.
Assembling Your Sourdough Protein Black Forest Cake
Soaking The Chocolate Cake with Cherry Syrup
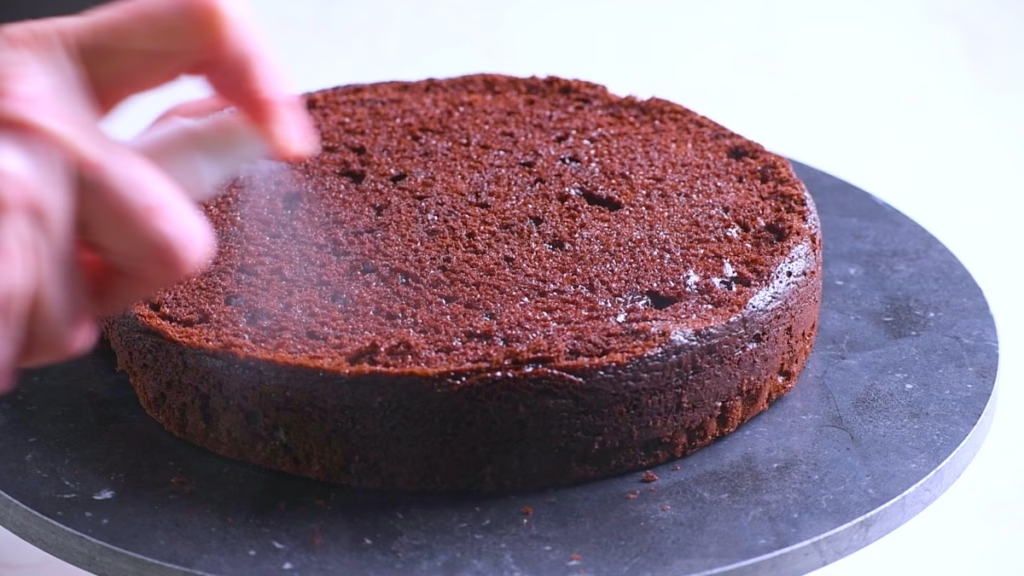
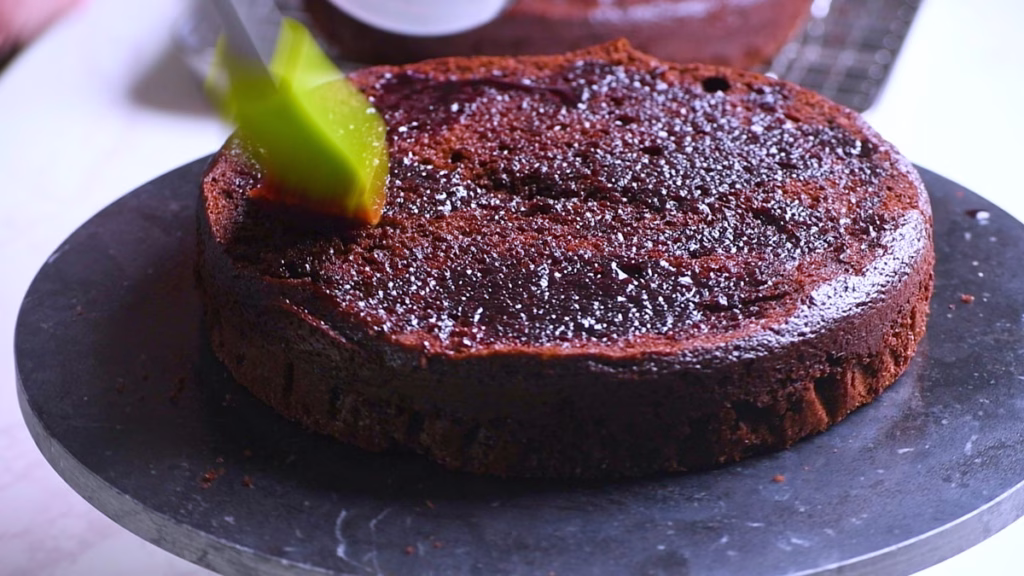
- Move the chosen bottom layer of your Black Forest sourdough cake onto a cake plater or rotating cake stand.
- If you want a bit more of a grown up version of this cake, you could do what I did here and just spray each base with a bit of pure Kirsch, for that extra bit of boozy flavor.
- Using about 2 tablespoons per layer, drizzle the concentrated cherry syrup over the top of each cake layer. It will look like a lot, but trust me, you want all that intense flavor in your cake. That’s what makes it into a real black forest cake!
Whip Your Protein Cream
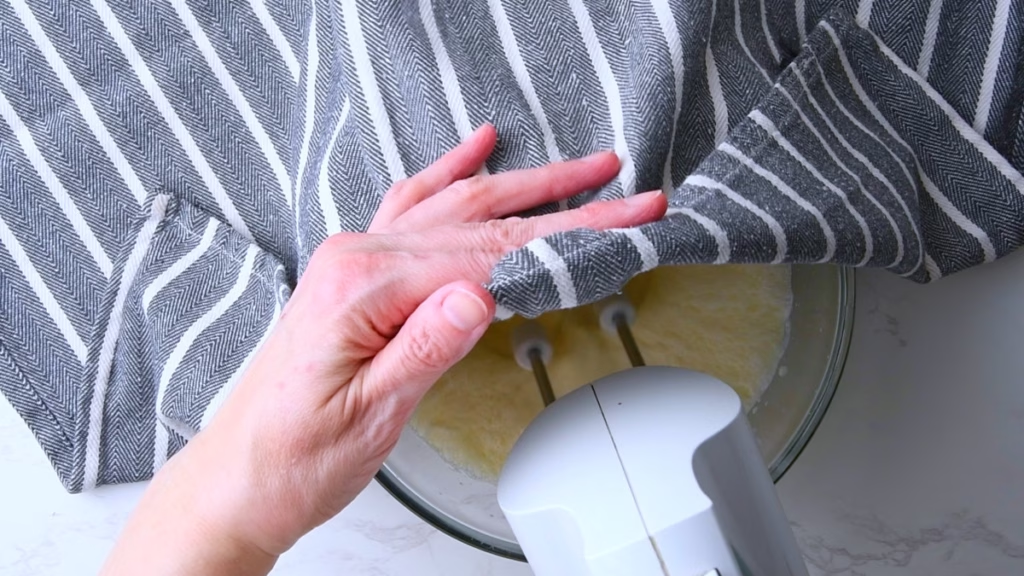
- Grab your cream, whipping bowl and whisks from the fridge or freezer.
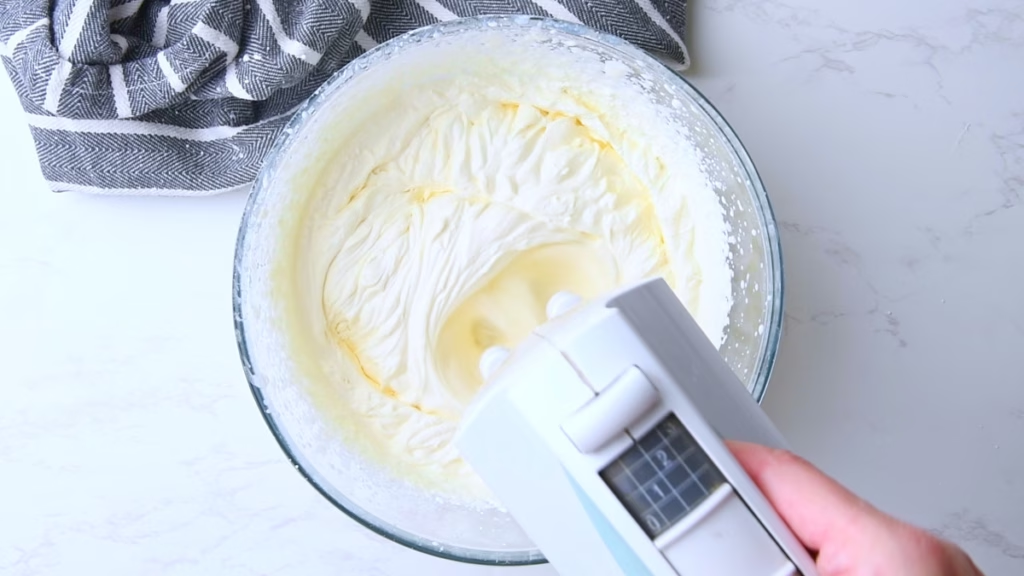
- Pour the cream into the bowl and start whisking. Whisk until you are getting a bit of volume, but still a soft, runny texture.
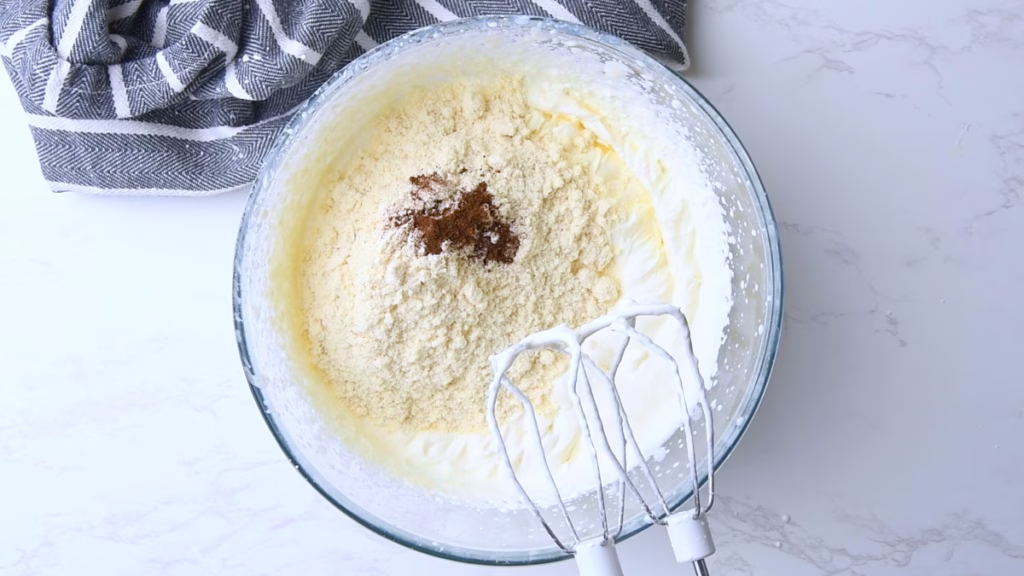
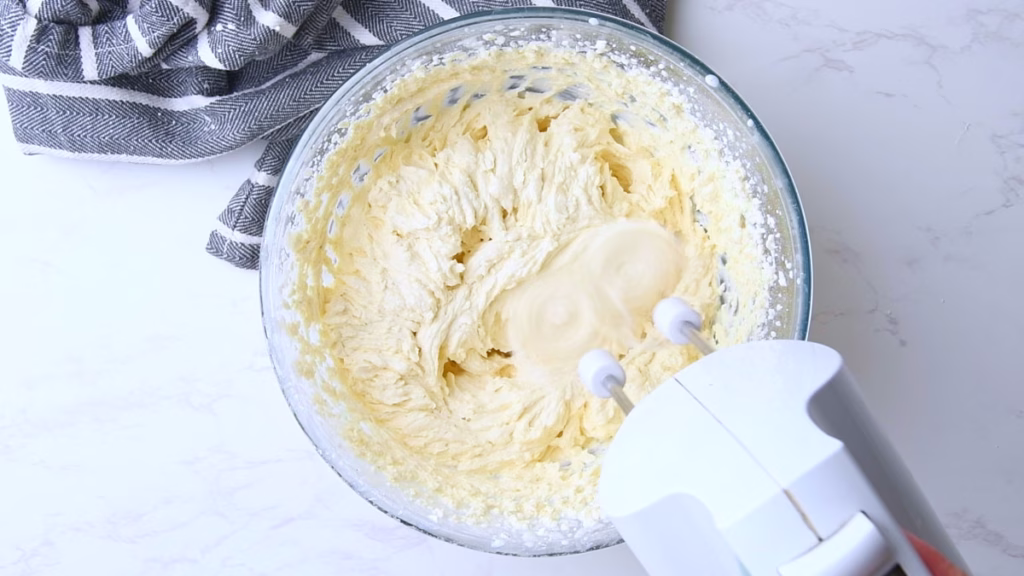
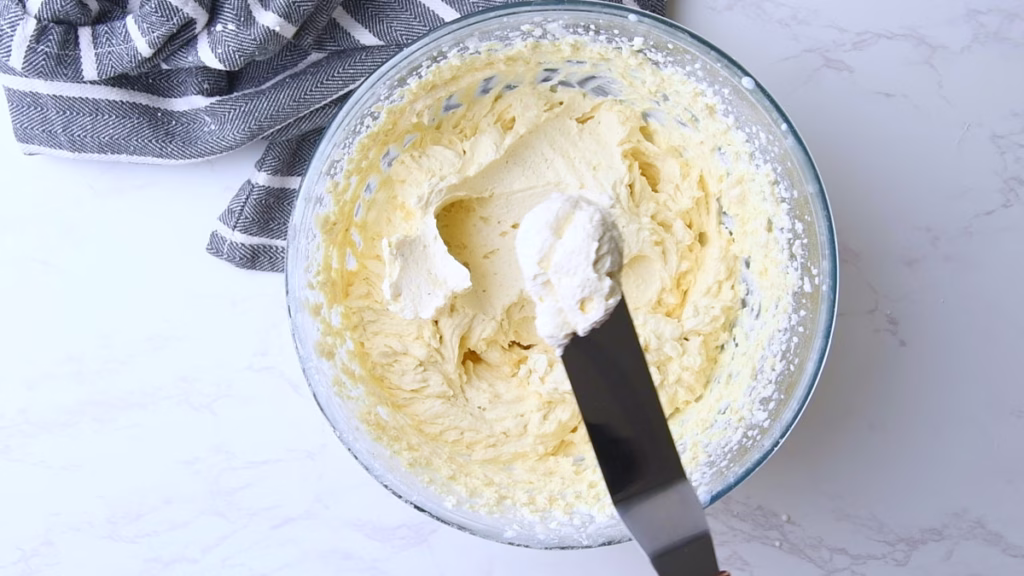
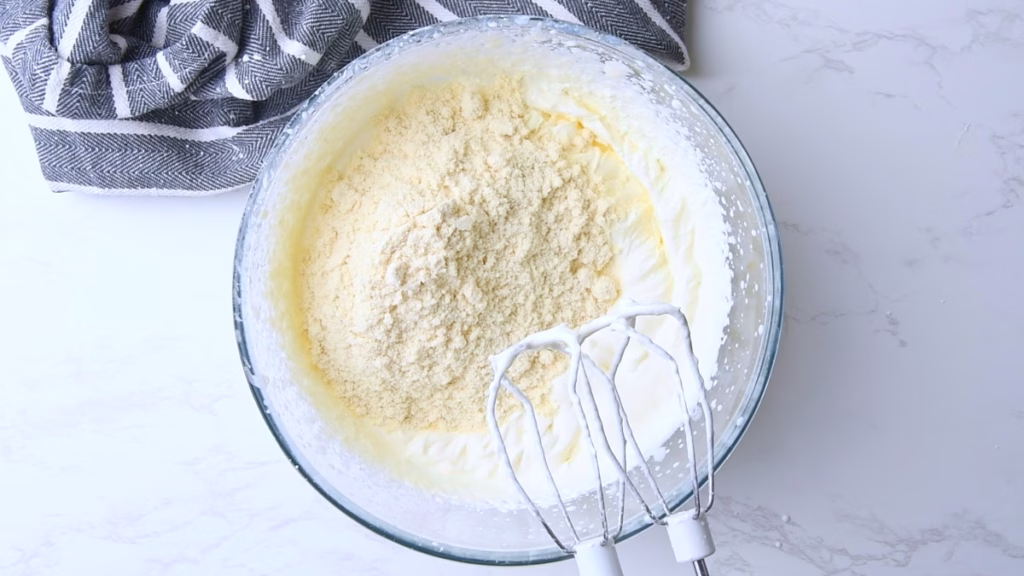
- Add the protein powder (and if you like some extra vanilla extract) and continue whisking on lower speed until you have soft peaks. If using dairy cream, be extra careful not to over-whip once the protein is added, as it thickens quite fast and will turn to butter quickly too.
Layering Your Black Forest Cake with Sourdough Discard
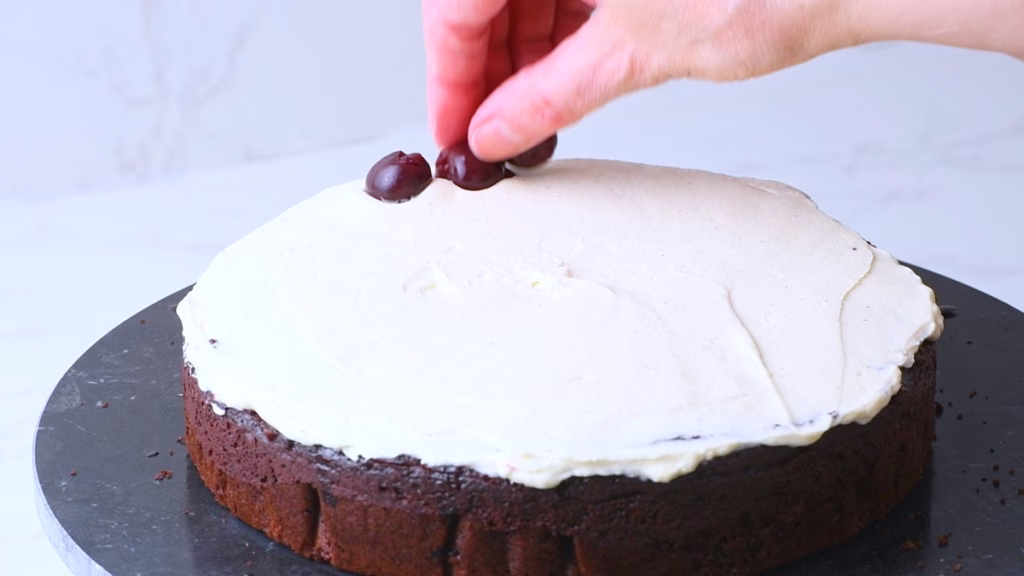
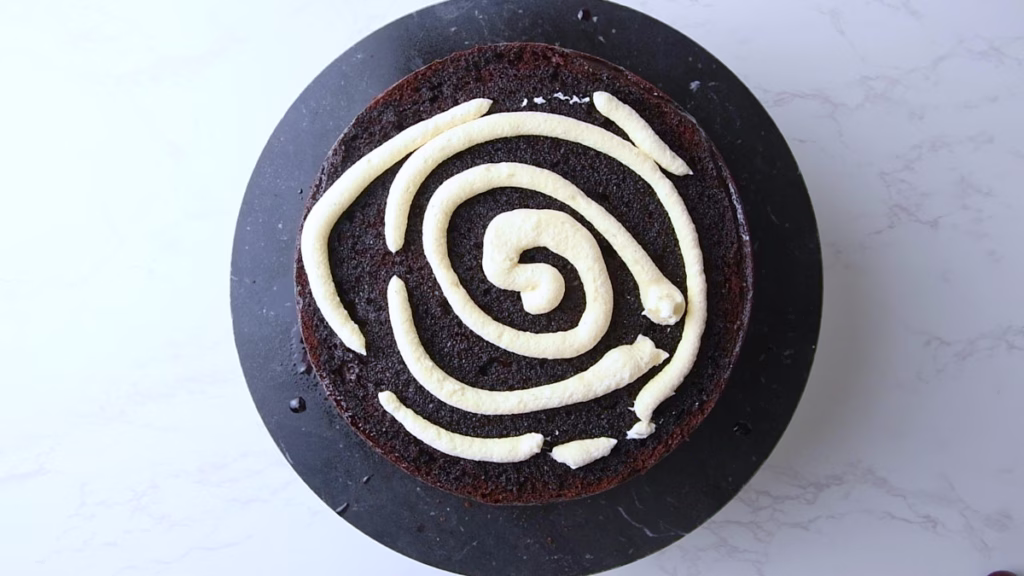
- Starting on the bottom layer of your cake, spread about 1/3 of your protein cream over it.
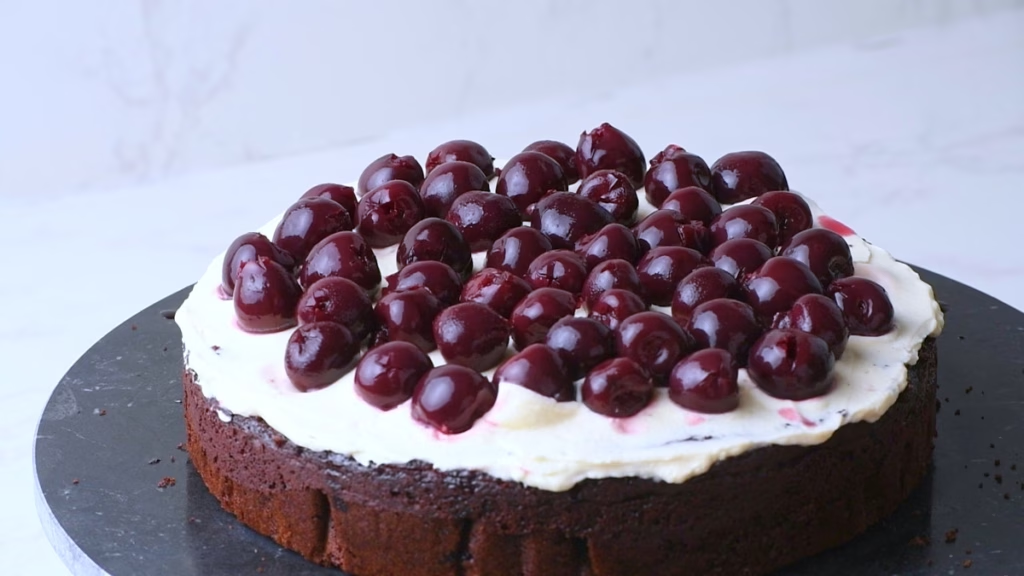
- Dot all the drained cherries from the can over the cream, pushing them in slightly.
- These will hold up the top layer of your cake, stop it from pushing out the cream filling and anchor it in place. So they are not just delicious, but also very functional.
- Add a bit more cream on top of those cherries, so you have an even(ish) base.
- Gently lower your top layer onto the cherries and cream and wiggle it in place. This is where you can line up your cake perfectly (or imperfectly if you wish).
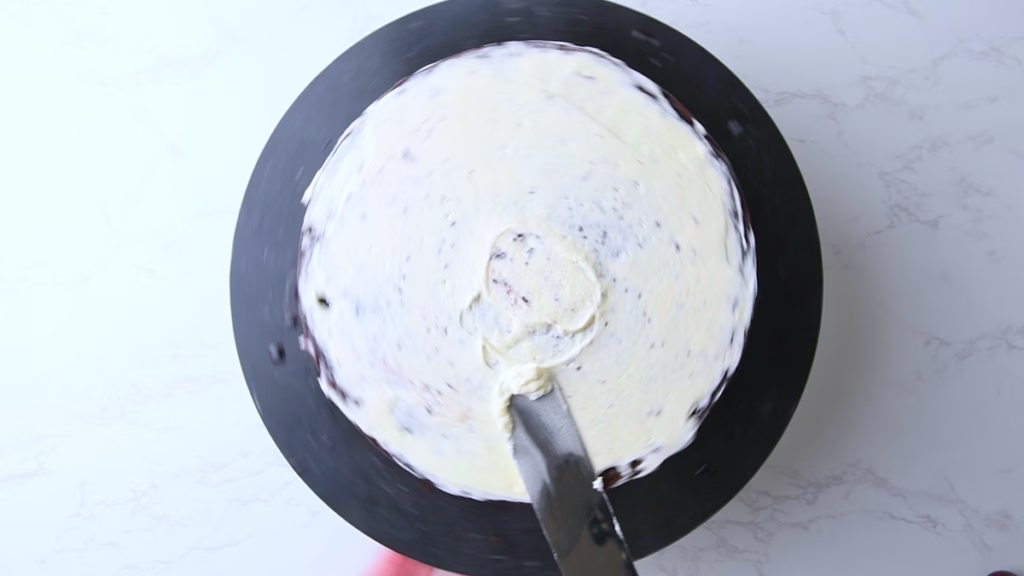
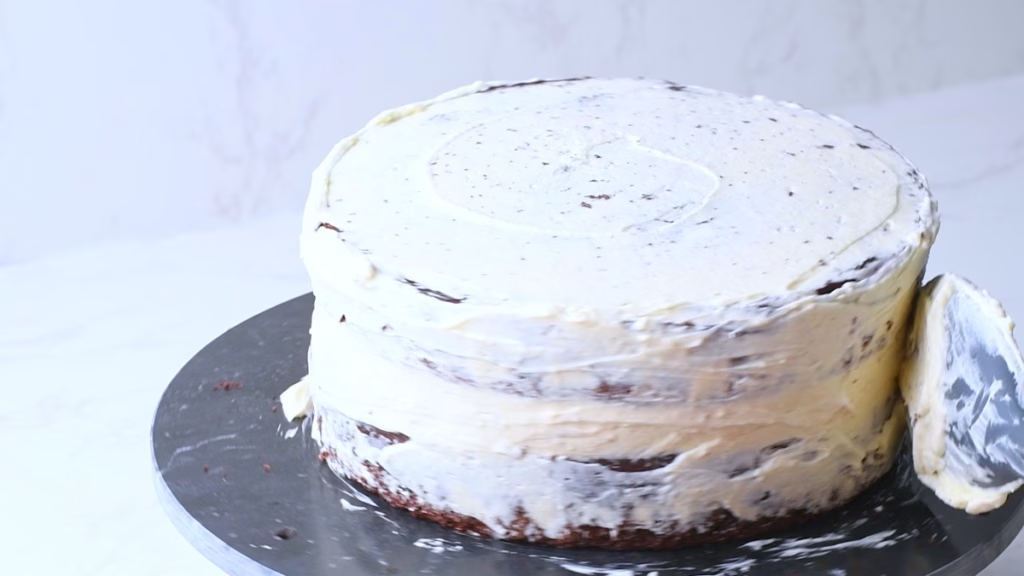
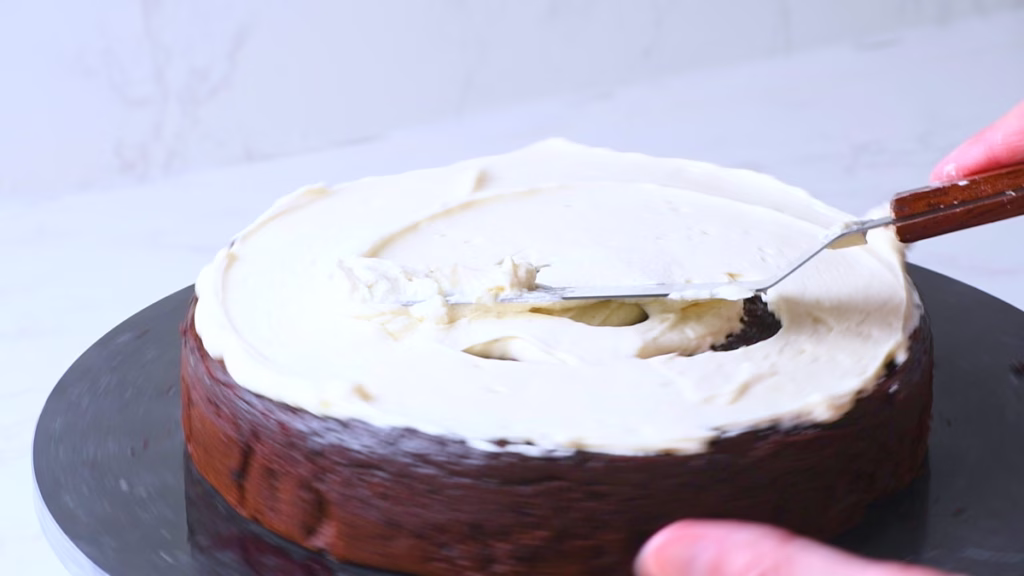
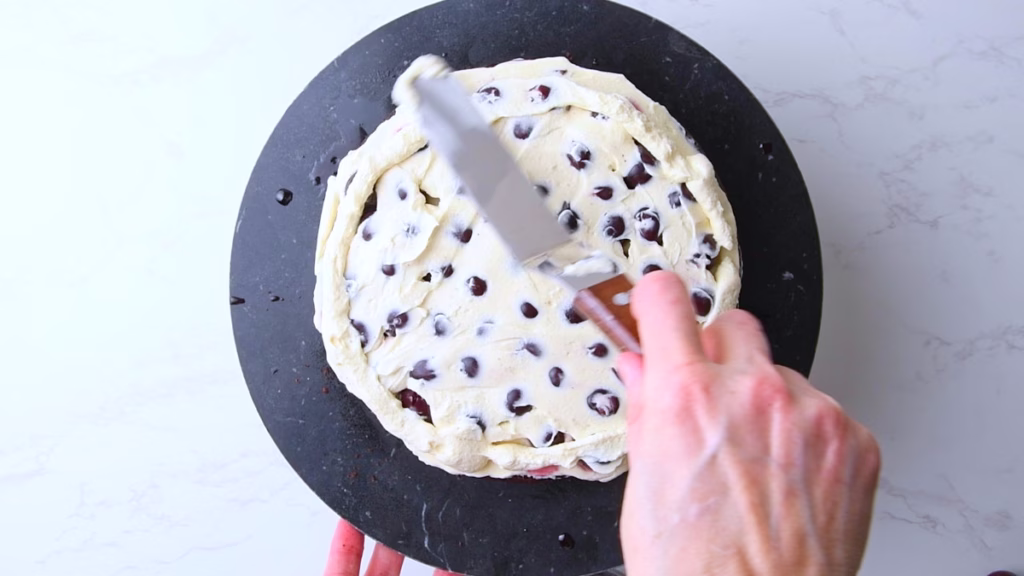
- Using your offset spatula, spread another third of the cream in a thin layer over and around the cake.
- This is your crumb coating, which will catch any stray cake crumbs and keep the last layer of cream neat and white.
- For the sides, a bench scraper or rubber spatula works best I found. It doesn’t have to be perfect, as it’ll be covered by chocolate.
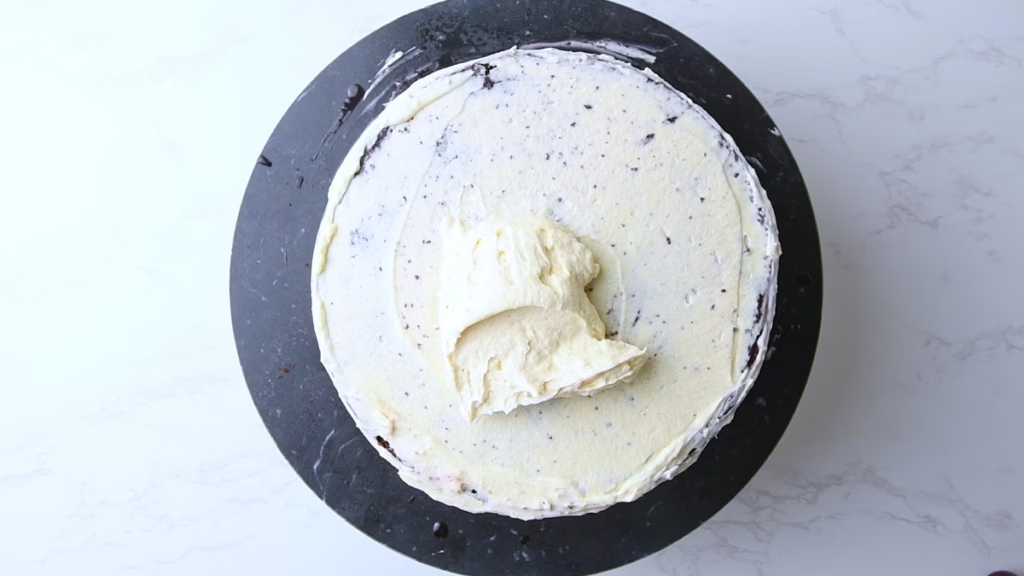
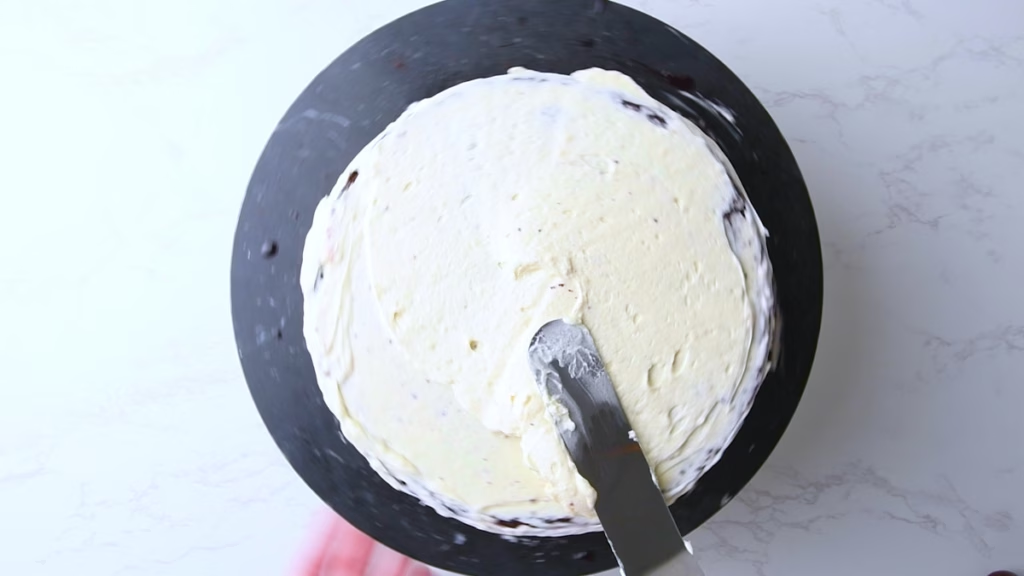
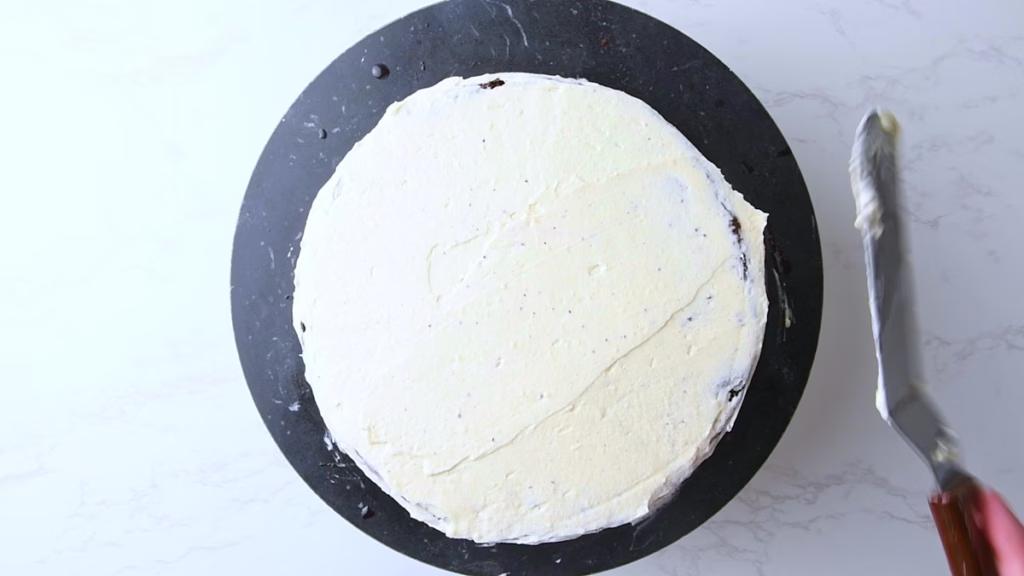
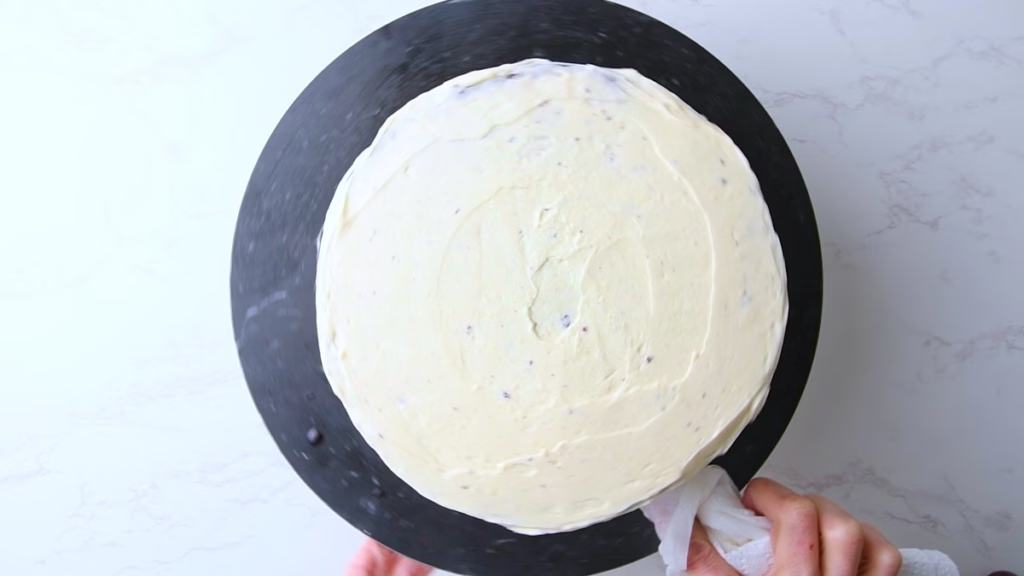
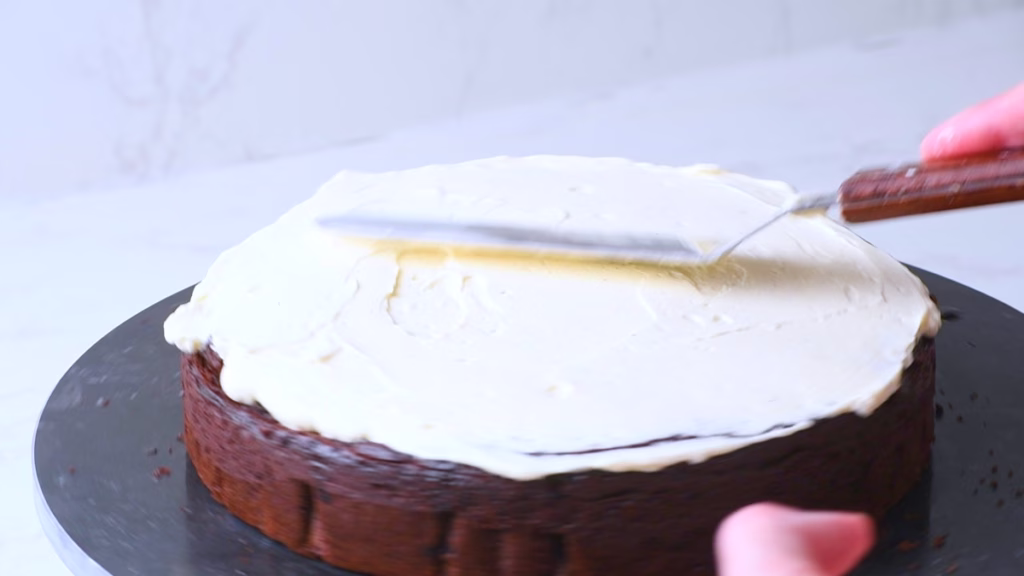
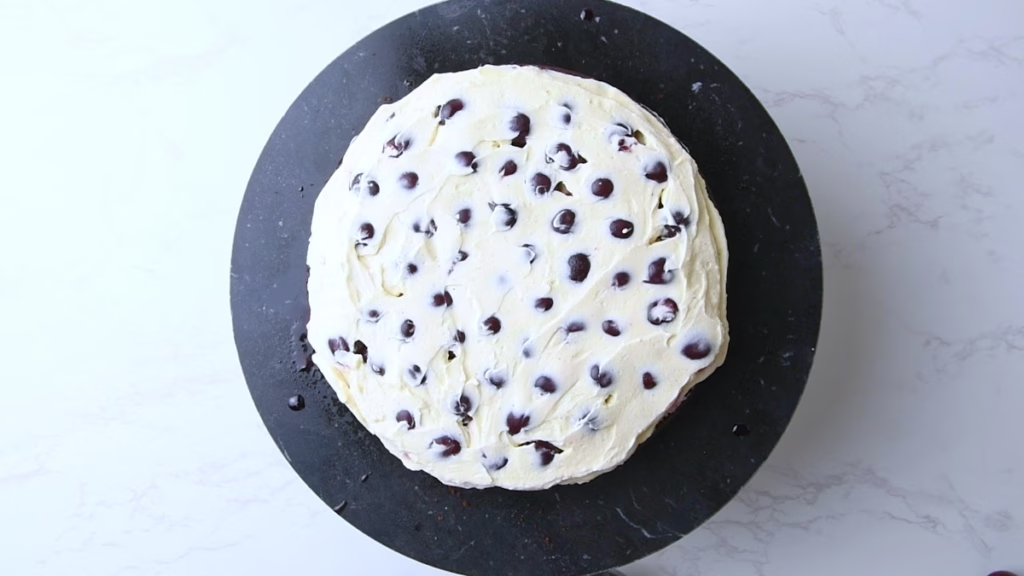
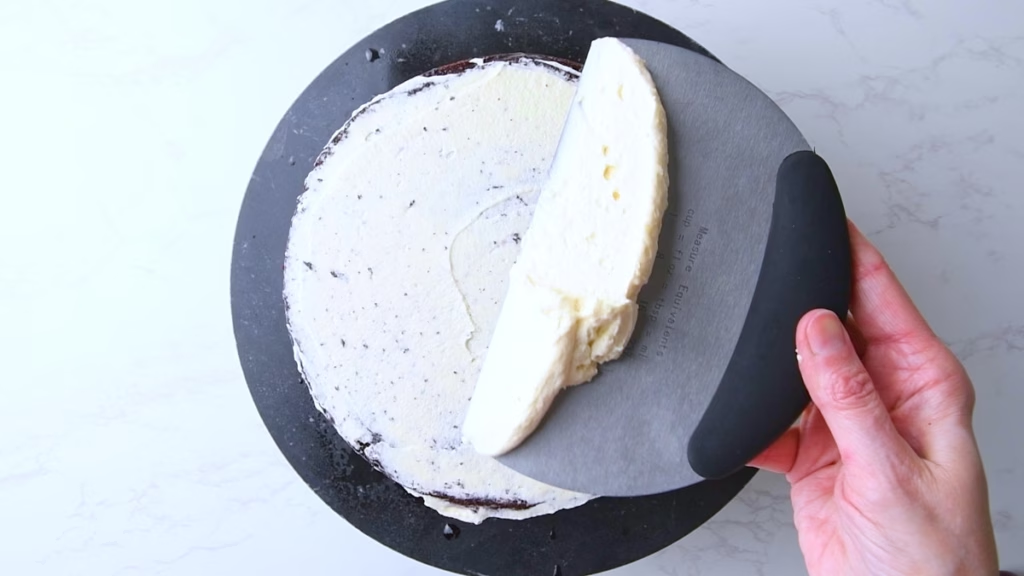
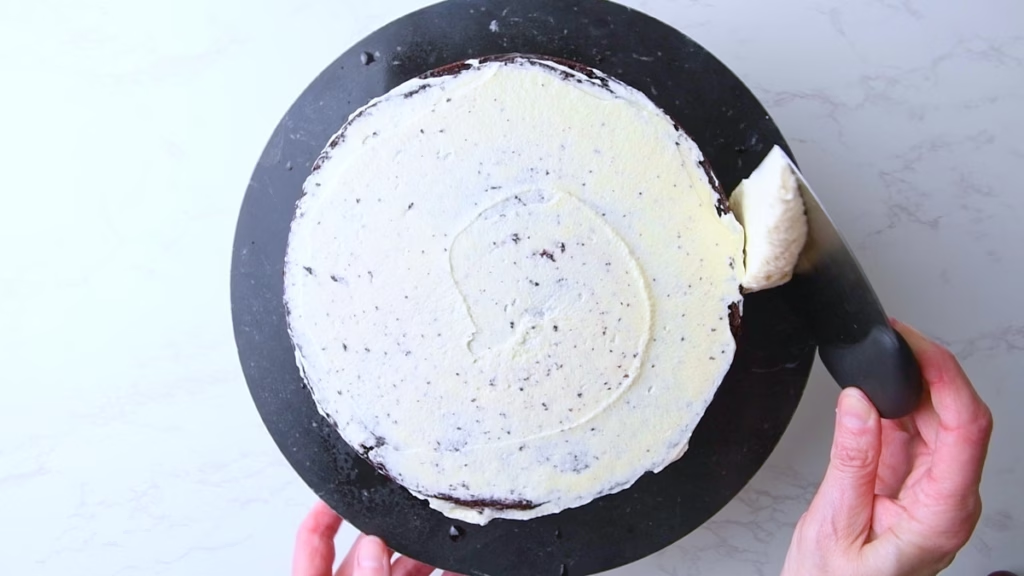
- Finish topping the cake with the last third of vanilla cream, spreading it around just like the last, trying to get it relatively even.
- This works best if you start spreading from the center of the cake towards the sides, turning the cake while doing so. It takes a bit of practice to get it perfect, but we are not after perfection here.
- Use a damp paper towel to clean up any cream messes around the cake platter.
Decorate Your Black Forest Cake
Now comes the fun part where you can get wildly creative!
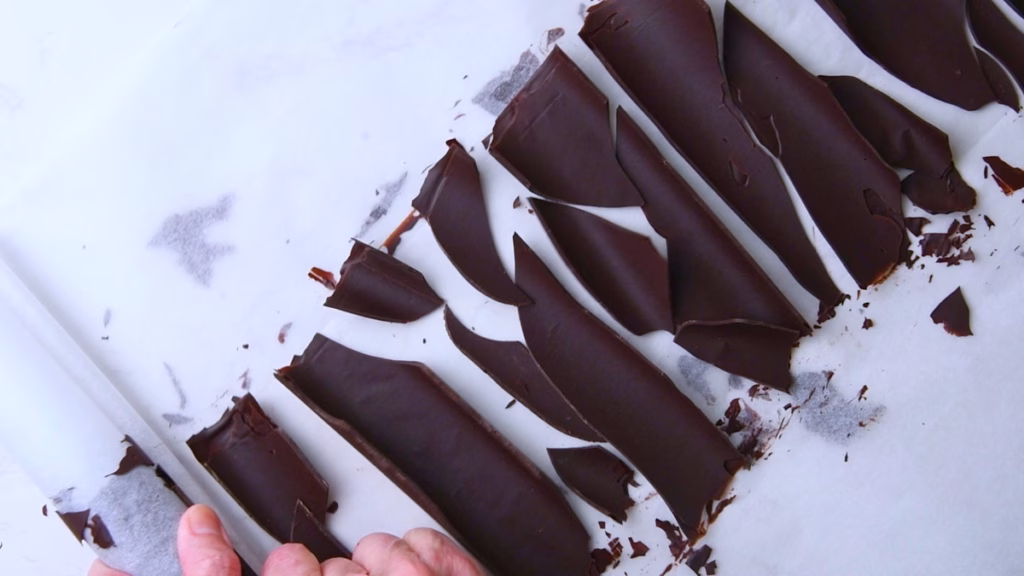
- Get your roll of dark chocolate out of the freezer.
- Gently unroll it, breaking the chocolate into large shards. This sounds far more complicated than it is. You really can’t do much wrong here.
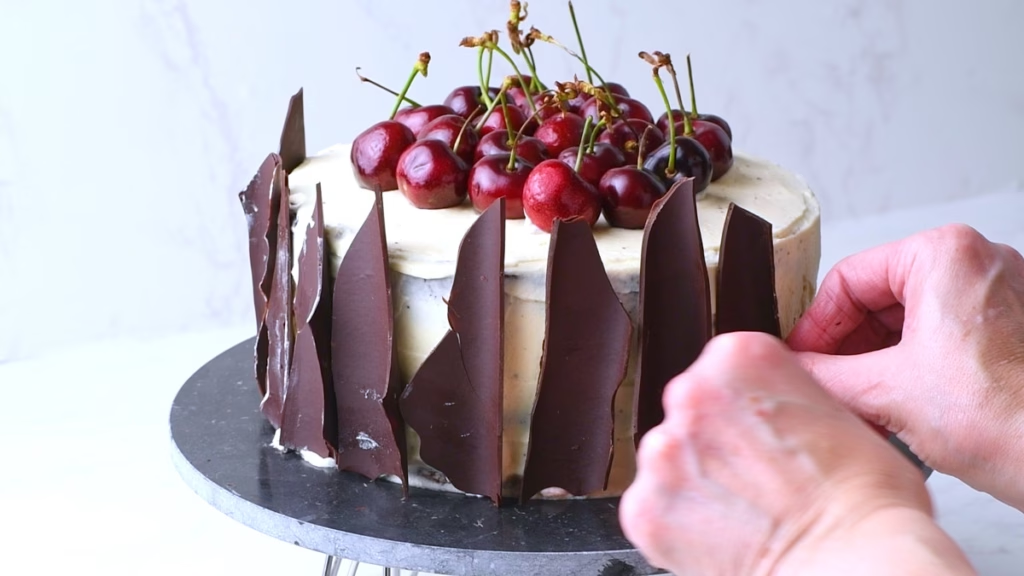
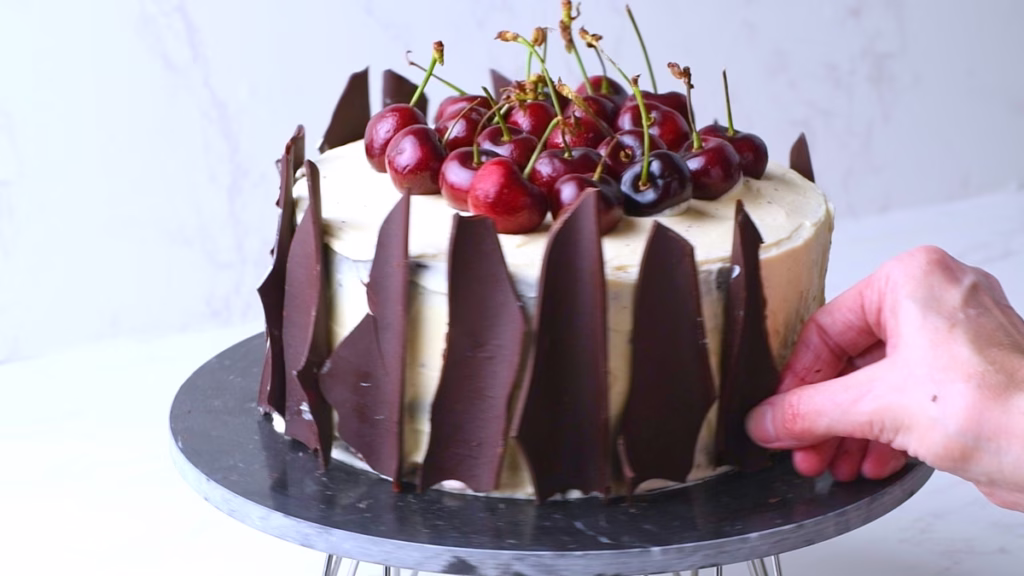
- Break the shards into pieces that fit your cake height and stick them onto the cream with the rounded side towards the cake. This sounds counterintuitive at first, until you see how well it sticks and looks, as the rounding has more surface area to stick to the cream.
- Tumble your cherries on top.
- I used the remaining bits of chocolate to sprinkle over the top.
Step back and admire your Black Forest Protein Cake masterpiece.
Yep, you made that!
Are you sure you want to wait for your guests to try it? I sure didn’t!
Make Ahead
The cherry syrup, cake layers and chocolate decoration can all be made the day before. Wrap the cake layers lightly in cling film, so they don’t dry out.
So on the day when you want to serve this, all you need to do is whip the cream and assemble.
Watch The Video
How To Store
- This protein cake is best eaten on the same day but can be stored in a cake transport box in the fridge for up to 3 days.
- The cake’s high moisture content, thanks to the sourdough and hot coffee, also means it stays incredibly moist and tender for the full 3 days.
- I would not advise to freeze it, as the cream topping can split and taste slightly off.

Now I’d love to hear from you in the comments!
Have you tried this? Did you enjoy it?
What other recipes would you like to see?
And if you enjoyed this recipe, please consider rating, sharing, or leaving a comment – your feedback truly helps my blog grow!
FAQ
Not at all. The acidity in the sourdough actually reacts with the baking soda to create a fluffy rise and a deep, complex chocolate flavor. It tastes “expensive” and multidimensional, rather than tangy. My sourdough-hating partner still hasn’t caught on!
For the cake, Whey Concentrate is my top choice because it keeps the crumb soft. If you use Whey Isolate, the cake might turn out a bit drier. For the cream, stick to a powder you actually like the taste of, as the flavor really comes through there.
You can! Just check the “Substitutions” section above. You’ll essentially be replacing the discard with a bit more flour and water. It’ll still be a great protein cake, though you’ll miss out on that specific sourdough depth.
Yes, and I actually recommend it! You can bake the chocolate layers a day early, wrap them tightly in plastic wrap once cooled, and keep them at room temperature. This makes the assembly much less stressful.
To be a “true” Black Forest Cake (by German standards), it needs that cherry brandy. However, if you’re skipping alcohol, you can boil down tart cherry juice into a syrup instead. It won’t have that “kick,” but it will still be delicious.
Protein powder can sometimes clump when it first hits the cream. The trick is to add it when the cream is at “soft peak” stage (still a bit runny) and keep whisking at a low speed. It will smooth out as the cream thickens.
Absolutely. Just make sure to thaw them first and save every drop of the juice that comes off them. You’ll use that juice to make your syrup.
Because of the sourdough and the hot coffee method, this cake stays moist longer than a traditional sponge. It’s best on day one but holds up beautifully in the fridge for up to 3 days.
Black Forest Protein Cake With Sourdough Discard
- Total Time: 3 hours 30 minutes
- Yield: 12 slices 1x
Description
Most people think of Black Forest Cake as a dry, sugary sponge that relies entirely on syrup to be edible. I grew up with the classic Schwarzwälder Kirschtorte, but I always felt it could be more—more chocolatey, moister, and actually a bit better for you. This version uses sourdough discard for depth and chocolate whey protein for a massive nutritional boost, resulting in a cake that tastes like a professional patisserie find but actually supports your goals.
Ingredients
Protein Chocolate Cake Layers
- 115g coconut oil, melted
- 60g 70% Dark Chocolate
- 120g all-purpose flour
- 325g granulated sugar
- 60g cocoa powder
- 60g Whey concentrate protein powder, ideally chocolate flavor
- 1 1/2 tsp baking soda (8g)
- 1 tsp baking powder (6g)
- 1 tsp fine salt (8g)
- 160g fat free Greek yoghurt
- 225g sourdough discard
- 2 large eggs, room temperature
- 1 tsp vanilla extract
- 190ml coffee, freshly brewed
Cherry Filling
- 1 can cherries in light syrup
- 2 tbsp sugar
- 4 tbsp Kirsch (optional but recommended)+ 1 tbsp for spraying if you want a grown up version.
Protein Cream Topping
- 2 cups cold whipping cream (or plant based alternative. I love Oatly Whipping cream!) (adjust based on need)
- 1/2 cup whey protein, vanilla flavor (concentrate works best)
- 1 tsp vanilla paste (or extract)
Chocolate Shards for sides (optional)
- 7oz (200g) dark chocolate
Decoration
- Fresh Cherries or maraschino cherries (optional)
For the Cake Pans
- Baking parchment
- A little coconut oil or butter
- 2 tbsp cocoa powder or flour
Instructions
Making The Chocolate Cake Layers
Preparations
- Pre-heat your oven to 350°F/175°C
- Line the cake pans with baking parchment (watch the video to see how to do this neatly.)
- For this cake I wanted the sides of the sponge to “climb” a bit up the sides of the pan. So I greased it first with a bit of coconut oil. This also helps with the parchment staying put.
- Then I sifted about 1 tbsp cocoa powder into the first pan and tilted it around over the second pan until it was well coated. You could use flour for this, but I take every bit of chocolate flavor I can get.
- Tip the leftover cocoa into your second pan and repeat until both are coated.
- Now line the bottom with the parchment to prevent any possible sticking.
- Weigh your mixing bowl and write the weight down. This means, you can then weigh it again to get the weight of the batter, divide it by 2 and get the exact amount to add to each cake pan. That way you’ll have very evenly baked and sized layers.
Melt Your Chocolate
- Add coconut oil and chocolate either to a microwave safe bowl or a double boiler and gently melt.
- Allow to come to room temperature while you mix your remaining ingredients.
Mix The Dry Ingredients
- In your large mixing mix flour, sugar, cocoa powder, baking powder, baking soda and salt. A whisk works best for this.
Add The Wet Ingredients
- Add the sourdough discard, eggs, Greek yoghurt and vanilla extract and cooled, melted chocolate with the coconut oil and mix until just combined.
Pour Over Coffee
- Brew some coffee freshly (either Americano or instant coffee). Don’t do this ahead of time, you want it still hot, so it activates the full cocoa flavor and keeps the dough super moist. This works very similar to the Yudane method I used in my Fluffy Sweet Potato Rolls, in gelatinizing part of the flours starches, giving you a super soft interior.
- Whisk until everything comes together in a pourable batter. This will be very runny; don’t be alarmed. It’s working as intended.
Divide Between The Cake Pans
- Now, since you wrote down the weight of your mixing bowl (you did, right?), weigh your bowl with the batter again. Subtract it’s weight from the bowl. Then pour half of it into one of the prepared baking pans and the other half into the second.
- In case you forgot: The batter weighs about 1420g, so you pour about 700g into each of the cake pans. That leaves room for the 20g that might just stick to the sides of the bowl. Of course you could scrape them out, but I think they make a great bakers snack.
- Of course you could just eyeball it (I did so many times). Just make sure to then test them separately for doneness, as one might need longer than the other.
Bake Your Protein Chocolate Cake Layers
- Bake for 35 to 40 minutes, or until a toothpick inserted into the center comes out clean.
- Allow to cool for about 30 minutes in the pans, then turn out onto a cooling rack until completely cooled.
Make The Kirsch Syrup
- Add your Kirsch, cherry juice and sugar to the saucepan. Let it come to a boil on high heat, then turn down to medium high and allow to simmer until you are left with about ¼ cup of super concentrated cherry flavored syrup. Allow to cool.
Prepare The Chocolate Shards for the Decoration
- Add your chocolate chips or chopped dark eating chocolate to a microwave safe bowl and melt in short bursts until liquid.
- Get a large sheet of baking parchment and fold in in thirds horizontally, to give you marking lines for spreading the chocolate. Unfold.
- Drizzle your melted chocolate over the center third, then spread it out relatively thinly with an offset spatula or large knife. You want it just about 2mm thick. Enough that it can be crackly later, but not too thick.
- Starting from one side, roll up your baking parchment into one neat roll and store in the freezer until firmed up and you are ready to use (About 30 minutes will do. Longer is fine. You can do this the day before if you want to get ahead).
- While you are at it, put your cream, cream whisking bowl and whisks in the fridge or freezer too, to get them nice and cold. For the cream: Be careful not to accidentally freeze it, as it can split. You can want it very cold.
Levelling The Cake Layers
- If you want a perfectly flat top (I don’t mind mine being a bit domed), you could flatten your cake disks by slicing off the top with a sharp knife.
- Or use the method I learned from my Grandfather, by running a sharp knife just around the top corner, then grab some sewing thread, lay it into the groove you just cut, cross over itself at the front of the cake and pull. You can see this best in the video.
- Lift off the domed tops and use them as bakers snack or crumbled over ice cream. It tastes incredible, so I’m sure it won’t be wasted.
- Pick from the two bases the one that looks best for the top of the cake.
Soaking The Chocolate Cake with Cherry Syrup
- If you’d like a bit of a grown up, boozy punch in your cake, you can spray it at this point with a little Kirsch. This is entirely optional but very delicious.
- Using about 2 tablespoons per layer, drizzle the concentrated cherry syrup over the top of each cake layer. It will look like a lot, but trust me, you want all that intense flavor in your cake. That’s what makes it into a real black forest cake!
Whip Your Protein Cream
- Grab your cream, whipping bowl and whisks from the fridge or freezer.
- Pour the cream into the bowl and start whisking. Whisk until you are getting a bit of volume, but still a soft, runny texture.
- Add the protein powder (and if you like some extra vanilla extract) and continue whisking on lower speed until you have soft peaks. If using dairy cream, be extra careful not to over-whip once the protein is added, as it thickens quite fast and will turn to butter quickly too.
Layering Your Black Forest Cake with Sourdough Discard
- On a turning cake stand if you have one or a large cake platter start with the bottom sponge you decided on earlier.
- Spread about 1/3 of your protein cream over it.
- Dot all the drained cherries from the can over the cream, pushing them in slightly.
- These will hold up the top layer of your cake, stop it from pushing out the cream filling and anchor it in place. So they are not just delicious, but also very functional.
- Gently lower your top layer onto the cherries and cream and wiggle it in place. This is where you can line up your cake perfectly (or imperfectly if you wish).
- Using your offset spatula, spread another third of the cream in a thin layer over and around the cake.
- This is your crumb coating, which will catch any stray cake crumbs and keep the last layer of cream neat and white.
- For the sides, a bench scraper or rubber spatula works best I found. It doesn’t have to be perfect, as it’ll be covered by chocolate.
- Finish topping the cake with the last third of vanilla cream, spreading it around just like the last, trying to get it relatively even.
- This works best if you start spreading from the center of the cake towards the sides, turning the cake while doing so. It takes a bit of practice to get it perfect, but we are not after perfection here.
- Use a damp paper towel to clean up and cream messes around the cake platter.
Decorate Your Black Forest Cake
Now comes the fun part where you can get wildly creative!
- Get your roll of dark chocolate out of the freezer.
- Gently unroll it, breaking the chocolate into large shards. This sounds far more complicated than it is. You really can’t do much wrong here.
- Break the shards into pieces that fit your cake height and stick them onto the cream with the rounded side towards the cake. This sounds counterintuitive at first, until you see how well it sticks and looks, as the rounding has more surface area to stick to the cream.
- Tumble your cherries on top.
- I used the remaining bits of chocolate to sprinkle over the top.
- Step back and admire your Black Forest Protein Cake masterpiece.
- Yep, you made that!
- Are you sure you want to wait for your guests to try it? I sure didn’t!

Notes
Make Ahead
- The cherry syrup, cake layers and chocolate decoration can all be made the day before. Wrap the cake layers lightly in cling film, so they don’t dry out.
- So on the day when you want to serve this, all you need to do is whip the cream and assemble.
How To Store
- This protein cake is best eaten on the same day but can be stored in a cake transport box in the fridge for up to 3 days.
- The cake’s high moisture content, thanks to the sourdough and hot coffee, also means it stays incredibly moist and tender for the full 3 days.
- I would not advise to freeze it, as the cream topping can split and taste slightly off.
- Prep Time: 90 minutes
- Cooling time: 2 hours
- Cook Time: 40 minutes
- Category: Sourdough Protein Desserts
- Method: assemble, Bake
- Cuisine: German


So many great hacks in this recipe from how to use up sourdough discard to adding a little extra protein! Black Forest is a family favorite so this was a guaranteed hit!
Aww, thanks so much. So happy it was helpful and your family enjoyed it. 🙂
This was really good, and I loved the extra protein to control the sugar spike. Making it again.
Oh good, so happy to hear that!
Thanks a lot for letting me know. 🙂
Great use of sourdough discard. The cake was moist and not too heavy.
Thank you, so happy to hear that. 🙂
SO moist and delicious!!!! I made this for my dad’s birthday (his favorite cake) and it was definitely a whole lot better than the one I made a couple of years ago. Thanks for the wonderful recipe.
Your dad has good taste. 😉
So happy you enjoyed the recipe and thanks a lot for letting me know. 🙂
Adding sourdough discard and protein to black forrest cake is such a brilliant idea! The cake taste amazing, with an incredible texture. Grea recipe!
Thank you so much. Makes me really happy to hear you liked it. 🙂