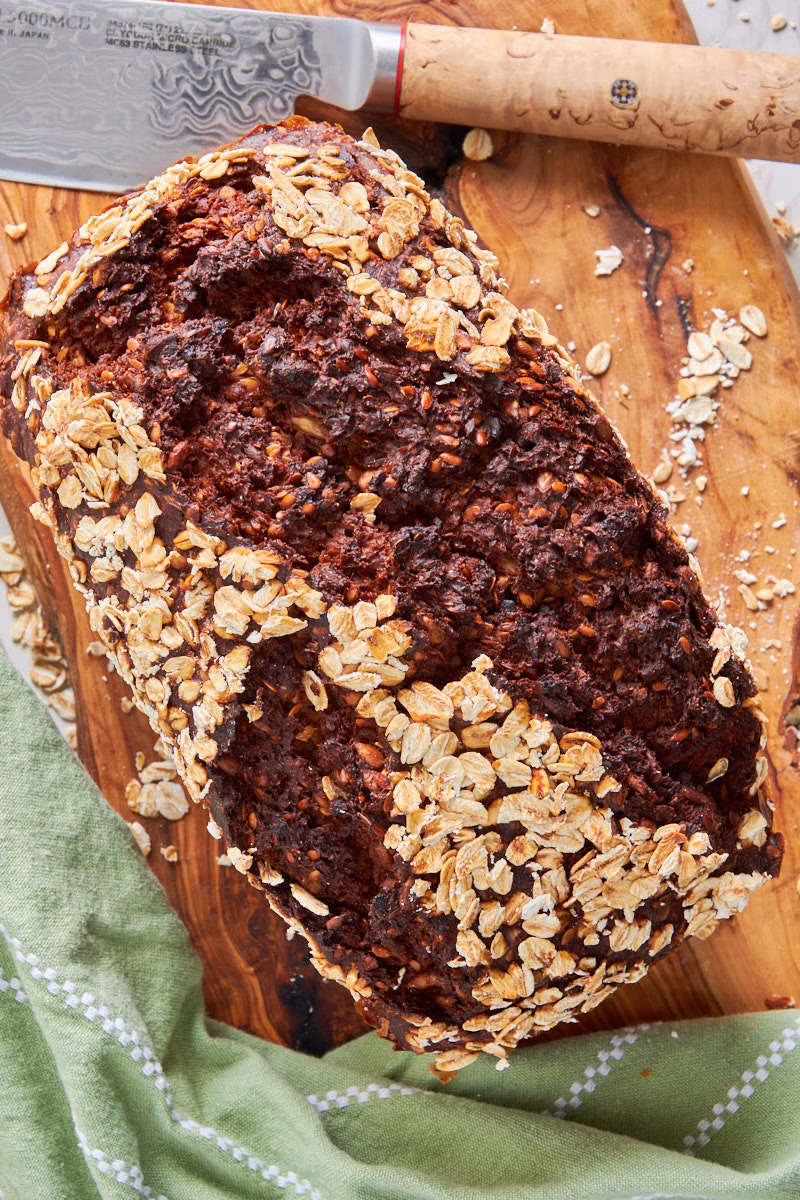
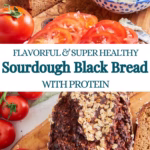
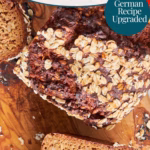
“The best bread you can eat this year.” It sounds like clickbait until you see the stats. This Sourdough Protein Schwarzbrot is a German-style powerhouse that hits every health marker: 74% (up to 100% if you use rye starter) whole grains, 3.4g of fiber, and a massive 6g of protein per slice. But as a German, I have a rule: it has to taste fabulous. This isn’t “cardboard” bread—it’s a dense, nutty, and complex loaf that makes store-bought slices feel boring. Here is how to bake a proper nutrient-dense bread in 2026.
This post may contain referral links for products I love. For The Pleasure Of Eating earns a small commission on these links at no cost to you.
What is it? A modern, high-protein twist on traditional German Schwarzbrot. It’s a dense, 74% whole-grain sourdough packed with cracked berries and seeds.
The Protein Boost: I’ve bumped the protein to 6g per slice using cottage cheese and whey. Thanks to sourdough enzymes, this protein is “pre-digested” and much easier for your body to absorb.
A “Whole Meal” Slice: With 3.4g of fiber and healthy fats from flax and sunflower seeds, this is a nutrition powerhouse.
The “Flying Crust” Fix: To prevent the crust from separating, I use a longer mixing time (15-20 mins). This binds the rye starches and moisture, ensuring a perfectly adhered crust every time.
The Golden Rule: You must wait 24 hours before slicing. It’s the only way to let the crumb set!
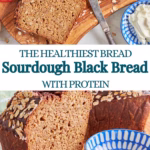
German Black Bread with Protein is Probably the Best Bread You Can Eat
I don’t make these claims lightly! So why on earth would I say that?
You may have seen articles debating whether sourdough or whole grain is better for you. This bread ends the debate—it’s both. It’s a specialized evolution of my Classic German Schwarzbrot, designed to hit every single “health” marker.
If you google “What is the healthiest bread you can eat?”, the answer is usually: 100% whole grain, dark rye, sourdough, high fiber (3g per slice), and high protein (4-5g per slice).
This Sourdough Protein Black Bread hits every mark:
74-100% Whole Grains: (And you can easily bump to 100% if you use a rye-based starter!). I’m being transparent here: I used my active white starter for this specific bake, but the original was rye-based and works perfectly.
1/3 Cracked Grains: A huge portion of those grains are literal whole berries for maximum fiber and texture.
Dark Rye: The “gold standard” for flavor and nutrition in German baking.
Sourdough: For gut health and better nutrient absorption.
Dietary Fiber (3.4g): Check.
Protein (6g): Overachiever. Check.
Healthy Fats: Thrown in for good measure! The sunflower and flax seeds weren’t even in the “requirements,” but they provide the essential fats that basically make this bread a whole meal in and of itself.
I boosted the protein by about 50% by swapping the classic buttermilk for cottage cheese and replacing a portion of the flour with whey protein powder. This brings it from just under 4g to a solid 6g of protein per slice at just 123 calories.
The only “sacrifice” is the molasses I added for that deep, traditional flavor—though, honestly, the sourdough bacteria consume much of that sugar during the long fermentation anyway. It’s the perfect, high-performance way to start 2026!
Low Glycemic Index and High Fiber
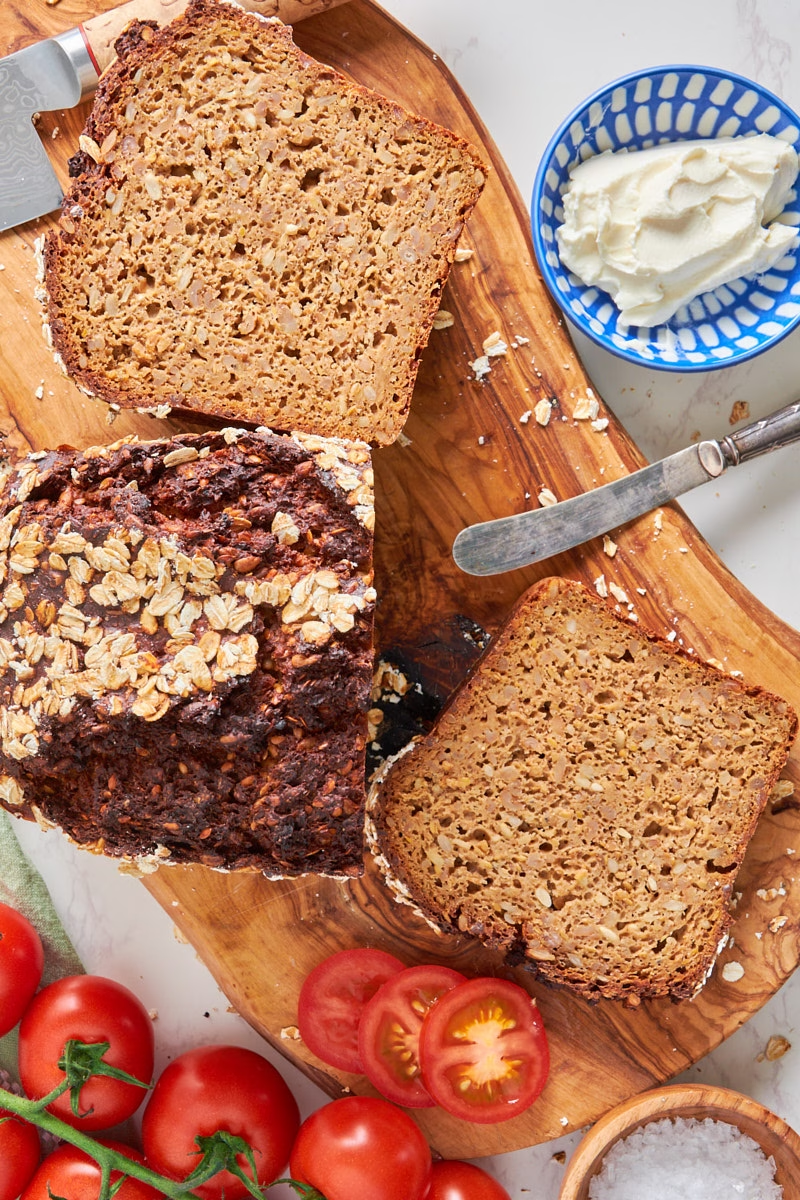
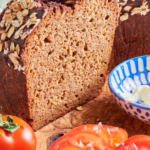
This very traditional German Schwarzbrot (Literally translates into Black Bread) is made with dark rye flour, whole grain berries that are just crushed a bit, and emmer or einkorn flour. In addition it has sunflower seeds for nutty crunch and flax seeds for even more fiber and healthy fats. All of that means it has a low glycemic index, meaning it doesn’t cause your blood sugar to spike, making it a great bread choice for diabetics. In fact, my father, who was a diabetic only ate black bread for many years.
Gut Healthy Due to Sourdough
If you add sourdough to all the fabulous effects from the above mentioned fiber, you get a truly gut healthy bread with plenty of good bacteria, keeping you regular and your tummy very happy.
Sourdough starter produces enzymes called proteases. These break down protein molecules into smaller peptides and individual amino acids, which our bodies can absorb much more easily than their larger counterparts. This process works on the protein in the flour, the added whey, and the cottage cheese. Fabulous, isn’t it?
Why Do I Add Protein?
You mean apart from the well known physical benefits of protein for the body like helping you to build muscle, keeping your bones strong and increasing satiation, meaning you stay fuller for longer and with that can maintain your weight easier?
And another one about my weight loss journey, shedding 70lb within 1 year. Protein played a big part in that too!
With all those benefits, it’s no surprise that the recipes containing both sourdough and protein were popular enough for me to shift my focus.
Incredibly Flavorful Whole Grain Rye Bread
With all this talk about health and macros, you might think this would taste like “a slice of sadness” (as I’ve heard some keto breads described), but the opposite is true. I often eat this for dessert with a thin layer of butter and a drizzle of molasses or Grafschafter Goldsaft (German beet syrup).
Whole grains have a high starch content, which is usually their “downfall” in processed white flour. However, when you use the whole berry, the fiber slows down the sugar absorption. Because of this, you’ll notice a natural sweetness as you chew; your saliva contains enzymes that start breaking those complex starches down into simple sugars right in your mouth.
The flavor is nutty with a substantial bite that isn’t “hard.” The sunflower seeds add a buttery softness that balances the grains, which have been tenderized by the soaking and fermentation process. Then there’s the sourdough magic—that gentle tang and malty depth that makes it taste like “proper” bread.
To balance the acidity from the long fermentation and cottage cheese (which helps soften the grains), I add molasses. It lends a hint of caramel that deepens during the long, slow bake.
Very Forgiving and Flexible
This bread frankly keeps surprising me. One time I literally forgot to add the emmer/einkorn flour, cutting down the flour amount by more than half. Yet, the bread still came out delicious. It just needed a little longer to bake.
You can change up the grains and flours to your heart’s desire as it doesn’t have the delicate gluten structure your standard sourdough bread develops. There is no perfect rise to keep chasing. Just nutty, hearty fiber goodness, which will allow you to experiment until you find your perfect grain mix.
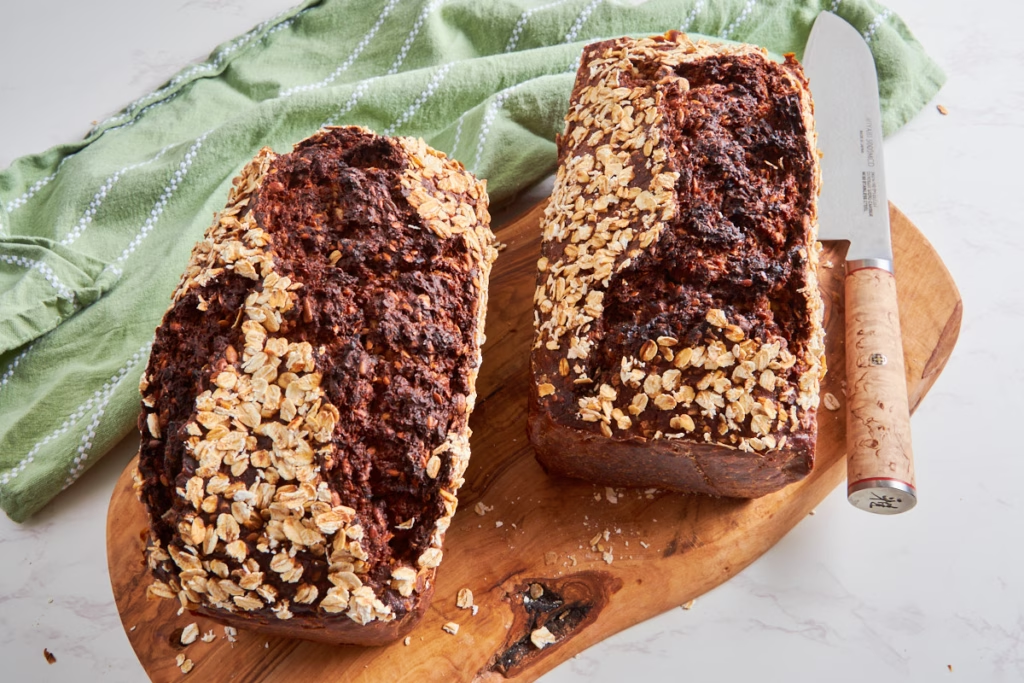
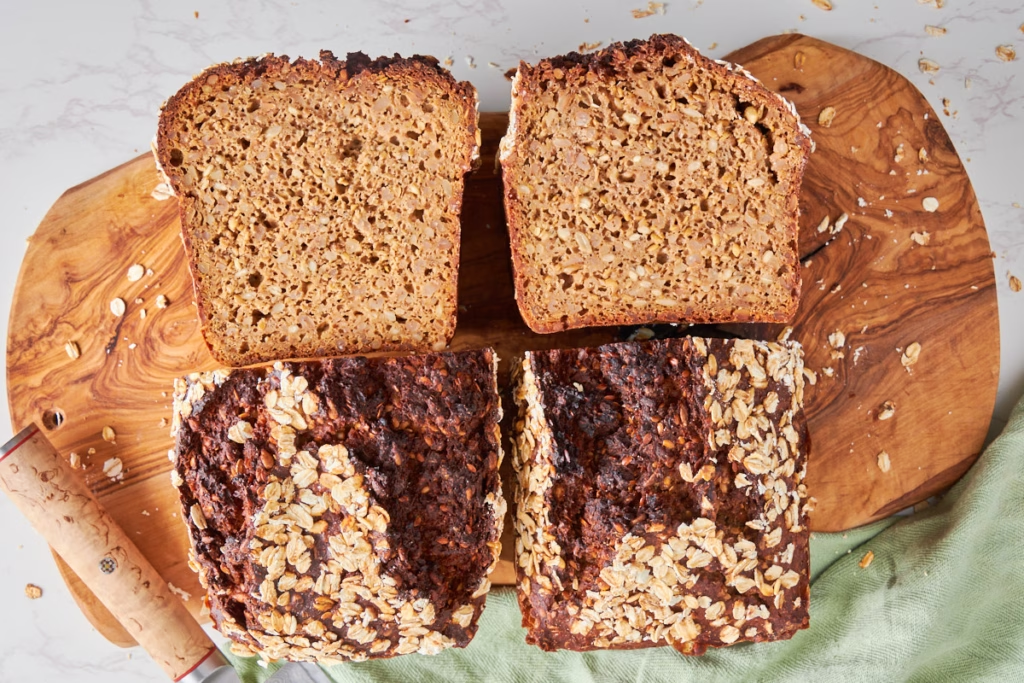
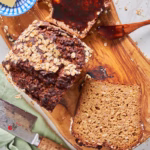
The Side By Side Test
Because my old post of the original German Black Bread recipe was in need of a refresher, I decided to film a video/take pictures, showing you not just the steps, but how the two loaves fare in a side by side comparison.
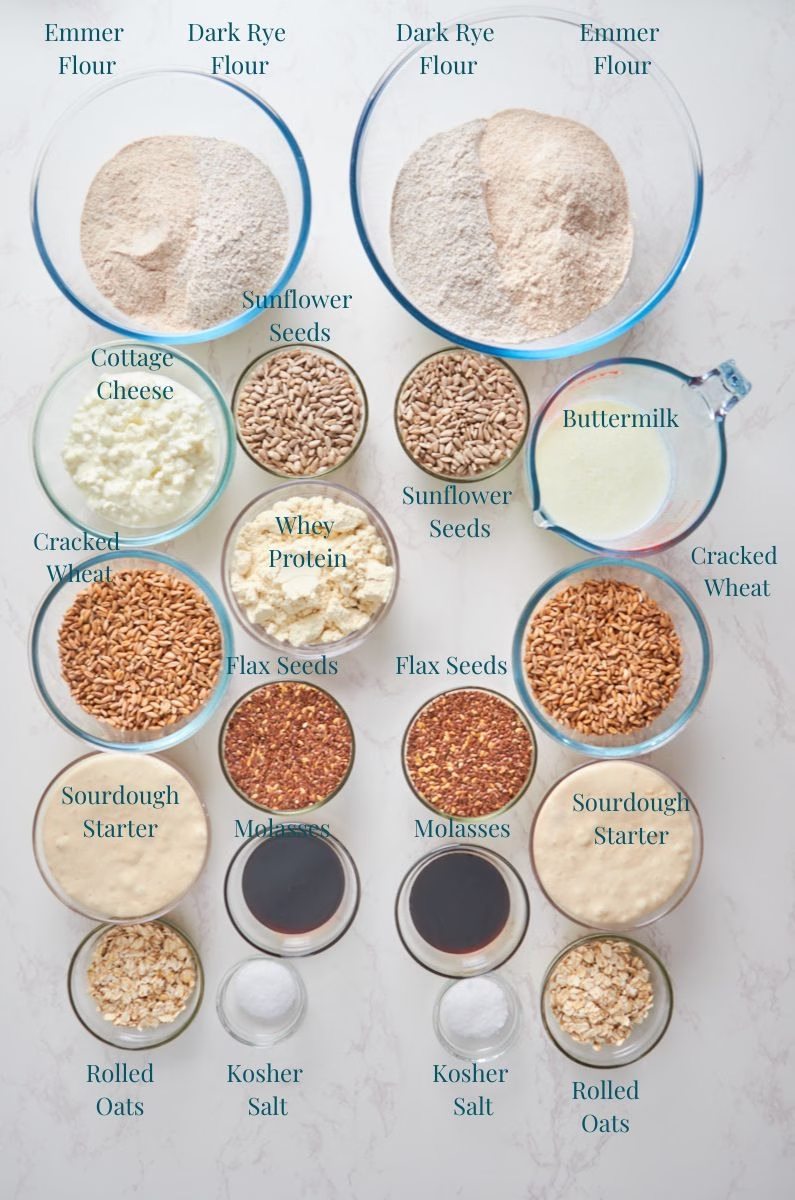
The only changes I made are swapping cottage cheese in for buttermilk and swapping in 1/2 cup of whey concentrate for 1/2 cup of the emmer flour.
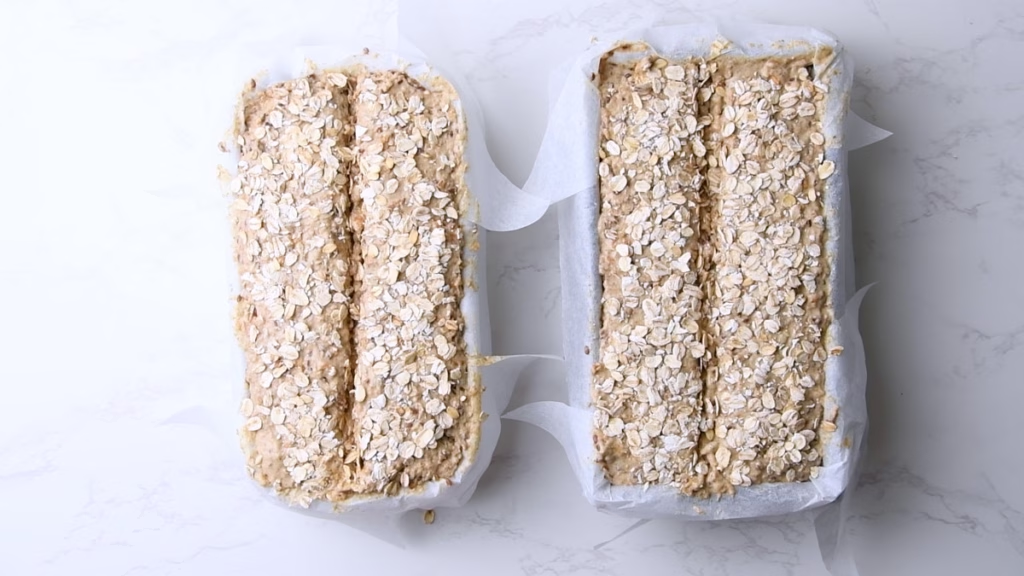
On the left: The protein enriched version. On the right the classic German Sourdough Schwarzbrot.
I have to say I’m super pleased with the results, as the protein bread did even better than the original when prepared the exact same way with just the cottage cheese swapped in for the original buttermilk and 1/2 cup of emmer flour replaced by unflavored whey concentrate.
As you can see here, they both look delicious and hearty, but the original version (on the right) came out with a tiny bit of “flying crust” on the upper right side. Which I describe how to solve in the troubleshooting tips below. Based on that, I have now reduced the water in the original by 45ml, while the protein version uses the full 90ml, which will leave you with a perfect loaf in both cases. And me with more lessons learned about sourdough and protein baking.
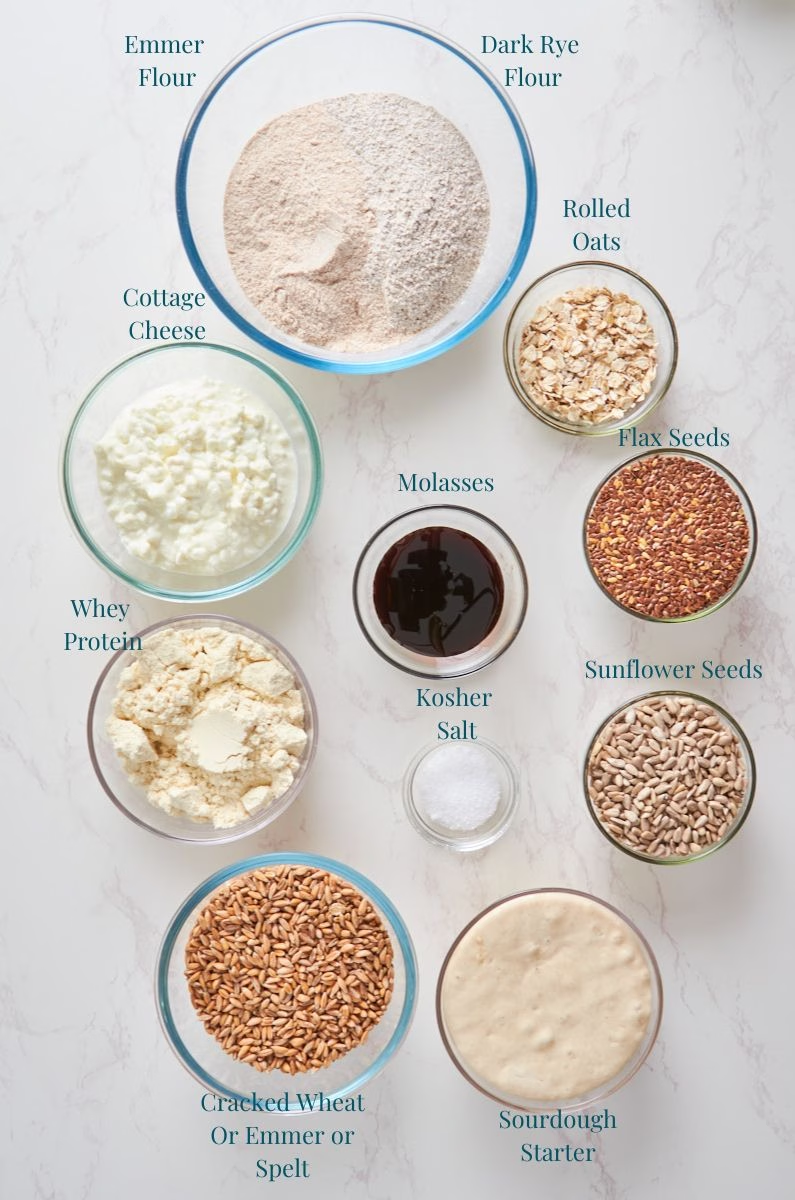
Ingredient Notes
Dry Ingredients
Dark Rye Flour – This gives German Schwarzbrot its typical flavor and colour. There is just something about rye flour that I find utterly irresistible, and I use it in many of my recipes like my German Sourdough Rye Beer Dutch Oven Bread.
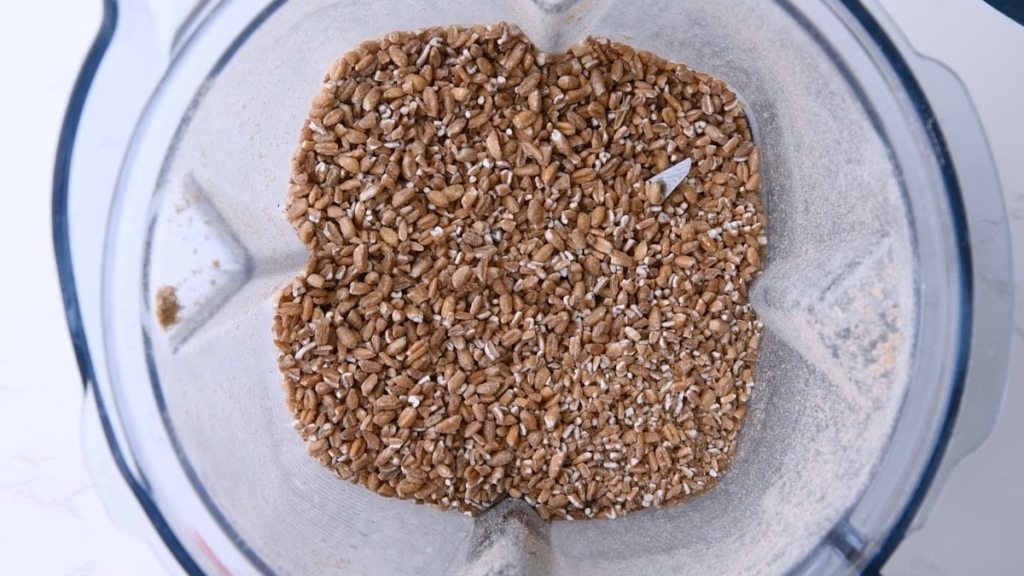
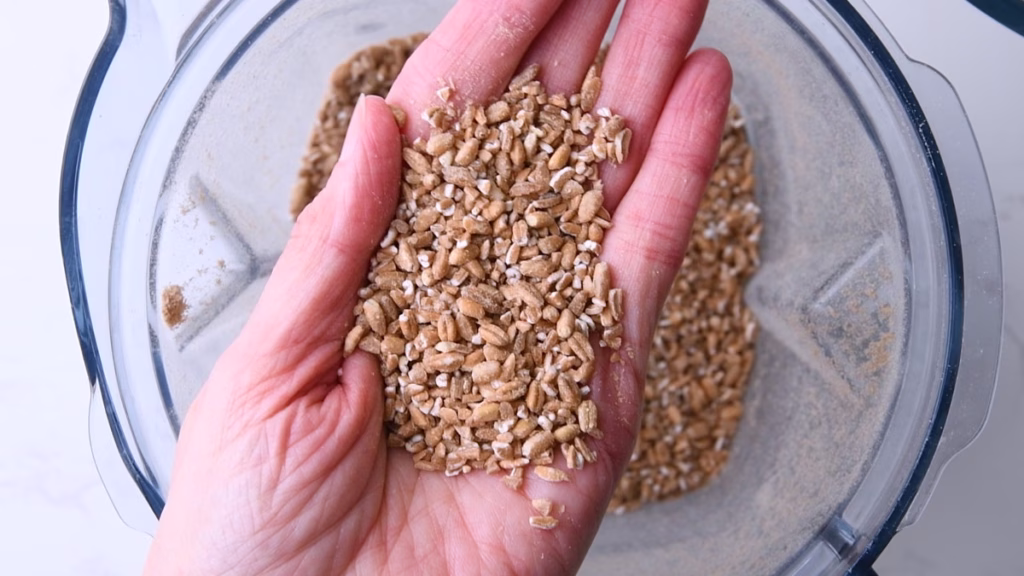
Cracked Grain Berries – You can use wheat, spelt, emmer or einkorn or a mix of them, depending on what you find or have on hand. They all work equally well. Since I have no grain mill, I feel pre-cracked (often labeled as ‘cracked wheat’ or ‘steel-cut’) works best, though I do use my Vitamix to crack those I can’t find ready cracked. It just gets a bit warm if you blend for too long, and the grains are less even.
Emmer or Einkorn Flour – Einkorn is classic, but Emmer or spelt works lovely too. This dough doesn’t develop much of a gluten structure, let alone rise. So you are more flexible in what you use. There might be small differences in water absorption and behaviour, which would lead to huge changes in a typical sourdough bread, but the characteristics of this loaf mean you won’t feel much of it in the final texture.
Whey Concentrate – Unflavored works best for this bread. Unless you really want vanilla or chocolate flavor in it. In which case: Go for it!
I specify concentrate, as that’s what works best in baking, as it doesn’t have an extreme drying effect like whey isolate or casein. Though, if you’d use a lot more it would too. Hence the relatively small boost of it. I still want the proper texture and flavor in my bread!
Sunflower Seeds – They are a very typical addition in this type of bread, giving some buttery, nutty bite in the bread.
Flax Seeds – Because black bread isn’t made with white flour, it has less gluten “glue” to hold together than your average sourdough bread. This is where flax seeds come in. Their ability to soak up water, transforming into a gel-like consistency (which is why they are often use as egg replacement in vegan cooking) holds the grainy loaf together.
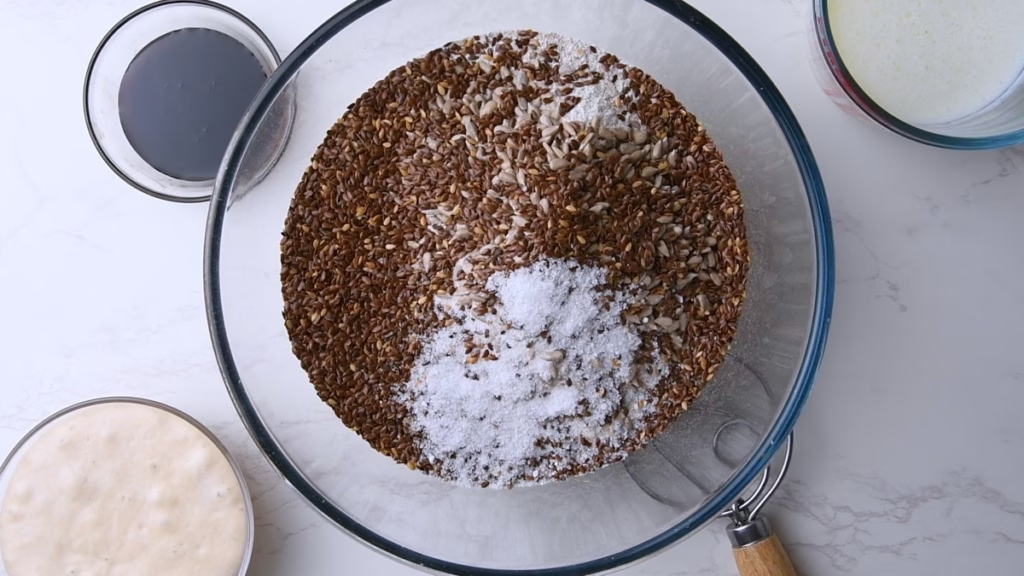
Salt – This isn’t just for flavor, but also to control the fermentation, so don’t leave it out.
I use Diamond Crystal Kosher salt in all my cooking and baking. It has a very fine structure, so it has less saltiness in volume than, say sea salt (but the same by weight). So if you use sea salt, use half the amount in volume than given in the recipe.
Wet Ingredients
Cottage Cheese – Adds gentle acidity, helping to soften the grains and acts as main liquid. Mine is a 2.5% fat version I get from Lidl, but any unflavored cottage cheese will work.
Sourdough Starter – If you don’t have one yet, use my recipe for rye sourdough starter to make your own. It works with both rye and white flour, and you can use either for this bread.
Molasses – In Germany we would typically use “Grafschafter Goldsaft” (German beet syrup) to make this bread. Molasses is very similar in colour, flavor and function, so its deep caramel flavor works beautifully.
substitutions
Dry Ingredients
Dark Rye Flour – Use any rye flour you can find. Lighter will work too. If you absolutely can’t find rye, simply raise the amount of the secondary flour. But you won’t get that traditional German Schwarzbrot flavor without rye. It’ll still be a darn good and healthy bread though!
Emmer/Einkorn flour – If you can’t find either, simply replace it with wholegrain flour.
Whey Concentrate – If you’d like your bread to be vegan, either swap this 1:1 for more of one of the flours or, if you want protein, try an unflavored vegan powder. Pea protein will work, but any vegan protein I’ve tried so far adds a slightly off flavor.
But the only one of those I could find had caramel flavor. Actually, a caramel-flavored vegan protein might actually complement the molasses beautifully here. If you try it, let me know in the comments!
Sunflower Seeds – Pumpkin seeds work marvellously instead. You can get creative here though. They are an “add-in”, so use any seeds or nuts you enjoy. Or just leave them out.
Flax seeds – You can swap the flax seeds for chia seeds 1:1 by weight (1/2 cup/75g). Just keep in mind that chia seeds soak up more moisture, so you might need to add an extra splash of water to keep the dough from getting too stiff.
Wet Ingredients
Cottage Cheese – You could use fat free Greek yoghurt instead or a vegan low fat Greek yoghurt substitute. The results may vary slightly, due to different behaviour when being heated, but should still work.
Sourdough Starter – If you don’t have or don’t want to use sourdough, here is how to replace it with yeast: use 130g additional rye or white flour, add 120ml water. To get the rise, add 1.5 to 2 tsp of instant yeast. Since you’ll lose that signature tang, I recommend adding 1 tablespoon of apple cider vinegar to the dough to mimic the acidity. This also helps the rye texture set properly so it isn’t gummy.
Equipment Used
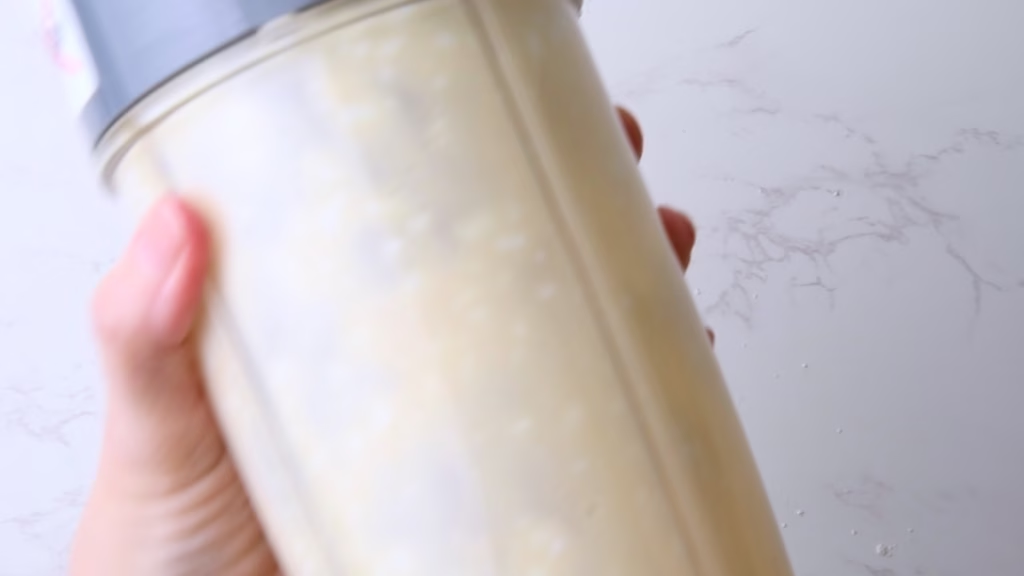
High Speed Blender – Such as Nutribullet for blending the cottage cheese smooth. This is one of my all-time favorite kitchen appliances and once you have one, you’ll wonder how you lived without it! It’s the secret to making the cottage cheese disappear into the dough so you get the protein without the lumps.
Stand Mixer– Such as KitchenAid. I usually try my best avoiding a firm recommendation for a rather expensive tool, but for this bread, you’ll absolutely love it. By adding a bit of kneading time, we release the starches and pentosans (the natural ‘glues’ in rye), allowing the water to bind more effectively. Following this with a lower, slower bake prevents an “explosive” oven spring that would otherwise puff up the crust before the internal moisture has a chance to evaporate, leading to the dreaded “Flying crust”. Could you do this by hand? Sure, but kneading a really sticky dough for about 15-20minutes is a serious workout!
Bread Pan – A simple 2lb/1kg loaf pan works beautifully.
Food thermometer – I don’t list this often as needed, but ideally for this bread you want one, to check the final temperature at the center toward the end of baking, to get the texture just right.
You may use the “knocking method” to tap the bottom of your bread, and if it sounds hollow-ish it’s done. But that’s just very unpleasant with hot bread. And because black bread is…well…black, you have no grade own browning to judge by.
Vitamix/Grain mill – If you can’t find cracked grains, a high speed blender like Vitamix for about a minute on medium speed works well. Of course, if you have a grain mill you can set to just crack the grains, that would be the most professional method. Some recipes say you can use a high powered food processor, but frankly, my Sage/Breville isn’t up to the task without me fearing for the blades.
This is a phenomenon that happens when moisture isn’t properly bound in the dough. As it bakes, that moisture escapes as steam—which is normal—but if the crust sets and hardens before the steam can exit, it gets pushed upward. This creates an air gap underneath, hence the term “flying.”
By adding a bit of kneading time, we release the starches and pentosans (the natural ‘glues’ in rye), allowing the water to bind more effectively. Following this with a lower, slower bake prevents an “explosive” oven spring that would otherwise puff up the crust before the internal moisture has a chance to evaporate.
While lighter sourdough breads use deep scoring to prevent this, the high moisture in this dense rye bread means a score often won’t stay open, or worse, it can cause the crust to crumble off entirely. So I decided to just poke a few holes with a skewer and allow it to crack naturally, leading to the typical rustic look you see in my pictures.
And while the bread still tastes delicious even with a flying crust, we’d much rather have one that stays attached! Have a wild guess how I know… this exact issue is what delayed this blog post.
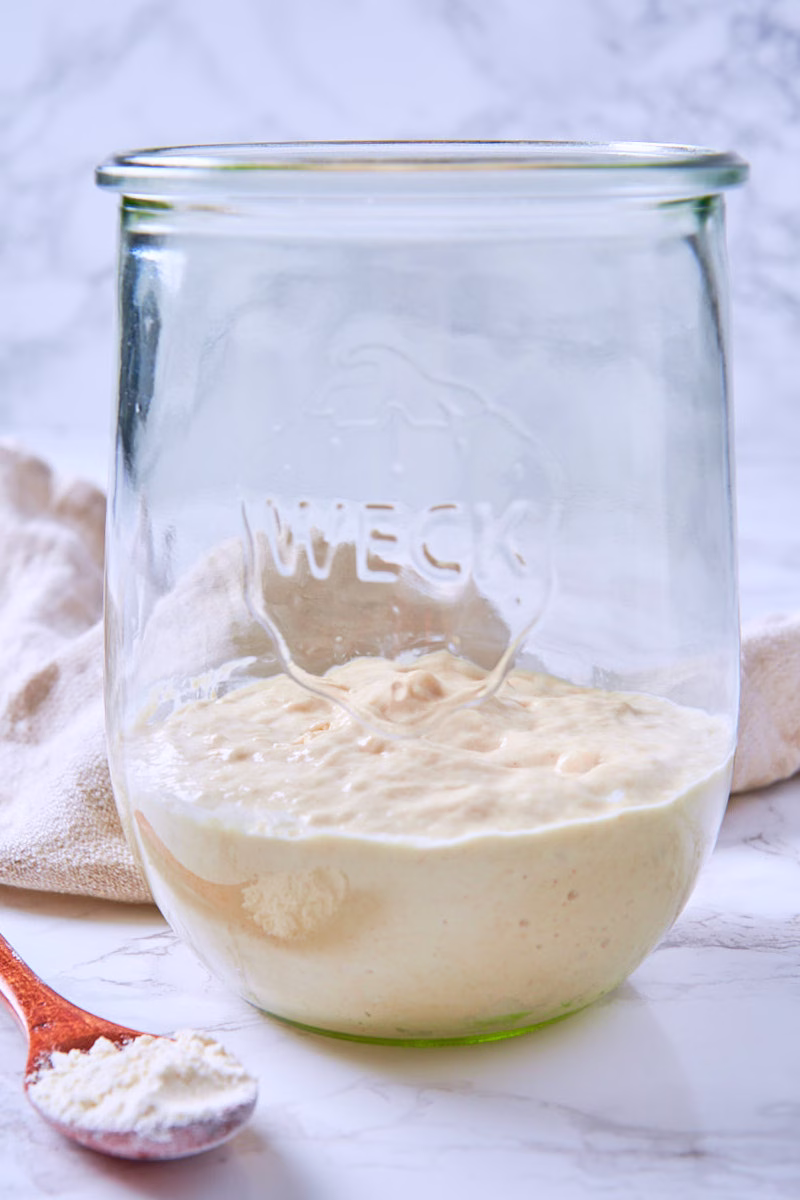
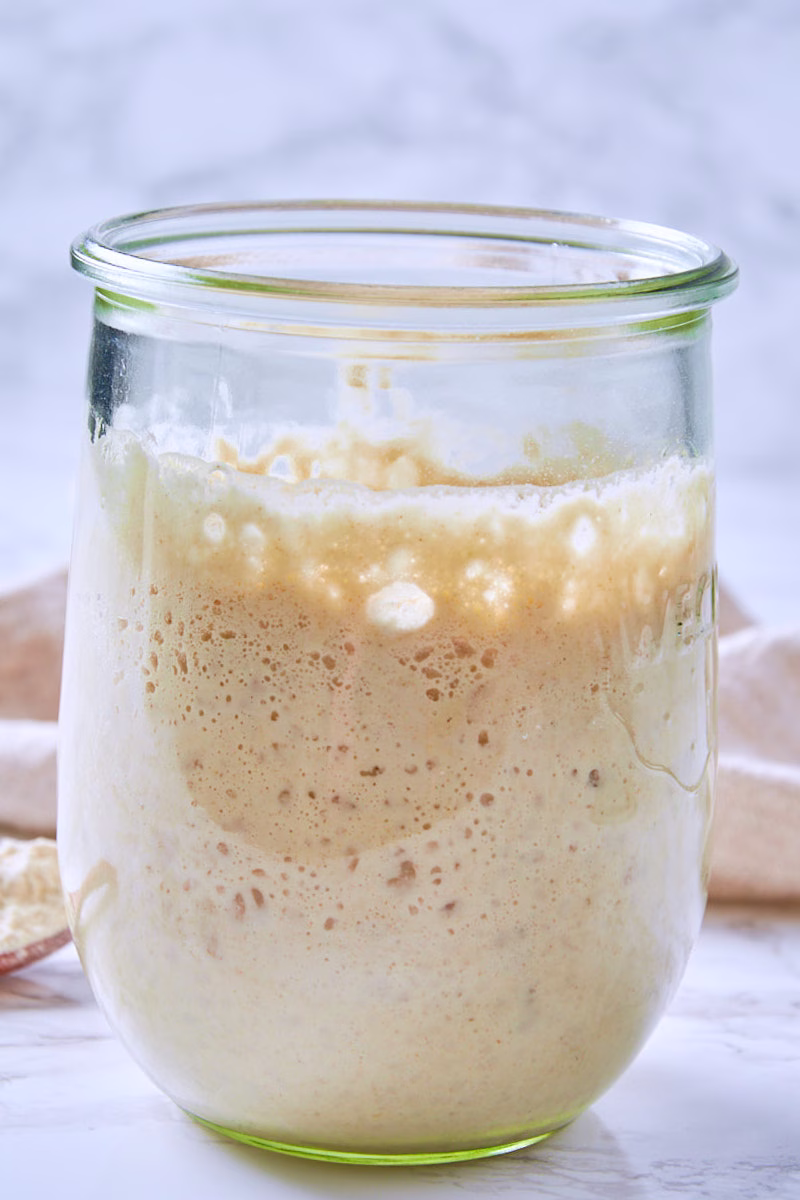
Prepare your Levain my mixing all the ingredients and leaving it lightly covered on your counter overnight. Due to the feeding ratio, It’ll be ready to use the next day, whenever you get around to it.
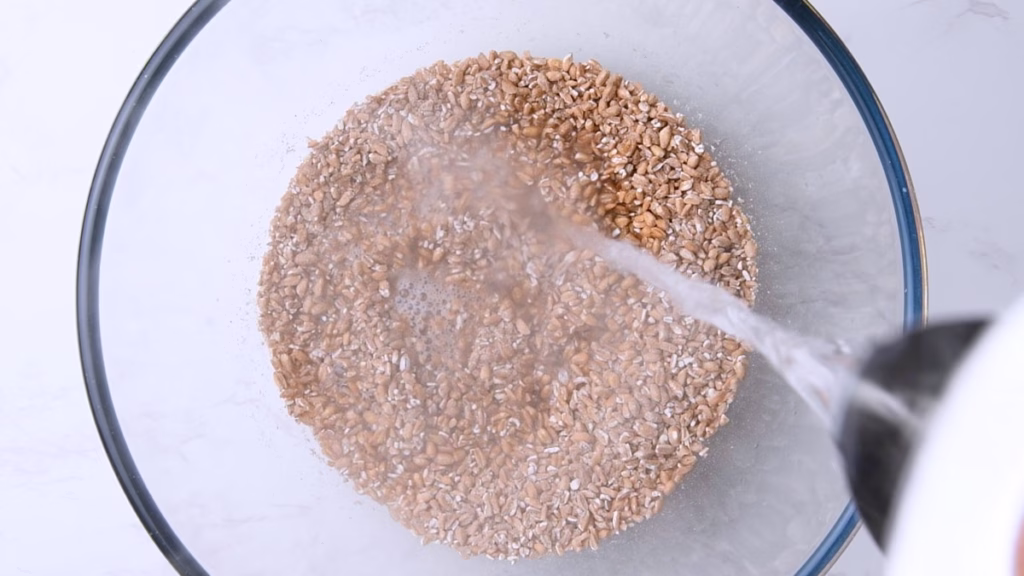
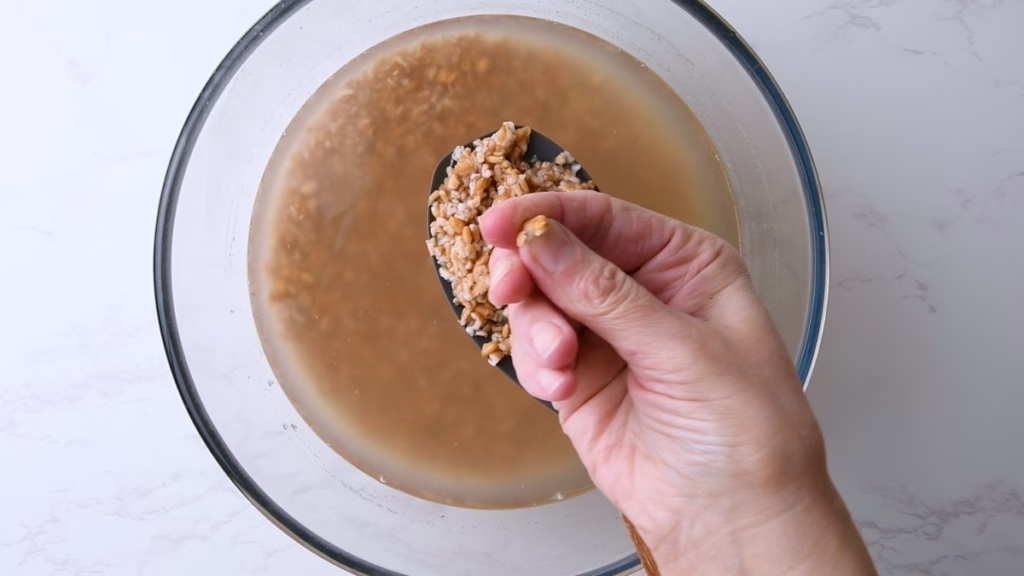
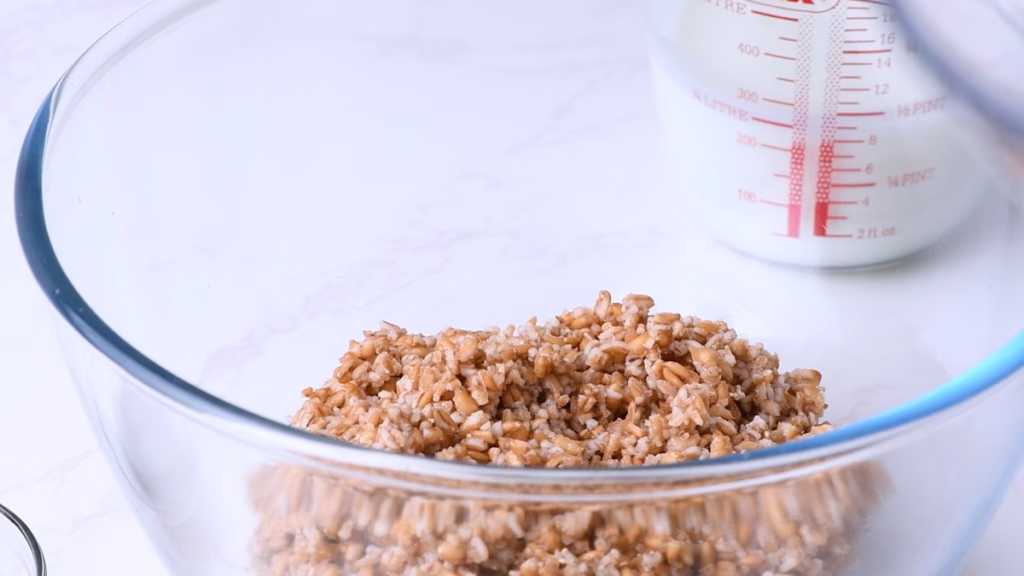
Soak Your Grains
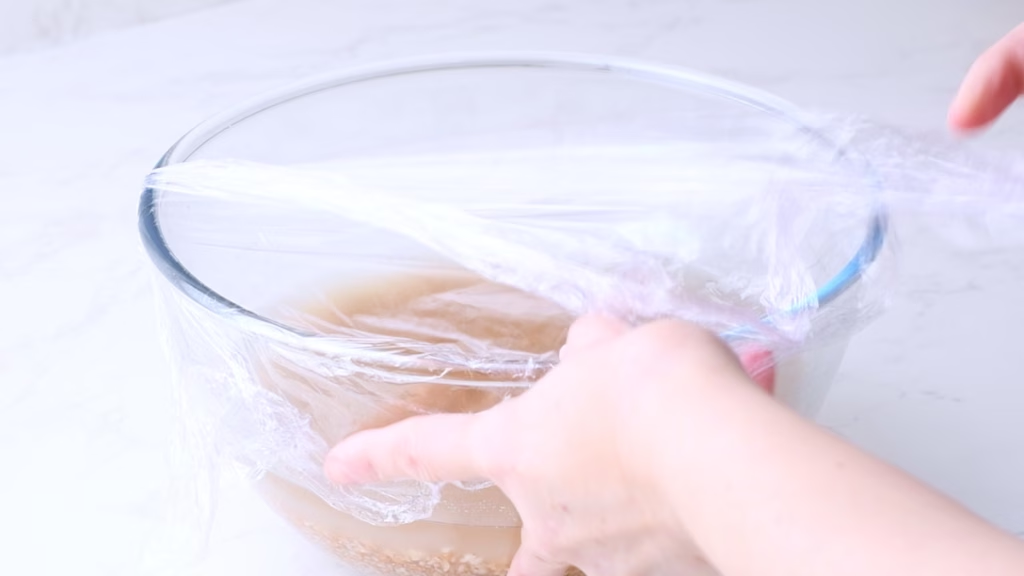
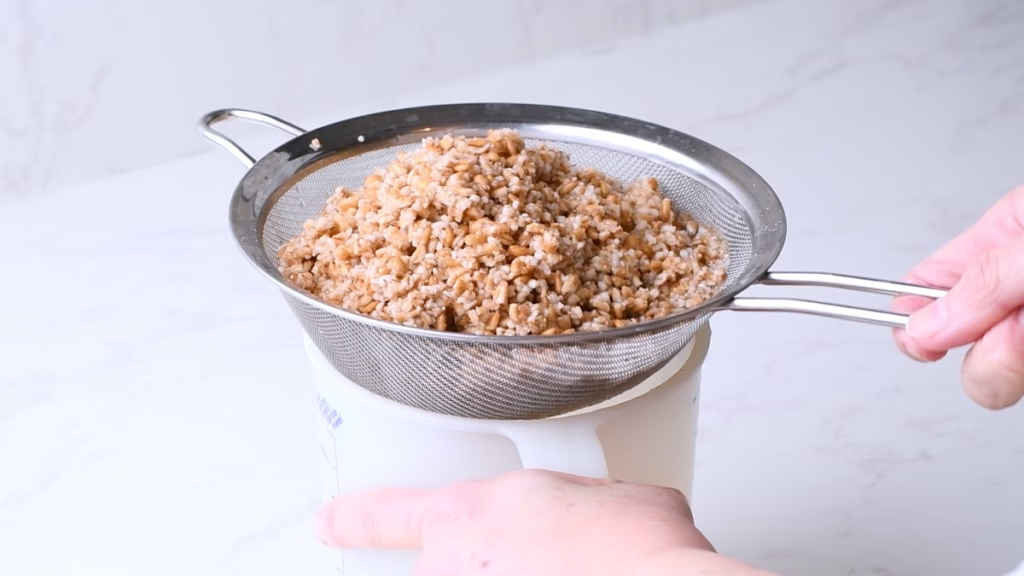
Pre-soak the grain berries by covering with about double their volume of just boiled water. Leave them covered on the counter overnight. Drain well in a sieve for a few minutes before mixing into the dough.
If you are in a hurry…well…half hurry, as this is, by nature, a slow bread, you can boil the cracked grains for about 60-90 minutes until they are soft and then drain them.
Drain well in a sieve or colander for at least 10 minutes, shaking them occasionally, before mixing into the dough. Otherwise you may have a too wet dough.
If you have very fresh grain berries, you could try to skip this step and ferment the dough for at least 24h, but they will remain slightly harder than the pre-soaked version.
Tip:
In some recipes I saw people carefully measuring the water they soak their grains in. I found, with the about 450ml (under 2 cups) you need, the grain is covered at first, but soon expands above the water, meaning you have some dryer and some wetter berries, leading to weird changes in texture and hard grains in parts.
You could argue that different sizes of grain berries soak up very different amounts of water and you’d be entirely correct. I weighed differences of up to 1/2 cup/120ml when soaking different types of grains. But that’s where the core temperature at the end of baking comes into play. If your bread is at 205°F (96°C) the water has evaporated to the degree that gives this bread the ideal texture. You might bake a little longer or shorter, but it’ll still work beautifully with soft grains throughout the dough.
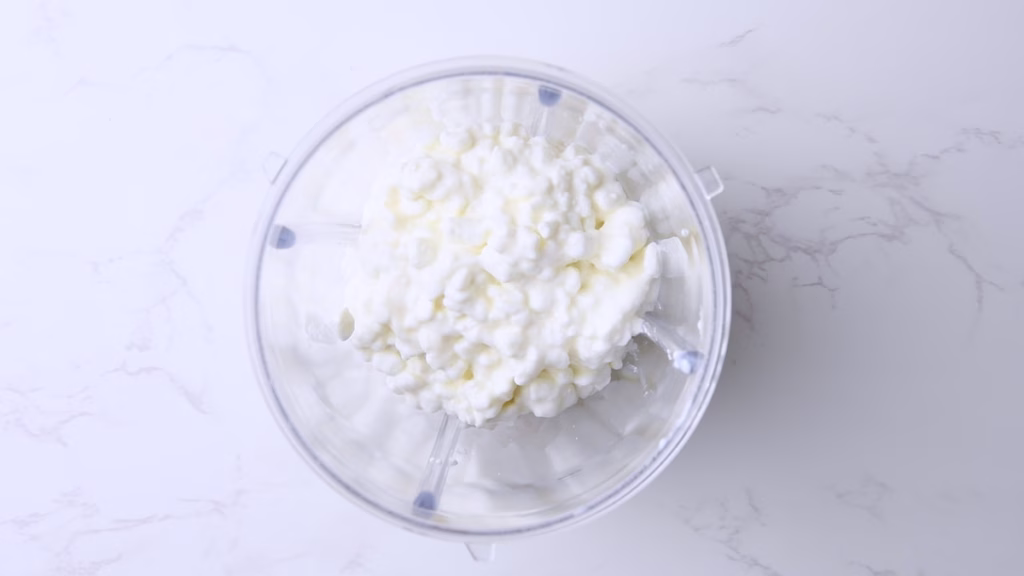
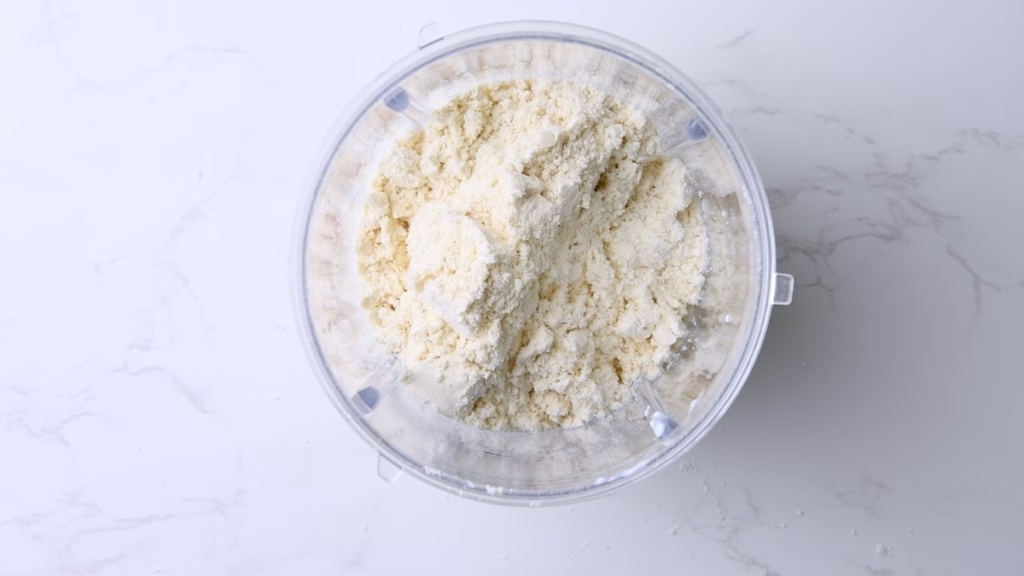
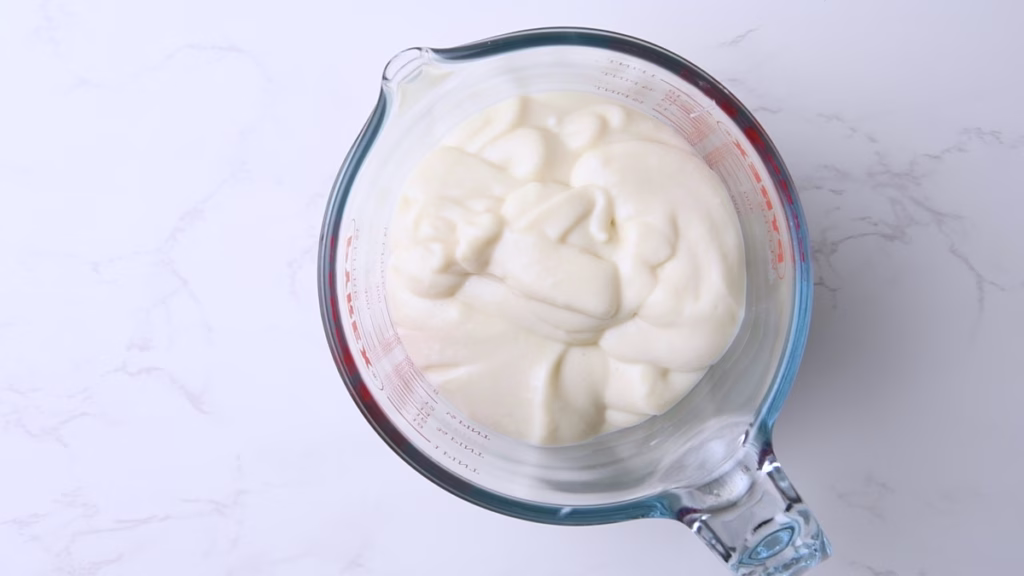
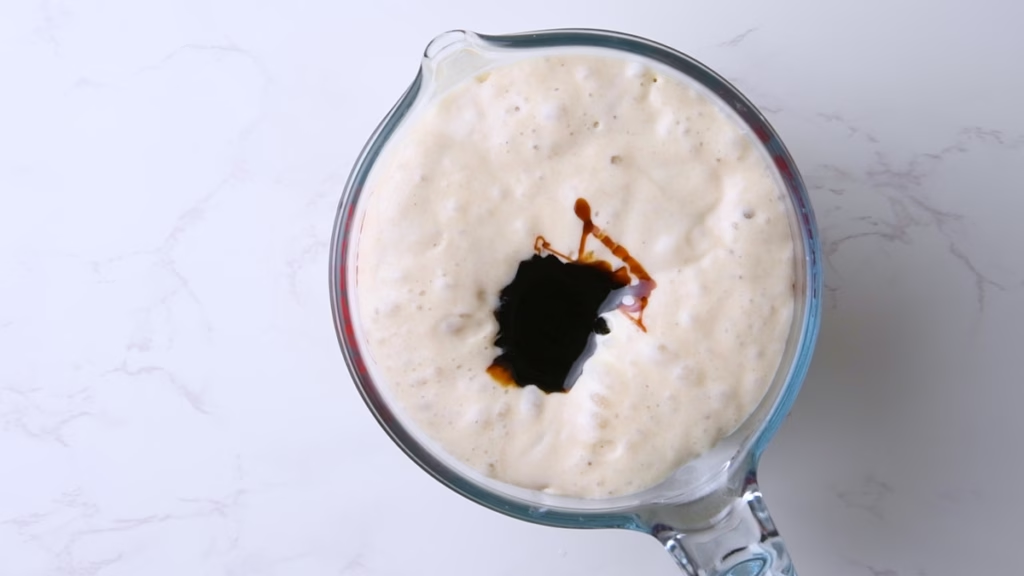
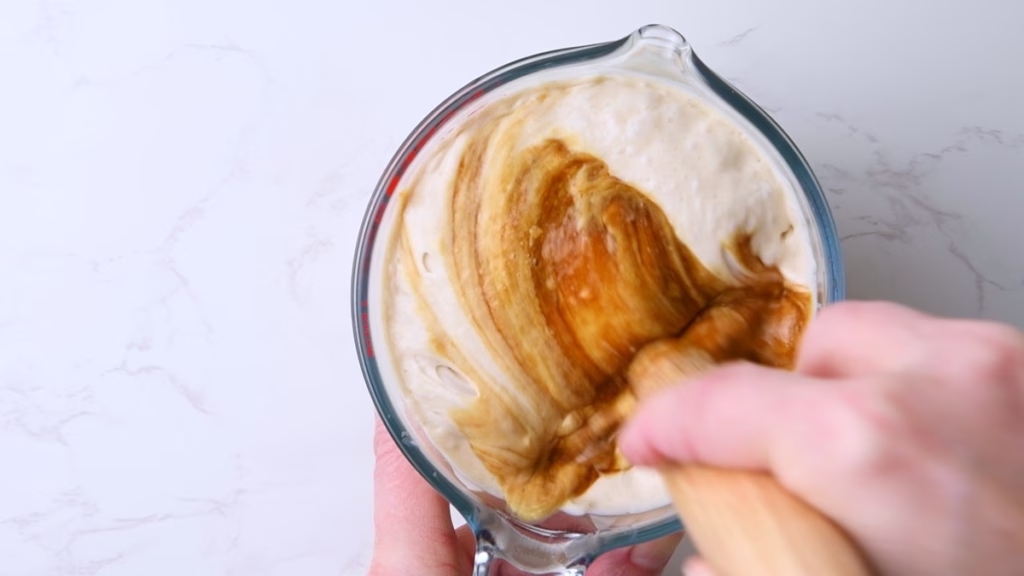
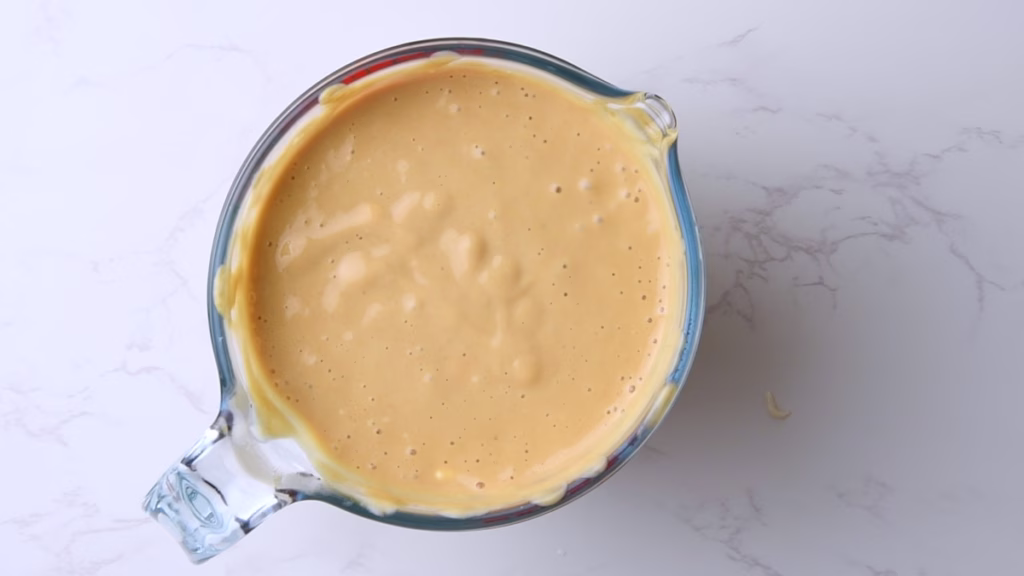
Blend the wet ingredients Cottage Cheese and water in your high speed blender until smooth.
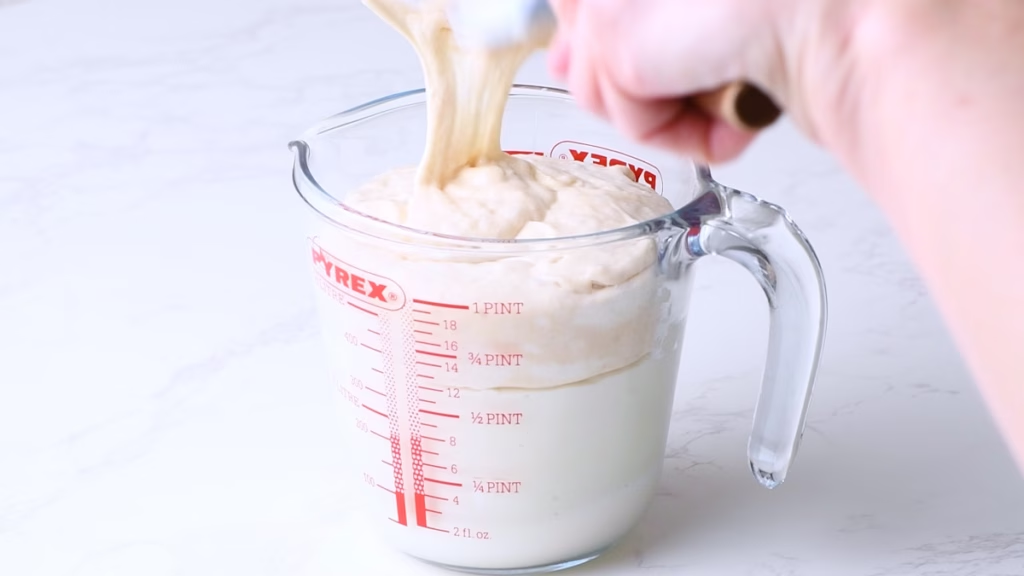
Gently stir in your sourdough starter and molasses (or honey).
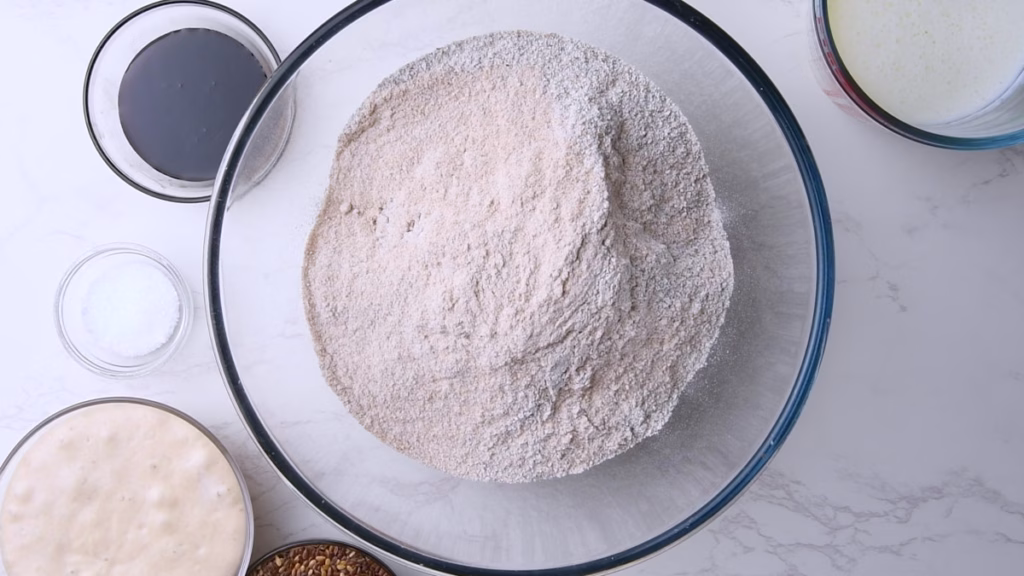
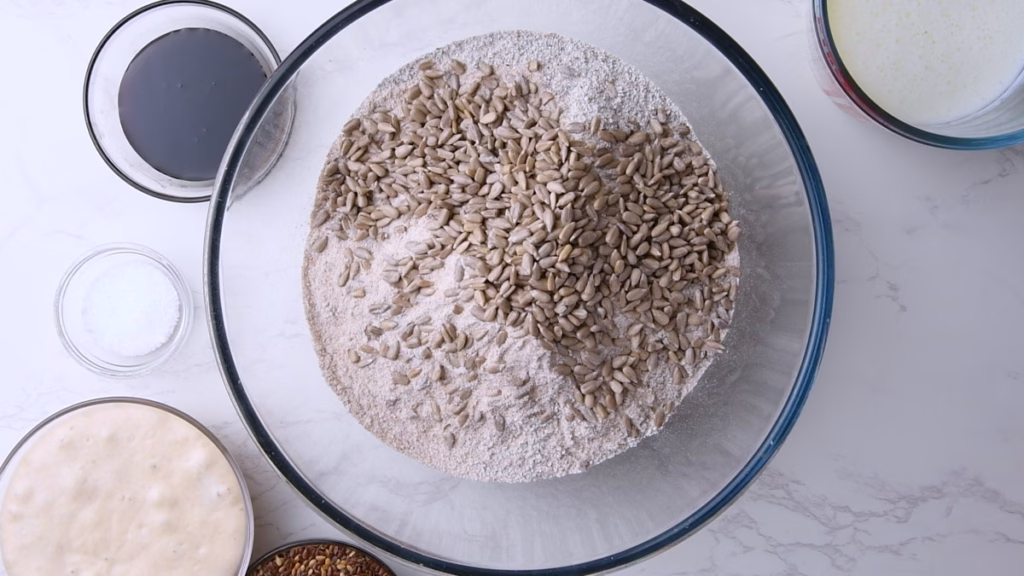
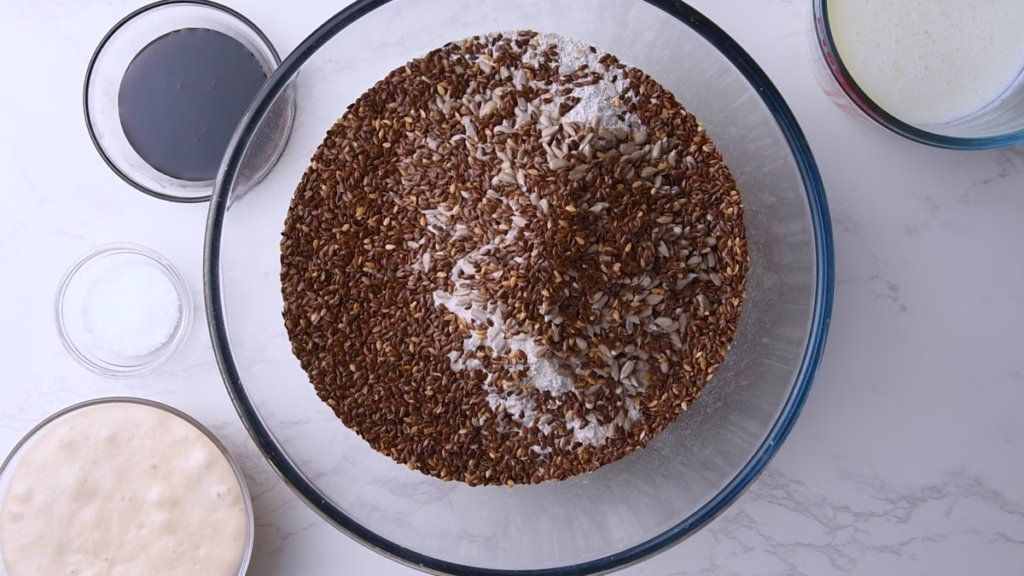
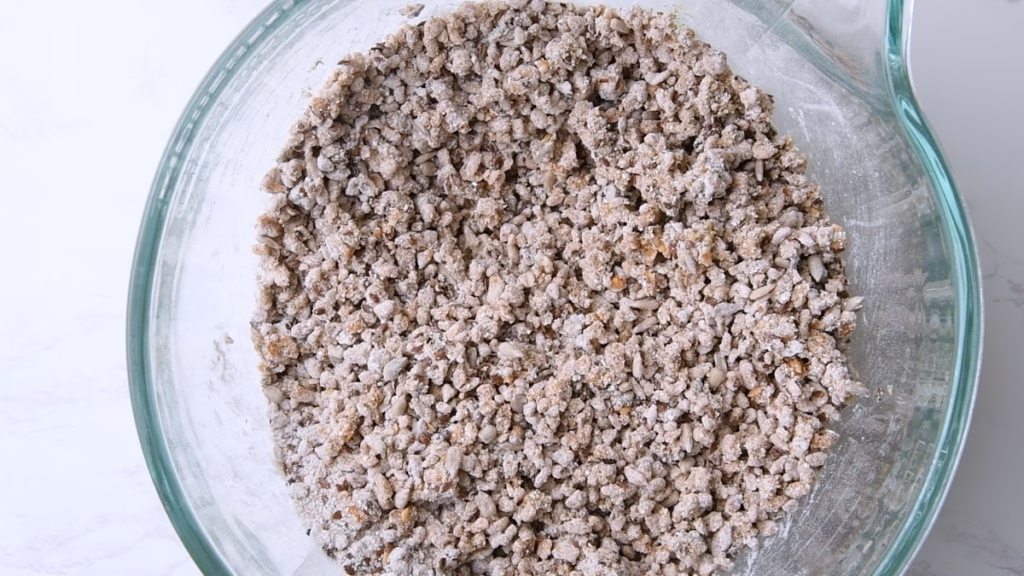
Stir The Dry Ingredients
To your bowl of well soaked and drained grains, add the dark rye flour, Einkorn/Emmer Flour (or substitute wholegrain flour), sunflower seeds, Flax seeds, and kosher salt.
Use your dough whisk or a sturdy spoon to give everything a good stir.
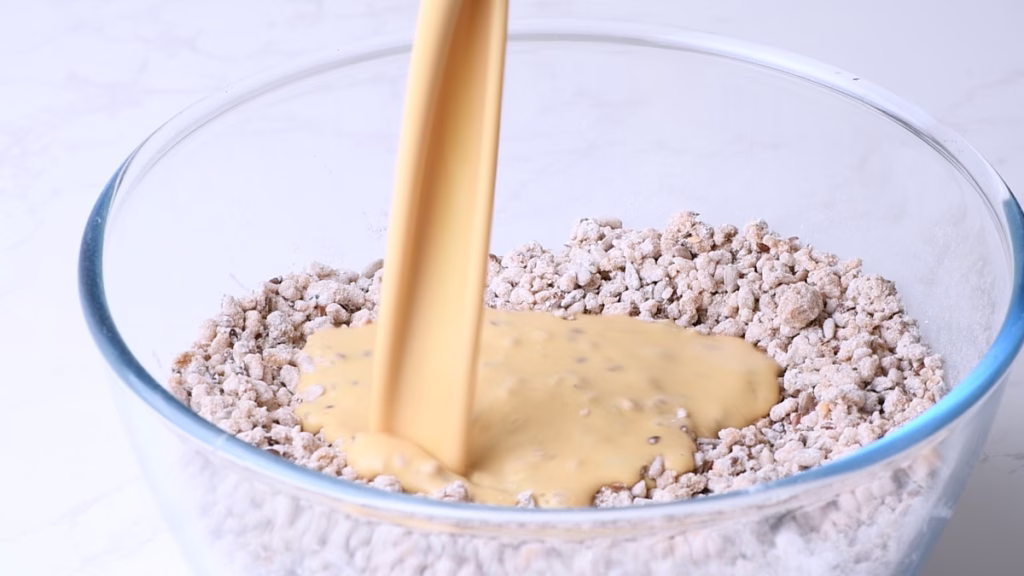
Mix The dough Of Your German Protein Schwarzbrot
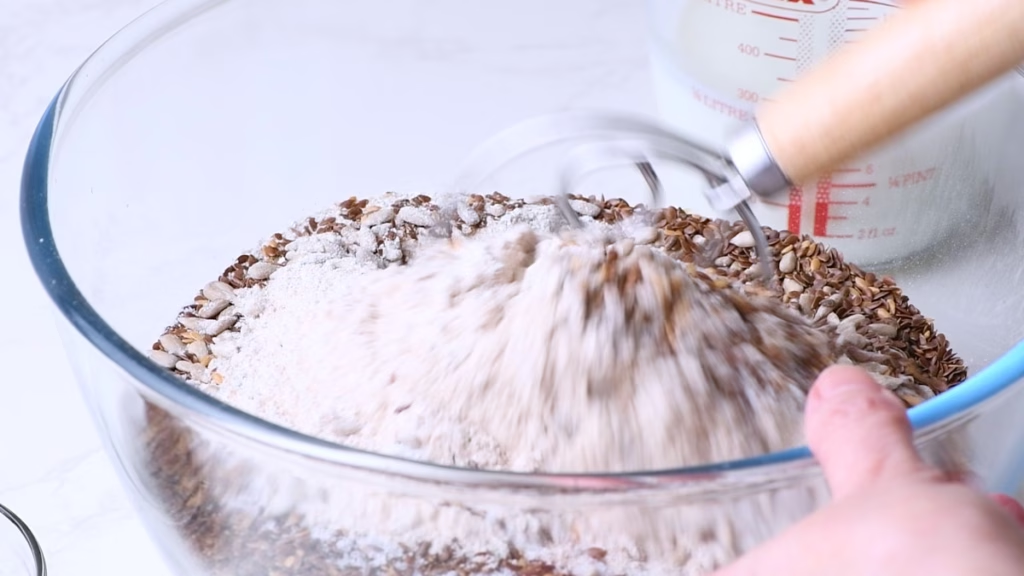
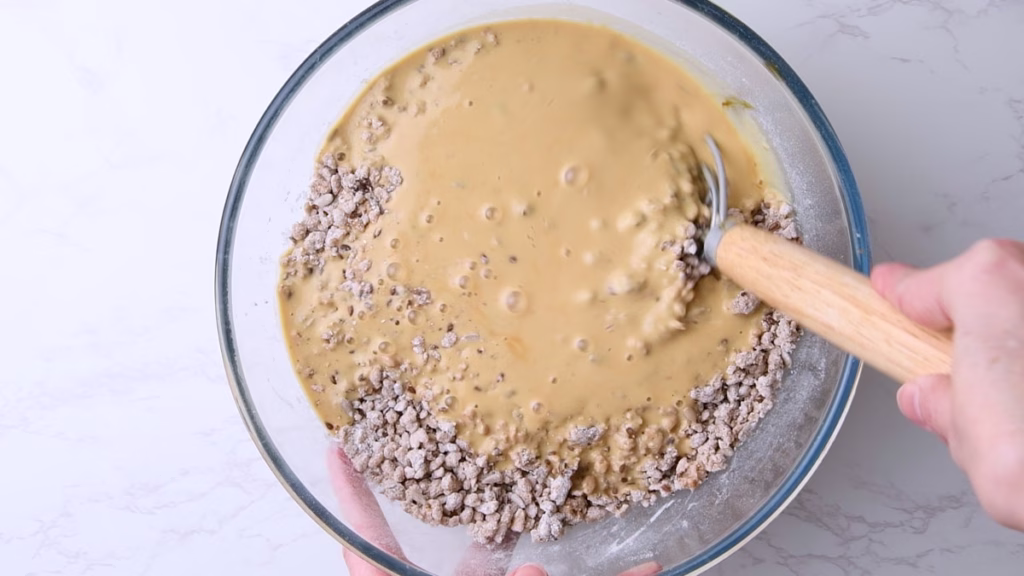
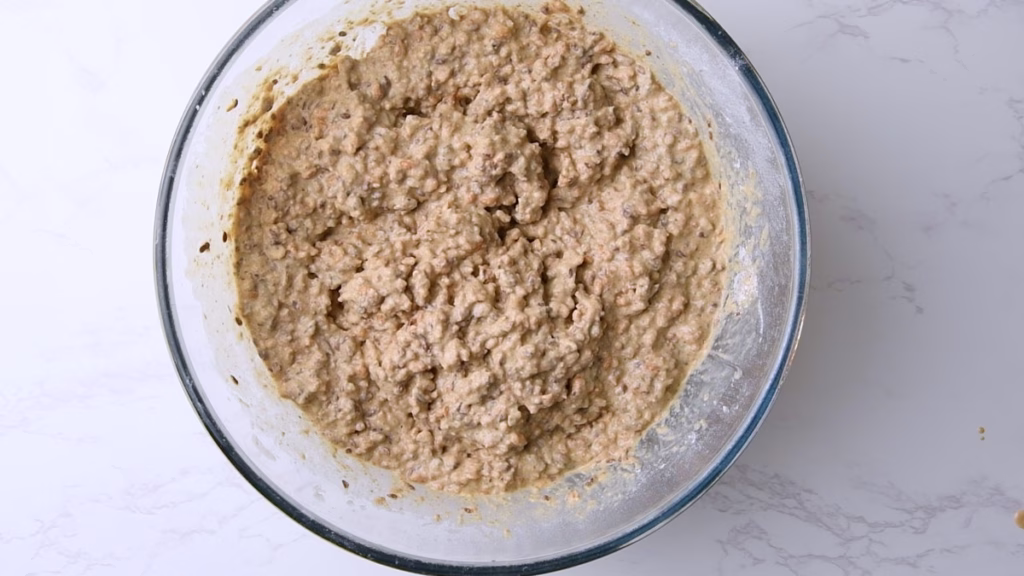
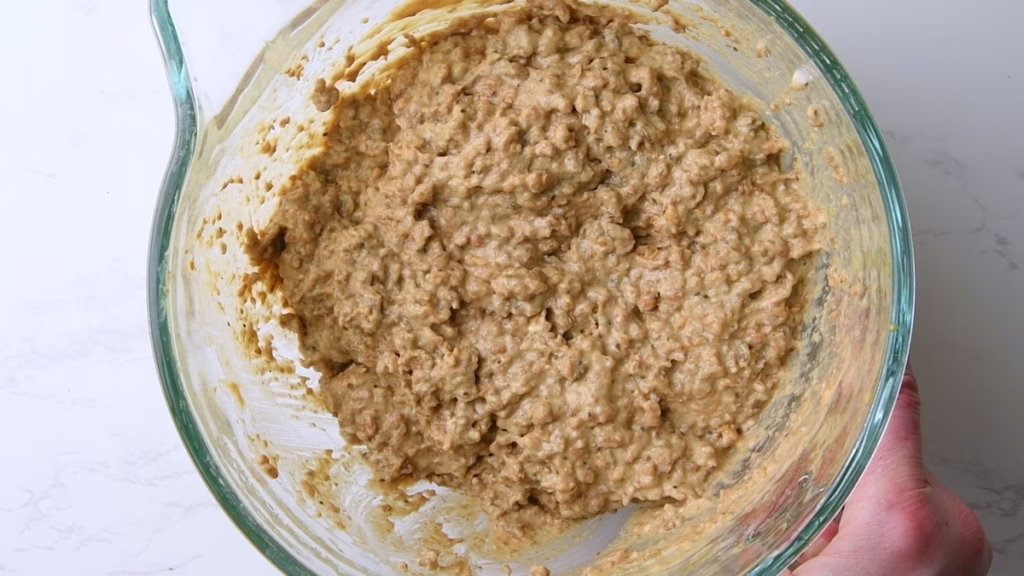
Add the wet ingredient mixture to the dry ingredients in the bowl. Knead, ideally in a stand mixer, for about 15-20 minutes on low.
While this sounds like a very long time, it gently releases the starches and pentosans (the natural ‘glues’ in rye), allowing the water to bind more effectively, helping to prevent the dreaded “flying crust” you can see in the picture on the topic above.
Here is the before and after look:
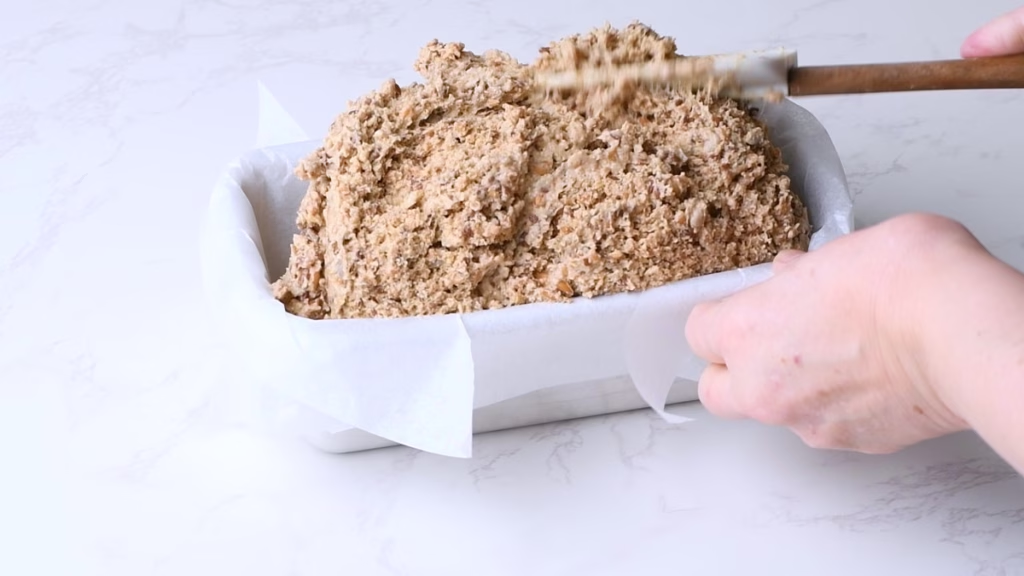
It will be very soft and sticky, looking more like a thick banana bread batter than typical sourdough bread. This is working as intended.
There is no windowpane test or similar with this dough. It’s also very forgiving when it comes to the fermentation time.
Day 2 (Afternoon/night): Overnight Cold Fermentation
Transfer To Bread Pan and Overnight Fermentation
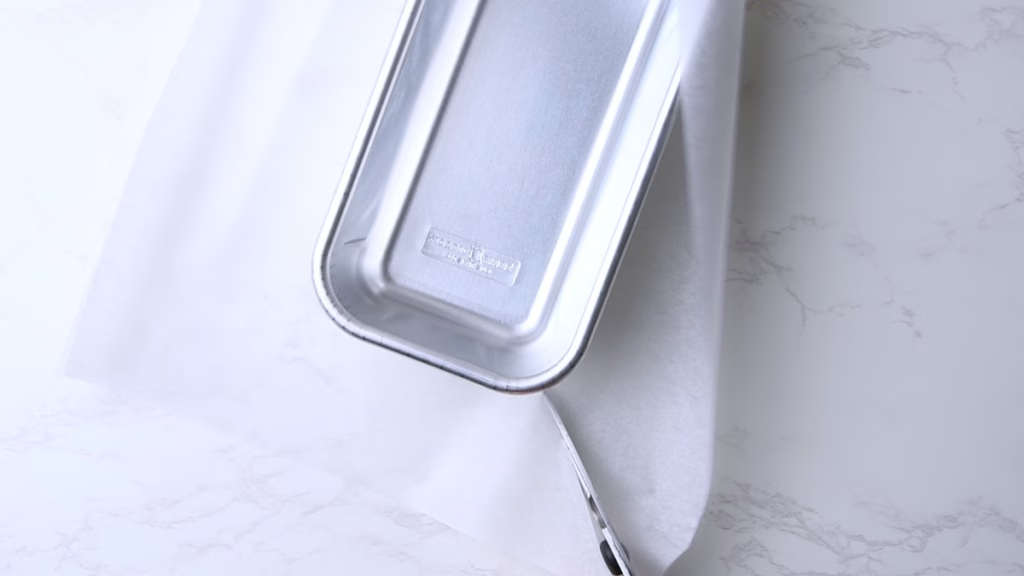
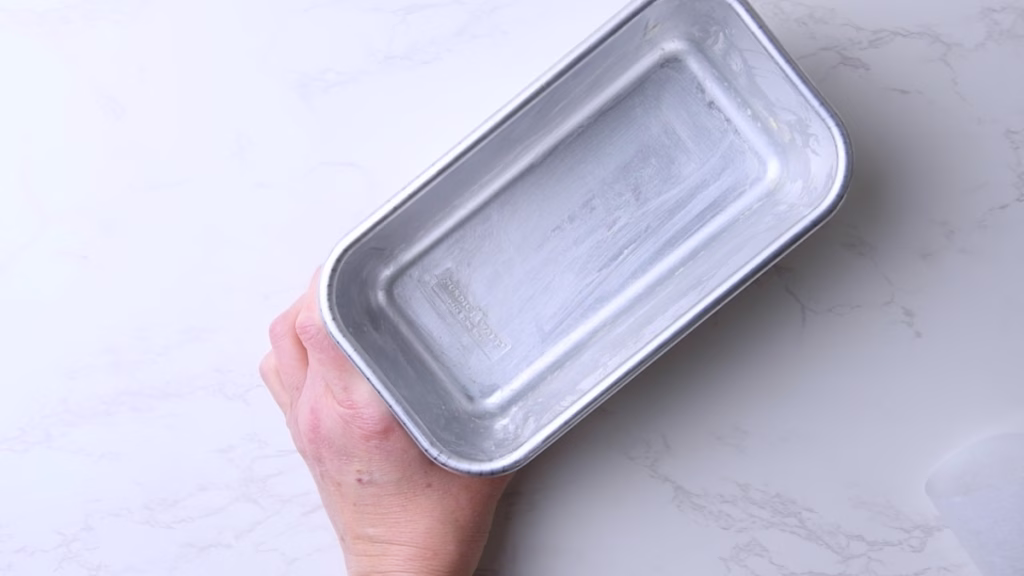
Grease a standard 9×5-inch bread pan.
Because of the long kneading time, I skipped the typical bulk proof and simply went ahead with the cold fermentation. You can add the bulk proof if you like. Whatever fits your schedule.
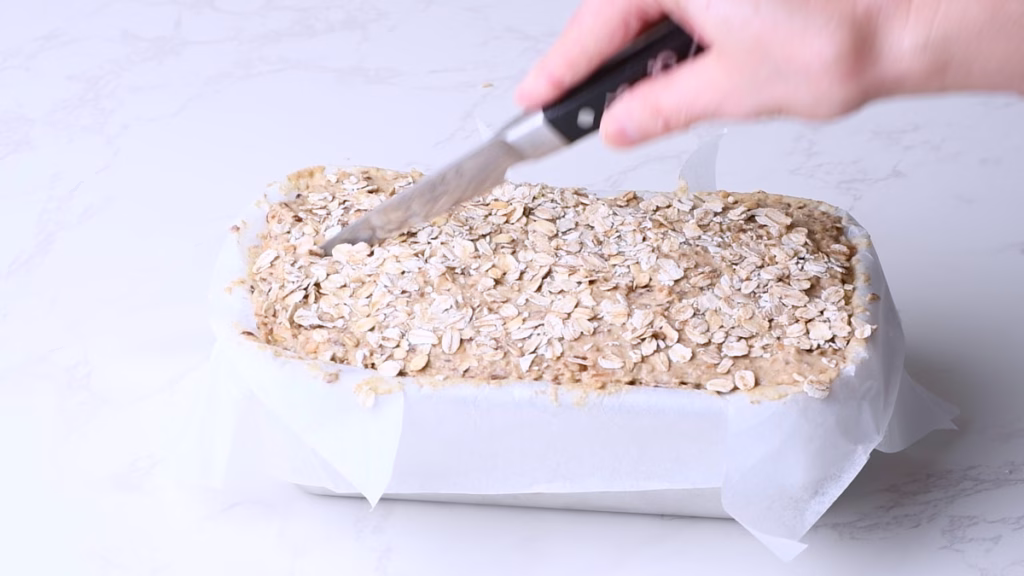
Now you have 2 choices: If you know your bread pan is perfectly non-stick, just sprinkle it with some oats.
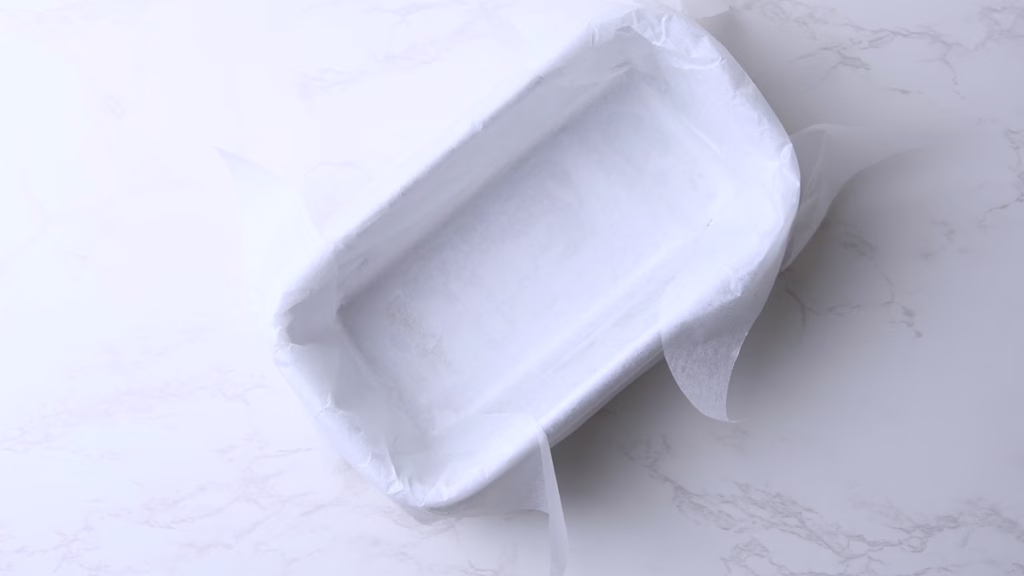
If you are like me and are occasionally unlucky with sticky dough, line it with baking parchment. I show you some steps to do this neatly in the video.
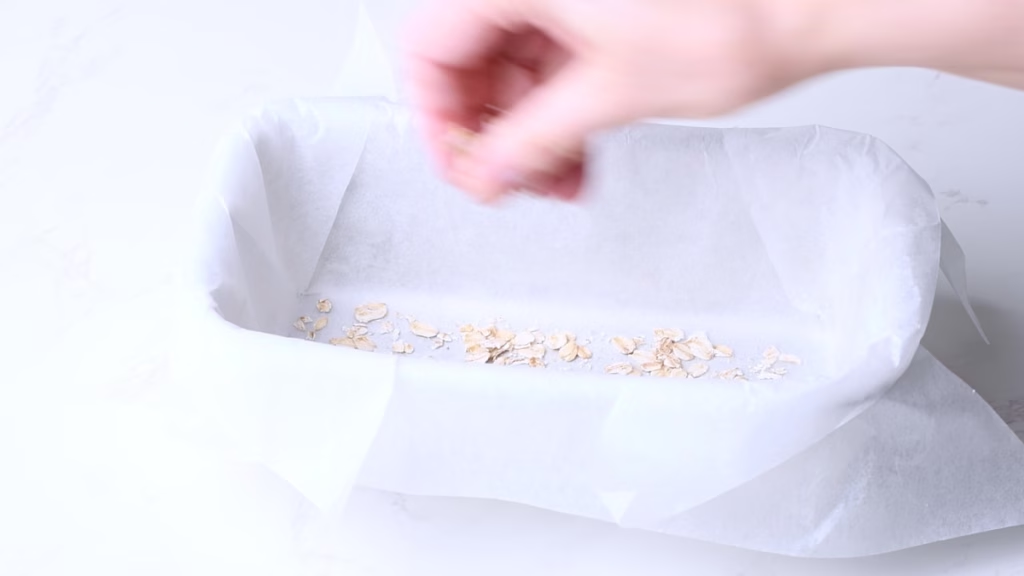
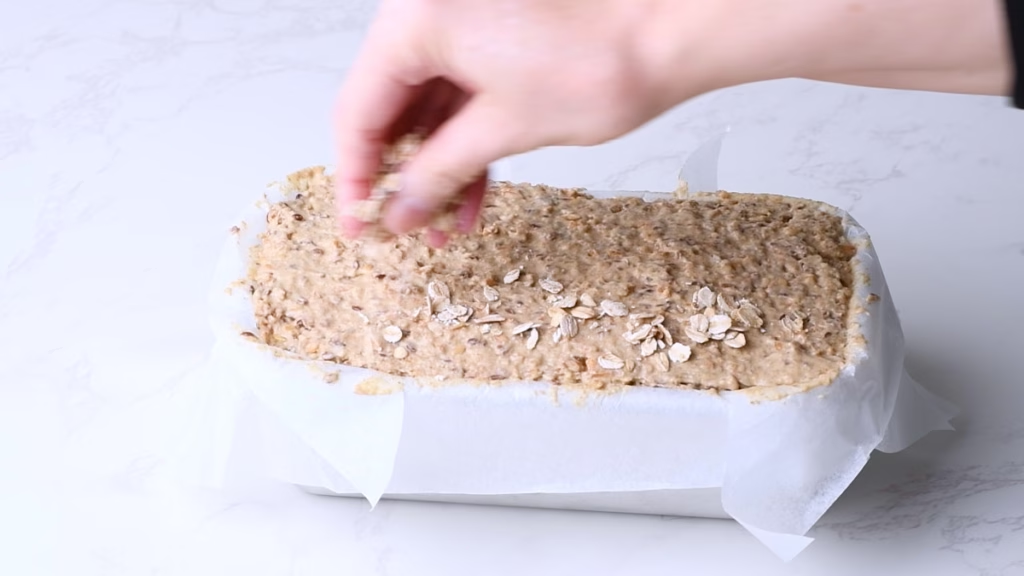
Then sprinkle some rolled oats into the pan, to give your loaf the classic look.
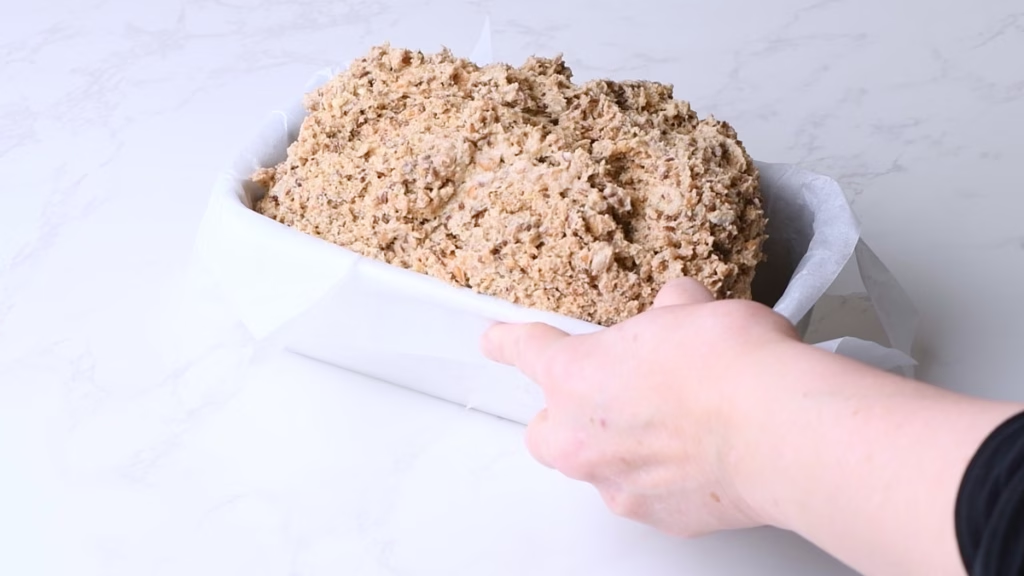
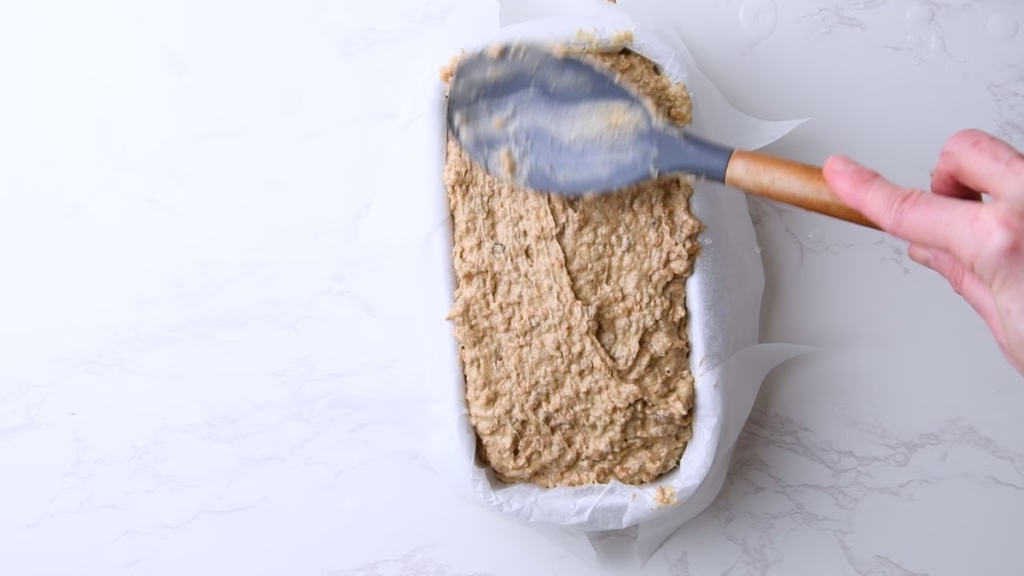
Transfer the dough into a greased/Lined bread pan. This works best with a rubber spatula.
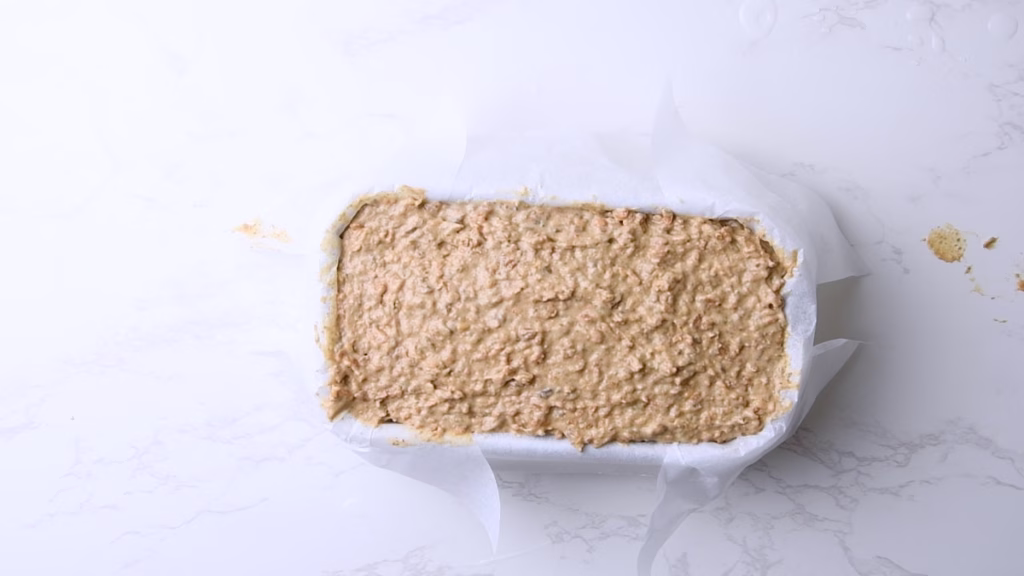
Your dough will come to the very top of your pan. That’s what you want, as it won’t rise very much.
Sprinkle the top with some more oats.
Cover with some cling film or a shower cap and allow to overnight ferment in the fridge.
Day 3 – Baking Your Protein Rye Bread
A Note on Scoring
A classic German Black Bread (Schwarzbrot) is usually not scored, but allowed to crack open naturally where it wants. This is what you see in the main pictures of the post and why it looks rather…wild. I did score my bread in the previous version, but felt it contributes to said possibility of “Flying Crust” as it “cuts” through the center and with that destabilises any crust that forms.
Be aware though, due to the very high hydration, if you score, you’ll want to make a big and wide score, not a razor sharp one, as that will close within seconds.
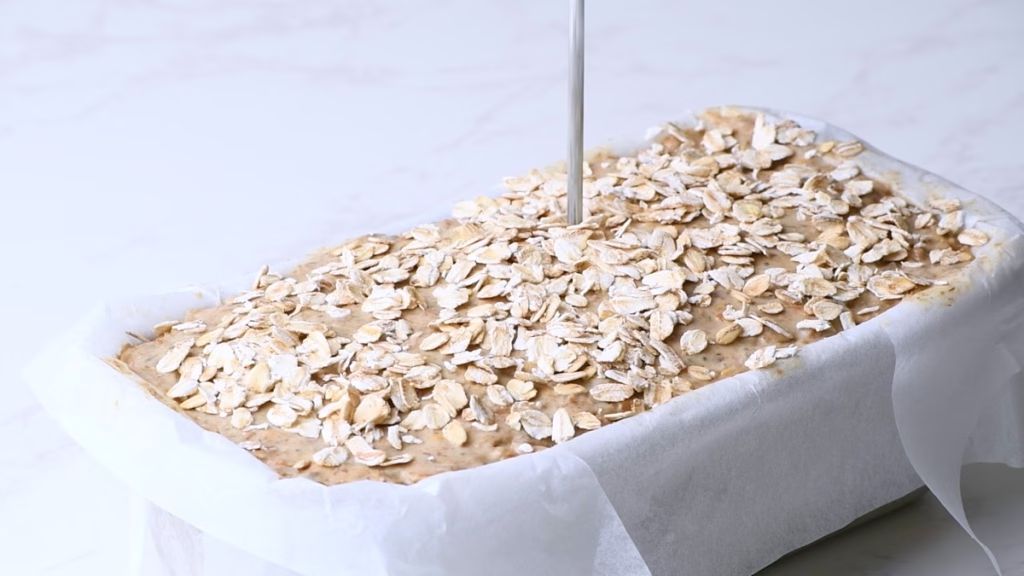
For this loaf, I went with poking it with a skewer a few times. And looking at the outcome, I’d say that worked quite well.
The moral of the story: Try it out. Go with your preferences. And if the crust does come off a little? You just snack on it and pretend you wanted crustless slices anyway. That’s what I did anyay.
Bake Your Sourdough Black Bread
Take your Bread Pan out of the fridge. The dough should have risen a small bit, just about to the rim of the pan, but not as much as your classic sourdough bread by a long shot.
Preheat the oven to 320°F (160°C).
Place a heavy-duty cast iron skillet or a stainless steel baking tray on the rack below where you’ll bake the bread for adding steam in the first 15-20 minutes. Avoid glass, as it can shatter when you add the water.
Once you push your bread into the oven, add about 1 cup of water to the heatproof container you pre-heated in your oven and close the door. This will create steam to give the bread a bit of an initial burst of rising and later help the crust get crisp, but not overly hard.
After about 30 minutes of baking open the oven door briefly, to let any potentially remaining steam escape and close the door again.
Bake for about 130 to 150 minutes or until the bread reaches an internal temperature of 205°F (96°C).
I usually rotate my bread about halfway through the baking, as my oven browns unevenly.
If your crust looks like it might be getting too dark in the last 30 minutes (I know, hard to tell with this dark bread!) you can cover it losely with some kitchen foil. I usually enjoy the dark brown bits, as they are full of flavor!
Allow Your Bread to Cool. Really.
Once baked, remove the bread from the oven and let it cool in the tin for a few minutes. Then transfer the bread to a wire rack to cool completely before slicing.
And when I say “completely”, that’s at least 8 hours or, better, 24 hours.
If you slice it too early, the insides may still be sticky, and it’ll be very tricky to get neat, clean slices.
That being said: While for most breads you’d use a serrated knife, for this one you’ll want a sharp, straight blade to cut cleanly through the grains, without dragging them and breaking the slice. It may take a bit of practice to get those thin slices that are so classic for Schwarzbrot.
You could always use an electric slicer (again, without serration), but not everyone has one of those.
Contrary to your usual sourdough bread, this one gets better over the next days and lasts for up to 2 weeks in an airtight container.
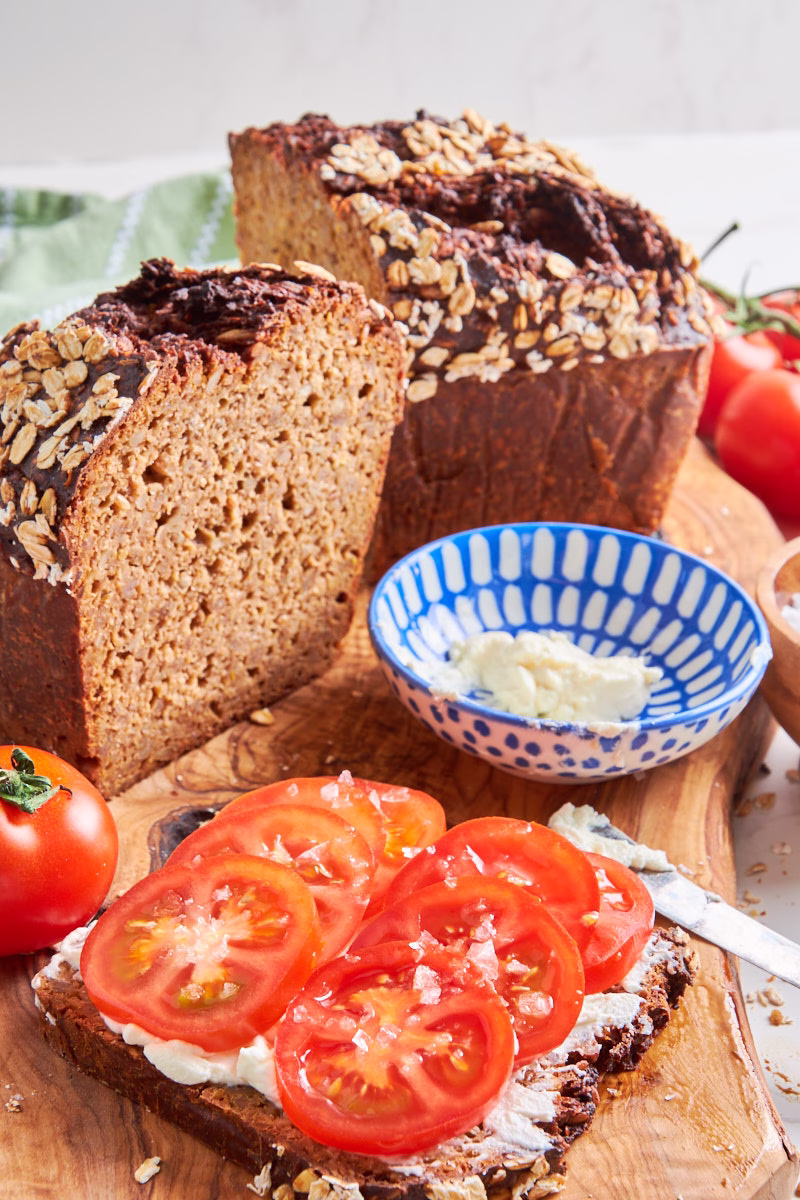
Enjoy your homemade German Protein Black Bread with Sourdough!
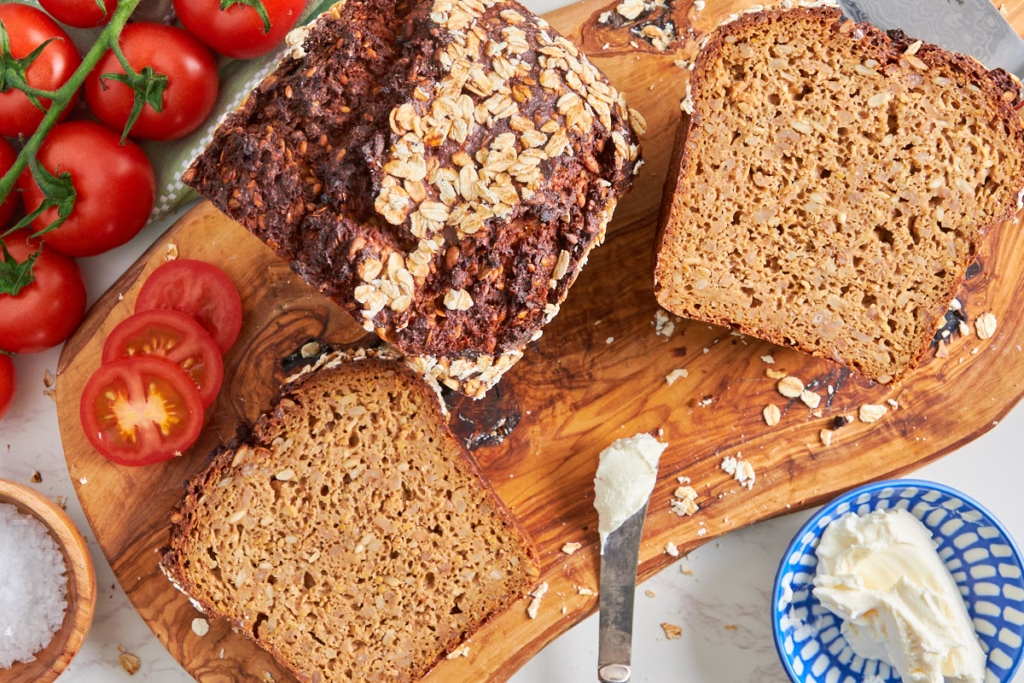
I love mine with some cream cheese, a few slices of tomato and a sprinkle of Maldon salt. Alternatively, butter with a bit of molasses or German Beet Syrup is either breakfast or dessert!
How To Store
This Whole grain black bread keeps in an airtight container on your counter for up to 2 weeks. You can also store it in the fridge for about the same time.
It freezes fabulously well in either a freezer bag or wrapped tightly into clingfilm, then kitchen foil.
Either whole or in slices, separated by baking parchment, so you can grab one at a time.
You can also toast it. This will intensify the lovely nutty flavor and re-crisp the crust in all the right ways.
Now I’d love to hear from you in the comments!
Have you tried this? Did you enjoy it? What other recipes would you like to see?
And if you enjoyed this recipe, please consider rating, sharing, or leaving a comment – your feedback truly helps my blog grow!
FAQ
My bread feels like a brick/very heavy. Did I do something wrong?
Not at all! This is a “dense” bread by design. Unlike a baguette or a sandwich loaf, Schwarzbrot doesn’t have large air bubbles. It should feel heavy and substantial. If it’s yielding and soft to the bite (not “rock hard”), you’ve nailed it.
Can I use whole grain berries instead of cracked ones?
I don’t recommend it unless you have a very long soak (48 hours) or a grain mill. Whole berries can stay quite hard even after baking, which can be unpleasant (or even a risk for your teeth!). If you only have whole berries, pulse them in a blender for 30 seconds to crack them open first.
Is it supposed to be this sticky when I slice it?
Rye is naturally stickier than wheat. However, if it’s “gummy” and leaves a residue on the knife, it likely hasn’t cooled long enough. This bread must rest for at least 8–24 hours to let the starches set. If it’s still sticky after 24 hours, try baking it for 10 minutes longer next time.
I don’t have a sourdough starter. Can I just use yeast?
You can use yeast for the rise (see my substitutions section), but you must add an acid like apple cider vinegar or lemon juice. Without acidity, the starches in rye flour won’t set properly, and you’ll end up with a “molten” or gummy interior.
Will the cottage cheese make the bread taste cheesy?
Not at all. Once blended and fermented with the sourdough, the cottage cheese completely disappears into the crumb, leaving behind only moisture and extra protein.
“The best bread you can eat this year.” It sounds like clickbait until you see the stats. This Sourdough Protein Schwarzbrot is a German-style powerhouse that hits every health marker: 74% (up to 100% if you use rye starter) whole grains, 3.4g of fiber, and a massive 6g of protein per slice. But as a German, I have a rule: it has to taste fabulous. This isn’t “cardboard” bread—it’s a dense, nutty, and complex loaf that makes store-bought slices feel boring. Here is how to bake the most nutrient-dense bread of 2026.
Ingredients
UnitsScale
Sourdough Starter (Levain)
2 tbsp (20g) starter
1cup +2tbsp (140g) flour – Use Dark Rye to transform this into 100% whole grain.
1/2cup (125ml) water
Rye Bread Dough
1cup (120g) dark rye flour
3/4cup (90g) Emmer or Einkorn Flour (Substitute Wholegrain)
1cup (200g) cracked Spelt or Emmer or Wheat berries
1cup (250g) Cottage Cheese
1/2cupwhey concentrate, unflavored
1/2cup (70g) sunflower seeds
1/2cup (75g) Flax seeds
1cup (220g) sourdough starter
1/3cup + 1tbsp (90ml) water
2 tsp (6g) kosher salt
3 tbsp (45g) molasses (or honey)
3 tbsp rolled oats for sprinkling
Instructions
Day 1: Preparing the Levain and Grain Soak
Levain
Prepare your Levain my mixing all the ingredients and leaving it lightly covered on your counter overnight. Due to the feeding ratio, It’ll be ready to use the next day, whenever you get around to it.
Soak Your Grains
Pre-soak the grain berries by covering with about double their volume of just boiled water. Leave them covered on the counter overnight.
If you are in a hurry…well…relative hurry, as this is, by nature, a slow bread, you can boil the cracked grains for about 60-90 minutes until they are soft and then drain them.
Drain well in a sieve or colander for at least 10 minutes, shaking them occasionally, before mixing into the dough. Otherwise you may have a too wet dough.
If you have very fresh grain berries, you could try to skip this step and ferment the dough for at least 24h, but they will remain slightly harder than the pre-soaked version.
Day 2: Mixing the Protein Rye Dough
Blend the wet ingredients
Blend the wet ingredients Cottage Cheese, water and molasses (or honey) in your high speed blender until smooth.
Gently stir in your sourdough starter.
Stir The Dry Ingredients
To your bowl of well soaked and drained grains, add the dark rye flour, Einkorn/Emmer Flour (or substitute wholegrain flour), sunflower seeds, Flax seeds, and kosher salt.
Use your dough whisk or a sturdy spoon to give everything a good stir.
Mix The dough Of Your German Protein Schwarzbrot
Add the wet ingredient mixture to the dry ingredients in the bowl. Knead, ideally in a stand mixer, for about 15-20 minutes on low.
While this sounds like a very long time, it gently releases the starches and pentosans (the natural ‘glues’ in rye), allowing the water to bind more effectively, helping to prevent the dreaded “flying crust” you can see in the picture on the topic in the post.
It will be very soft and sticky, looking more like a thick banana bread batter than typical sourdough bread. This is working as intended.
There is no windowpane test or similar with this dough. It’s also very forgiving when it comes to the fermentation time.
Day 2 (Afternoon/night): Bulk Proof and Overnight Cold Fermentation
Bulk Proof
Cover your bowl with plastic wrap or a lid if you have one, so the top of the dough doesn’t dry out. Let it rest at room temperature for 4-6 hours. If you are really eager to bake it quickly, you can leave it for at least 8h and then bake. But the overnight fermentation in the fridge unlocks most of the benefits mentioned in the intro.
Transfer To Bread Pan and Overnight Fermentation
Grease a standard 9×5-inch bread pan.
Now you have 2 choices: If you know your bread pan is perfectly non-stick, just sprinkle it with some oats.
If you are like me and are occasionally unlucky with sticky dough, line it with baking parchment. I show you some steps to do this neatly in the video.
Then sprinkle some rolled oats into the pan, to give your loaf the classic look.
Transfer the dough into a greased/Lined bread pan. This works best with a rubber spatula.
Your dough will come to the very top of your pan. That’s what you want, as it won’t rise very much.
Sprinkle the top with some more oats.
Cover with some cling film or a shower cap and allow to overnight ferment in the fridge.
Day 3 – Baking Your Protein Rye Bread
Bake Your Sourdough Black Bread
Take your Bread Pan out of the fridge. The dough should have risen a small bit, just about to the rim of the pan, but not as much as your classic sourdough bread by a long shot.
Preheat the oven to 320°F (160°C).
Place a heavy-duty cast iron skillet or a stainless steel baking tray on the rack below where you’ll bake the bread for adding steam in the first 15-20 minutes. Avoid glass, as it can shatter when you add the water.
Once you push your bread into the oven, add about 1 cup of water to the heatproof container you pre-heated in your oven and close the door. This will create steam to give the bread a bit of an initial burst of rising and later help the crust get crisp, but not overly hard.
After about 30 minutes of baking open the oven door briefly, to let any potentially remaining steam escape and close the door again.
Bake for about 120 to 150 minutes or until the bread reaches an internal temperature of 205°F (96°C).
I usually rotate my bread about halfway through the baking, as my oven browns unevenly.
If your crust looks like it might be getting too dark in the last 30 minutes (I know, hard to tell with this dark bread!) you can cover it losely with some kitchen foil. I usually enjoy the dark brown bits, as they are full of flavor!
Allow Your Bread to Cool. Really.
Once baked, remove the bread from the oven and let it cool in the tin for a few minutes. Then transfer the bread to a wire rack to cool completely before slicing.
And when I say “completely”, that’s at least 8 hours or, better, 24 hours.
If you slice it too early, the insides may still be sticky, and it’ll be very tricky to get neat, clean slices.
That being said: While for most breads you’d use a serrated knife, for this one you’ll want a sharp, straight blade to cut cleanly through the grains, without dragging them and breaking the slice. It may take a bit of practice to get those thin slices that are so classic for Schwarzbrot.
You could always use an electric slicer (again, without serration), but not everyone has one of those.
Contrary to your usual sourdough bread, this one gets better over the next days and lasts for up to 2 weeks in an airtight container.
Enjoy your homemade German Protein Black Bread with Sourdough!
Don’t Skip the Soak: Your grain berries need that overnight soak to soften. If they go in dry, they’ll steal moisture from the dough, leaving the rest of the loaf crumbly and hard.
Drain the Grains Well: After soaking, let the grains sit in a sieve for at least 10 minutes. Too much “stray” water is often what leads to excess steam and a separating top crust.
Mix to Bind: Use a stand mixer or a sturdy spoon to mix the dough for a few minutes. We aren’t building a “gluten net,” but we are helping the rye’s natural starches bind with the water to create a solid loaf.
Trust the Internal Temp: Because this bread is dark, you can’t judge it by color. Use a thermometer! When the center hits 205°F (96°C), the “rye glue” has set, and the bread is done.
The 24-Hour Rule: I know it’s tempting, but do not slice this bread while it’s warm. The starches need a full day to settle and “cure.” If you cut too early, the inside will be sticky and gummy.
Note:
In some recipes I saw people carefully measuring the water they soak their grains in. I found, with the about 450ml (under 2 cups) you need, the grain is covered at first, but soon expands above the water, meaning you have some dryer and some wetter berries, leading to weird changes in texture and hard grains in parts.
You could argue that different sizes of grain berries soak up very different amounts of water and you’d be entirely correct. I weighed differences of up to 1/2 cup/120ml when soaking different types of grains. But that’s where the core temperature at the end of baking comes into play. If your bread is at 205°F (96°C) the water has evaporated to the degree that gives this bread the ideal texture. You might bake a little longer or shorter, but it’ll still work beautifully with soft grains throughout the dough.
A Note on Scoring
A classic German Black Bread (Schwarzbrot) is usually not scored, but allowed to crack open naturally where it wants. This is what you see in the main pictures of the post and why it looks rather…wild. I did score my bread in the previous version, but felt it contributes to said possibility of “Flying Crust” as it “cuts” through the center and with that destabilises any crust that forms. The moral of the story: Try it out. Go with your preferences. And if the crust does come off a little? You just snack on it and pretend you wanted crustless slices anyway. That’s what I did anyay.
How to Store
This Whole grain black bread keeps in an airtight container on your counter for up to 2 weeks. You can also store it in the fridge for about the same time.
It freezes fabulously well in either a freezer bag or wrapped tightly into clingfilm, then kitchen foil.
Either whole or in slices, separated by baking parchment, so you can grab one at a time.
You can also toast it. This will intensify the lovely nutty flavor and re-crisp the crust in all the right ways.
Prep Time:40 minutes
Fermentation/Grain Soaking Time:16 hours
Cook Time:140 minutes
Category:Sourdough Protein Bread
Method:Bake
Cuisine:German
Sonja Goeden
My name is Sonja and “For The Pleasure Of Eating” is my food blog that focuses on the joy of eating while fuelling my body in a healthy way. I create mostly Sourdough and Protein recipes and find ways to incorporate more plants into meals.
10 Comments
This may be my new favorite bread. So hearty and perfect for morning toast along with a sunny side up egg. Yum!
To provide the best experiences, we use technologies like cookies to store and/or access device information. Consenting to these technologies will allow us to process data such as browsing behavior or unique IDs on this site. Not consenting or withdrawing consent, may adversely affect certain features and functions.
Functional
Always active
The technical storage or access is strictly necessary for the legitimate purpose of enabling the use of a specific service explicitly requested by the subscriber or user, or for the sole purpose of carrying out the transmission of a communication over an electronic communications network.
Preferences
The technical storage or access is necessary for the legitimate purpose of storing preferences that are not requested by the subscriber or user.
Statistics
The technical storage or access that is used exclusively for statistical purposes.The technical storage or access that is used exclusively for anonymous statistical purposes. Without a subpoena, voluntary compliance on the part of your Internet Service Provider, or additional records from a third party, information stored or retrieved for this purpose alone cannot usually be used to identify you.
Marketing
The technical storage or access is required to create user profiles to send advertising, or to track the user on a website or across several websites for similar marketing purposes.
 Buy Now →
  Buy Now →
  Buy Now →
  Buy Now →
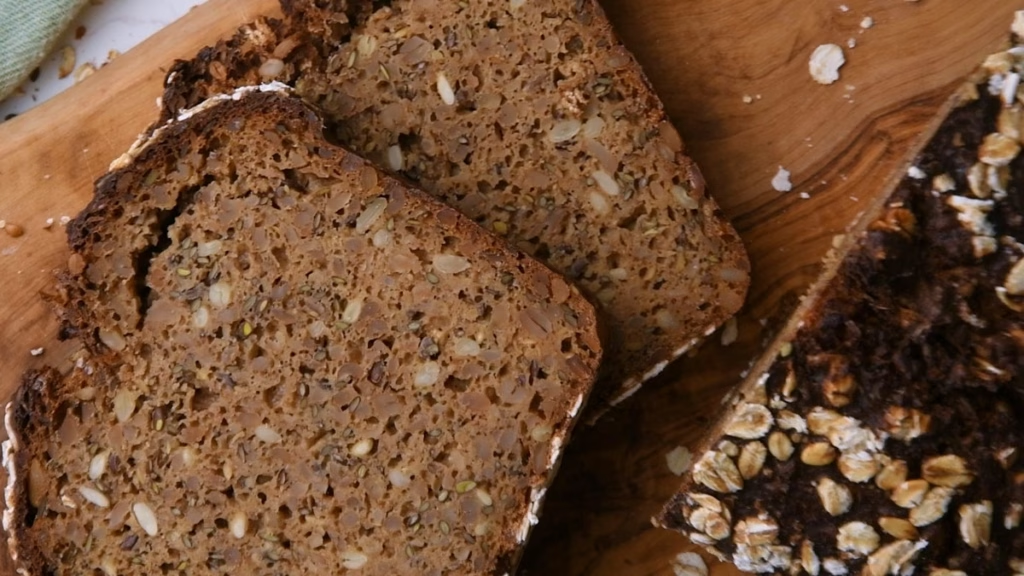


This may be my new favorite bread. So hearty and perfect for morning toast along with a sunny side up egg. Yum!
That makes me really happy to hear!
Thanks a lot for letting me know. 🙂
This German black bread with protein is wonderful idea, I enjoyed making it. Thanks for sharing.
Excellent, I’m so happy to hear that. 🙂
This German black bread with protein came out dense, hearty, and deeply satisfying—such a great sourdough loaf to slice and enjoy all week.
Oh good, so happy to know it worked well for you!
Thanks for letting me know.
Fantastic recipe! I love buying bread like this at the store, so it was nice to be able to make a hearty loaf at home that’s super fresh.
Ahhh, that’s so nice to hear! Thanks so much for letting me know. 🙂
I have such an appreciation for a hearty German Black Bread. That dense, earthy texture and rich flavor profile are so unique!
Thank you, it really is! And so hard to find elsewhere!