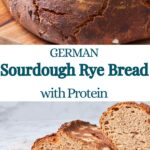
Ready to bake a delicious, authentic German rye bread with a secret healthy twist? This recipe for German Sourdough Protein Rye Bread (or Krustenbrot) combines the traditional, earthy flavors and hearty, crusty texture you’d find in a German bakery with an incredible boost of protein, perfect for keeping you full and energized. Whether you’re a seasoned baker or just starting your sourdough journey, this loaf is surprisingly easy to make and tastes just like the real deal.
This post may contain referral links for products I love. For The Pleasure Of Eating earns a small commission on these links at no cost to you.
Authentic German Flavor: Get the classic, earthy taste and satisfying crust of traditional German rye bread.
High-Protein Twist: This loaf has about double the protein of a standard rye bread, keeping you full longer.
Gut-Friendly & Easy to Digest: Made with sourdough, it’s easier on your stomach and a great option for those with mild gluten or lactose sensitivities.
Beginner-Friendly Sourdough: No-knead and simple to shape, it’s a great project even for your very first sourdough loaf.
Typical German Rye Bread
If there is one thing I’m missing a lot since I moved from Germany to Ireland, it’s a really good loaf of crusty rye bread. We also call it “Bauernbrot” (farmers bread) and you find it in one version or another in most German bakeries. It was my favorite because…well, imagine for a moment biting into a slice of bread that tells a story of the earth and the fields.
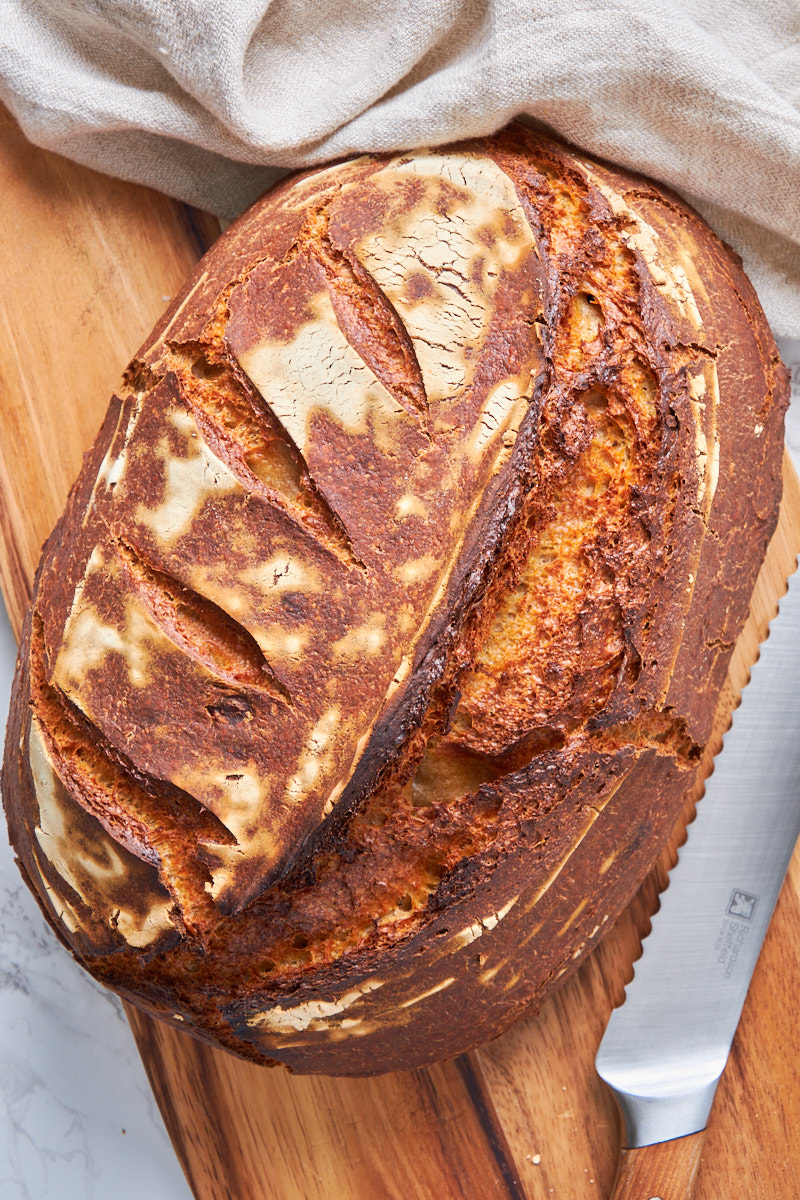
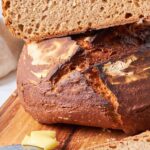
The first thing you notice is the crust—it’s a deep, rich brown, almost like a piece of toasted caramel, and it has a satisfying crackle as you bite into it. It’s not just hard; it’s got a nutty, slightly bitter flavor that comes from the high heat of the oven.
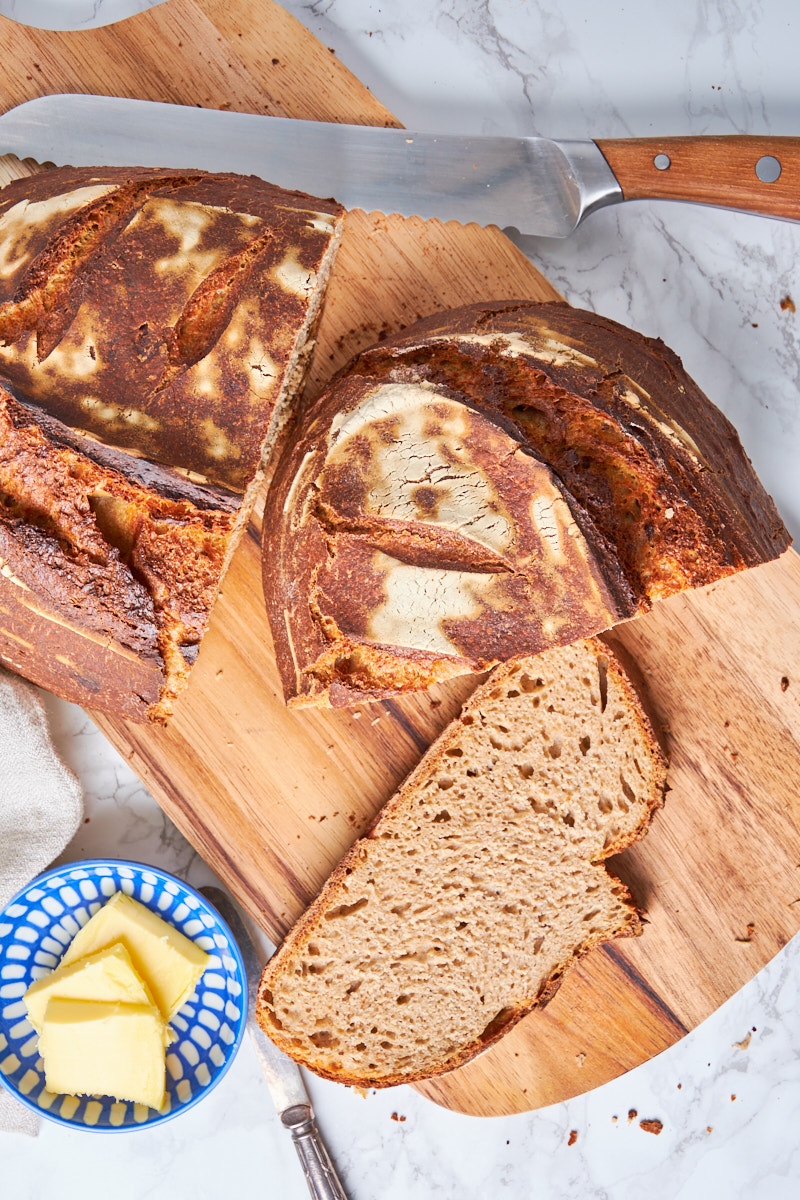
Then, you get to the inside, the crumb. Unlike a soft, fluffy white loaf, this bread is dense and substantial. It feels rustic and wholesome in your mouth. The dominant flavor is that of rye—it’s not sweet like wheat bread. Instead, it has a distinct earthy, slightly tangy, and even a little bit sour taste. This isn’t just the sharp sourness of sourdough, but a deeper, more mellow tang that pairs beautifully with savory foods, like the typical cheese and cured meats platter we often serve with it for both breakfast and dinner. This bread is all of the above, but with a nutritional twist!
Make it with Protein
Staying true to my recent post about focusing on more of what you love and the nutritional needs of my body, I decided to create a version that tastes exactly like the German bread recipe I miss, but with about double the amount of protein compared to a standard rye loaf. Yet, you won’t notice any difference in flavor or texture.
Ingredient
Standard Rye Bread
Protein Sourdough Rye Bread
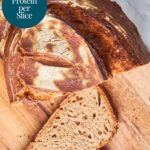
Protein per Slice
~5.42g
~10.4g
The secret to this change is the combination of sourdough, protein powder and cottage cheese in a ratio that allows the (minimal) fat from the cottage cheese to balance out any dryness you might usually experience from adding whey protein, while keeping the protein powder content just at the limit of not negatively affecting the general texture. In fact, it provides extra structure and a lovely caramelisation coming from the whey.
The sourdough starter contains and produces a wide variety of enzymes, including proteases. These proteases are enzymes that break down protein molecules into smaller peptides and individual amino acids, which our bodies can more easily absorb.
The process works on both the protein within the flour and the added whey protein. This means you get more bang for your buck from the protein you are adding to sourdough bread when you allow it to long ferment.
Plus, we all love a good bread, don’t we? Why not combine it with more of what we need?
Keeps you Fuller for Longer
Have you ever had a carb filled meal that you thought should keep you full, yet two hours later you were hungry again? I sure have.
It’s because of two factors: Pure carbs, especially white flour, shoot up your blood sugar quickly and it drops just as fast, leading to hunger pangs.
Plus the lack of protein, which doesn’t give body the macronutrient it needs as building block.
This high-protein bread helps with both issues. The slow fermentation with sourdough leads to a lower glycemic index, meaning your blood sugar rises slower (which is also great news for diabetics), keeping you fuller for longer. Rye flour adds even more to the satiety, as it’s usually sold as whole grain flour.
This slow fermentation also makes this a very gut-friendly bread.
Easy And Beginner Friendly
I’ve made the particular loaf you see here with a very fresh rye sourdough starter that was just 5 days old. I had decided I need new images for my Rye Sourdough Starter post and figured, while I’m at it, I show you what a loaf made with this super young starter looks like. So, you can even make this with your very first sourdough starter, right as your first project.
On top of that you can absolutely treat this as no-knead bread, simply combining the ingredients as described, then doing 3 sets of stretch and folds, as the overnight fermentation does most of the gluten development for you.
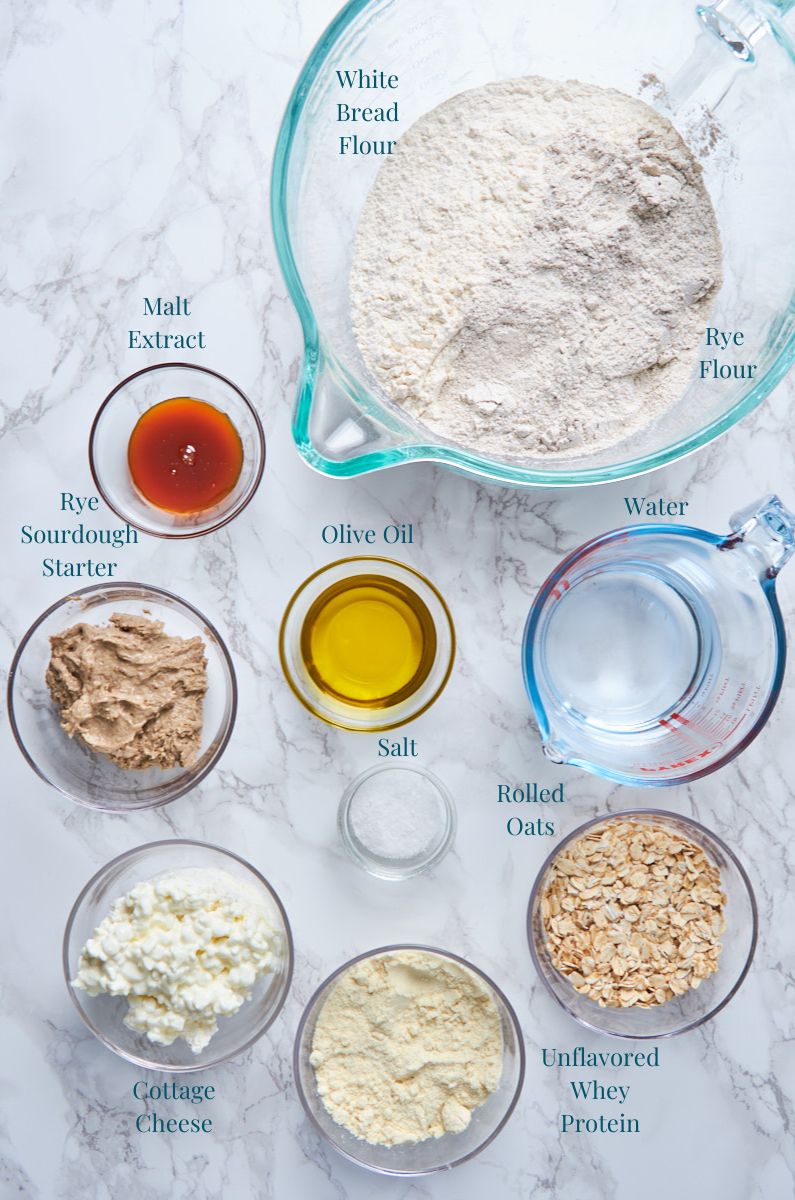
Ingredient Notes
This bread primarily relies on classic rye sourdough ingredients, enhanced with two key protein components. Here’s a closer look at what you’ll need and why each ingredient is important:
Bread Flour – Strong bread flour has a higher protein content than all-purpose flour and forms a stronger gluten network, responsible for the beautiful open crumb you get in this bread.
Rye flour – I used dark rye flour, but any type of rye flour will work to give you the characteristic flavor.
Oats – Add texture, sweet, nutty flavor and fiber.
Salt – Not only for flavor, but to control the fermentation rate and give it time to develop.
Cottage Cheese – Part of the protein addition here. Gives a lovely fresh flavor to the bread, increases moisture and introduces a tiny bit of fat, keeping the dough supple even when adding protein powder.
Protein powder – This recipe is optimized for the use of unflavored whey concentrate, which seems to be the most commonly used protein powder. It acts similar to flour in baking, in that it absorbs moisture and lends structure. Too much and you get a very dry loaf. I’ve found that 50g of whey protein with the other ingredients in this recipe gives about the Goldilocks texture. It sounds like very little, but together with the cottage cheese it nearly doubles the protein content per slice. Make sure that for this loaf, you indeed use unflavored protein powder. Unless of course you love rye bread with, say sweet vanilla flavor. Or chocolate. Hmmm…chocolate might actually work nicely! Let me know if you try it!
Sourdough Starter – The key to make this bread work for you. Ideally a well fed and active starter. But as mentioned above, I’ve made this with a very young rye starter (white will work too), and the bread turned out beautifully!
substitutions
Bread Flour – You can use all-purpose flour if that’s what you have. Your bread might have a little less structure (fewer bubbles) and be more tender, but still delicious. If using gluten free flour, you’ll have to add psyllium husk powder to get similar results. About 27g on 500g gluten free flour should be a good starting point.
You can also replace about 1/3 of the white flour with whole wheat bread flour without sacrificing much of the texture but might have to add a little more water.
Rye Flour – Because it is the main flavor component for this particular bread, I wouldn’t advise to replace it.
Cottage Cheese – I have yet to find a vegan source that performs as well as cottage cheese but could imagine vegan Greek yoghurt working in similar ways, if with a little less protein but higher fat content.
Protein Powder – Casein and spent barley (for vegans) both work well.
Note on Protein Powder
I go into details on the difference between 3 types of protein powder in my article on basic protein sourdough bread. I mostly use unflavored whey concentrate in my baking and this recipe is optimized for it.
If you’d like to use casein (or a blend of casein and whey) you might need to add a bit more water. If using upcycled barley-rice protein powder, which is vegan and adds a stunning malty flavor to bread, you’ll need a little less water.
If you try any of the above GF or vegan substitutions, I’d love to hear about your results in the comments.
A Note for Those with Mild Gluten or Lactose Intolerance
Sourdough with its ability to break down both gluten and lactose into easier to digest molecules can help alleviate those intolerances when eating slow fermented (mainly homemade) sourdough bread.
Those of you who were on vacation in Europe and noticed you suddenly have no gut problems when eating bread: That was the reason.
Try out this bread and see how you feel after.
Personally I’m lactose intolerant and have no issues whatsoever when eating this bread.
For those with celiac disease: The general advice is still to avoid any gluten. Though you might ask your GP about sourdough bread and he can probably give you a more personalised advice.
Variations
Rye bread lends itself to countless variations. Here are a few you would find in German bakeries:
CrispyFried Onion – Mix a handful or two of ready-made crispy fried onions into the dough during the first 2 stretch and folds. They will add an incredible aromatic flavor to your bread and make it even better suited for cheese!
Add Seeds – Half a cup of sunflower, sesame, or pumpkin seeds are another typical addition. You could also roll your ready shaped bread in them after brushing it with a bit of water for stickiness. They would also raise the protein content even further.
Caraway – Two tablespoons of caraway mixed into the flour from the start give this a very classic German flavor, as we tend to add it to most of our rye breads. It also helps with digestion.
Grated Cheese – Fold in about 1 cup of grated sharp cheddar during the stretch and folds and you have yourself a rather stunning cheesy loaf! Add a few sliced jalapenos, to give it a spicy kick. (Not German, but leaning Mexican at that point)
Equipment Used
Blender– The only slightly unconventional piece of equipment you’ll need is a blender. I used my Nutribullet, but any blender or food processor that can transform cottage cheese into a smooth cream will work.
Large bowl or Stand Mixer– Rye bread tends to be stickier than white bread, but you still can make this without a stand mixer if you like.
For me, having arthritis, one like the Kenwood or Kitchen Aid (on the lowest setting. Please don’t kill your Kitchen Aid!) work very well to combine the wet and dry ingredients into a smooth dough. Don’t overmix though. The bulk of the gluten development happens during the stretch and folds and overnight fermentation.
Spoon or dough whisk– In my trials I found a dough whisk worked best for combining the dry with the wet ingredients at first, then switching to a sturdy spoon.
Banneton– A banneton is lovely if you bake on a regular basis. I particularly adore the silicone ones, as they can go into the dishwasher. The sets of them also often come with above mentioned dough whisk and some silicone baking mats, which are very useful for sticky sourdough bread.
Dutch oven– Or any lidded cast iron pot. They heat up together with the oven, to provide the initial heat burst needed for that perfect oven spring. The lid keeps in steam for the first half of baking, meaning you get a shiny crust that is crunchy, but not too hard.
I recently acquired a German Cloche Dutch Oven similar to the linked one and am amazed with the results. It’s also very affordable compared with, say, LeCreuset!
If you’d like to know why I chose my particular equipment, how I make my cooking more efficient and what I use as a women with chronic pain to still enjoy baking as much as I do, check out my Page on How to Make Life in the Kitchen Easier!
How to Make this
Please Note: For optimal results and accurate ratios, this recipe provides measurements in grams. Bread baking, especially sourdough, relies on precise liquid-to-flour ratios, which can be inconsistent when measuring by volume (cups).
Bakers Schedule
2 days before you want to bake your bread:
Feed your sourdough starter. (e.g., Early evening)
The afternoon before you want to bake your bread:
(e.g., Around 4:00 PM)
Mix the dough, let it rest for 30 minutes.
Perform 3 sets of stretch and folds roughly every 30 minutes (this doesn’t have to be exact).
(e.g., 4:30 PM, 5:00 PM, 5:30 PM)
Shape your dough and leave it to cold ferment covered in a banneton or bowl in the fridge overnight.
(e.g., 6:00 PM – until next morning)
The morning of baking:
Check if your dough has risen well. If not, keep it out of the fridge for a few hours until visibly puffed up.
Pre-heat your oven with the Dutch oven in it.
(e.g., Approx. 1 hour before baking)
Bake your bread to perfection.
(e.g., Approx. 50-60 minutes active baking)
Leave to cool for at least 2 hours before slicing.
The Steps
I’ll assume you have an existing sourdough starter. If not, you’ll need to start seven days earlier by creating one, following the steps in this recipe. It works perfectly with white or rye flour.
2 days before you plan to bake your bread
Prepare your active starter (levain)
Take 25g of your existing sourdough starter. Add 50g rye flour and 50g filtered water (or good quality drinking water). Add a tablespoon more water if the 50g aren’t enough to wet all the flour. Rye can vary wildly in absorption.
Your starter should become fairly hard to stir while mixing and end up as very stiff, heavy sort of pancake/warm peanut butter consistency. If in doubt, rather go too firm than too liquid, as a very soft starter doesn’t have enough rising powder for rye bread.
Leave it in a lightly covered container on your kitchen counter until the next day. If your kitchen is particularly warm, especially in summer, preparing it the morning about four hours before mixing the dough might be best.
1 day before baking
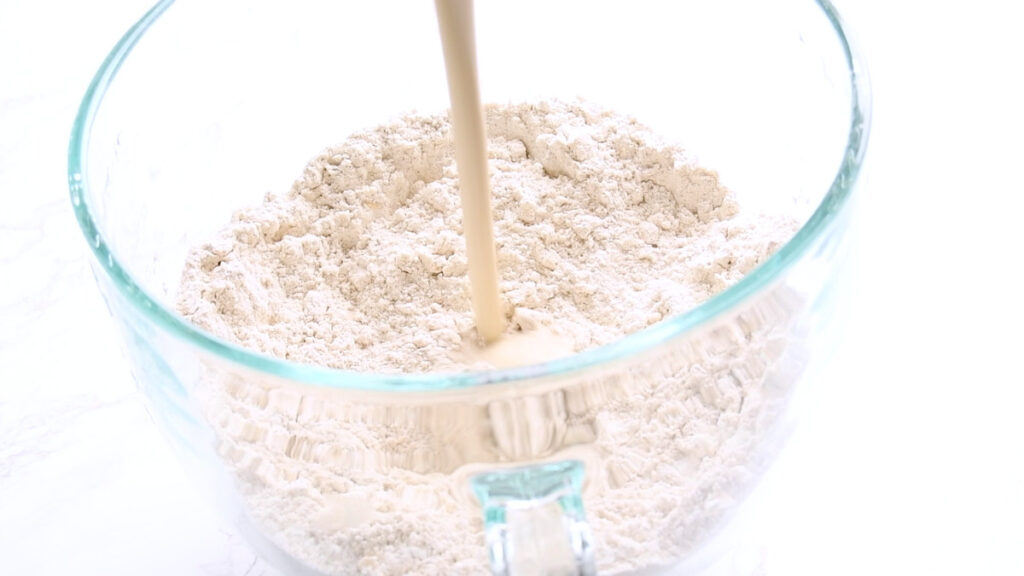
Blend the wet ingredients
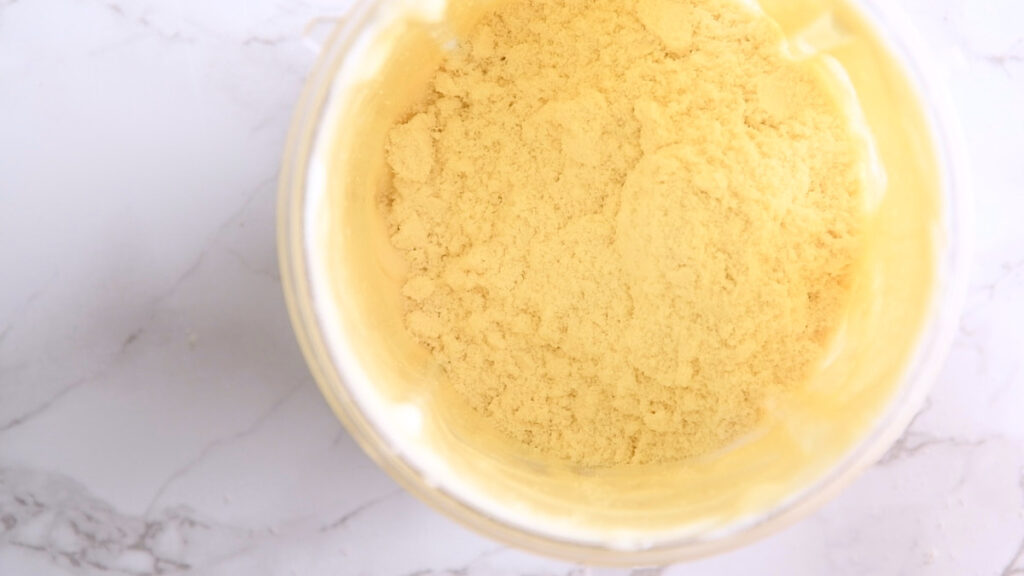
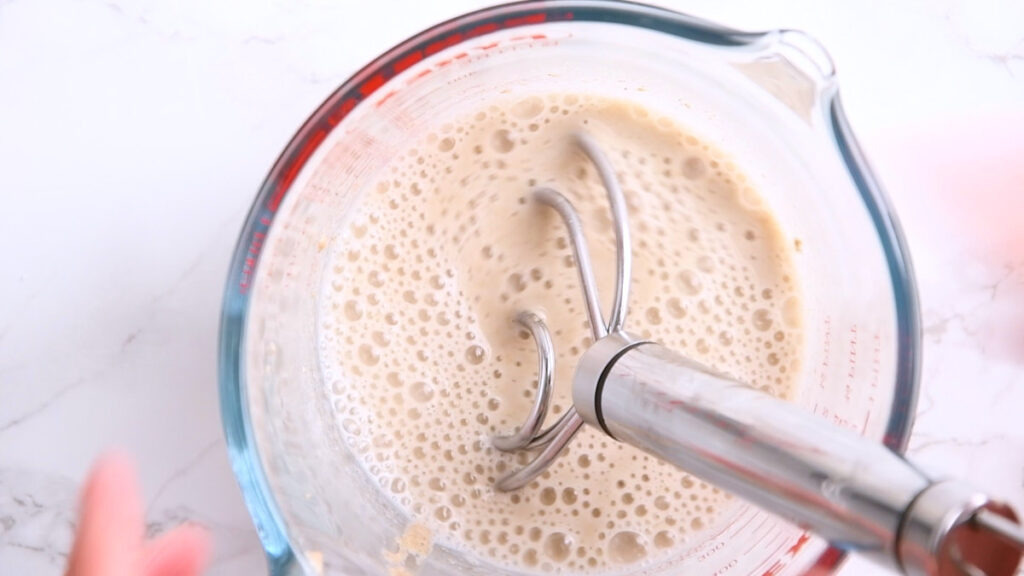
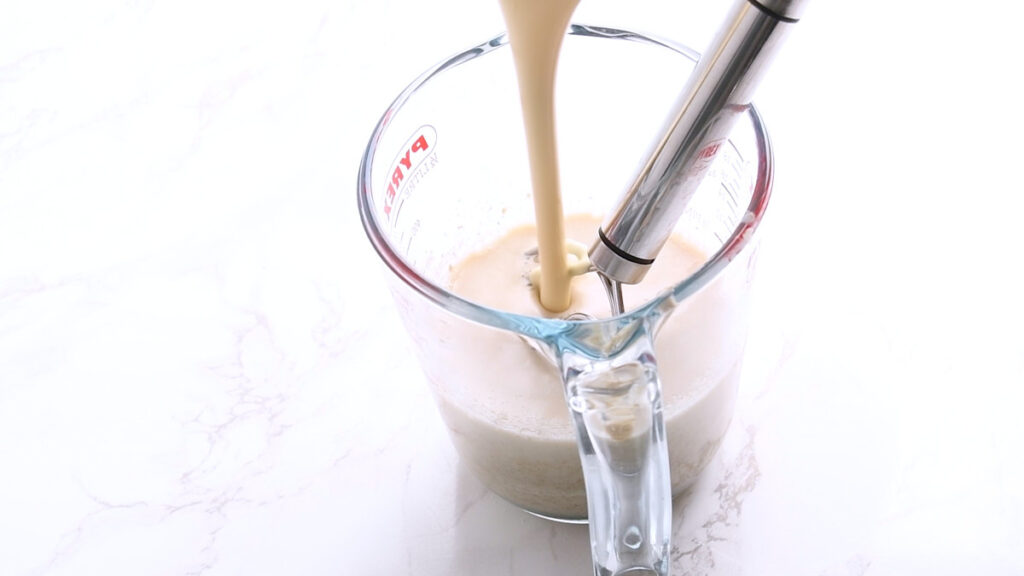
In the afternoon start by blending the cottage cheese with olive oil, malt extract, some of the water and the protein powder until smooth.
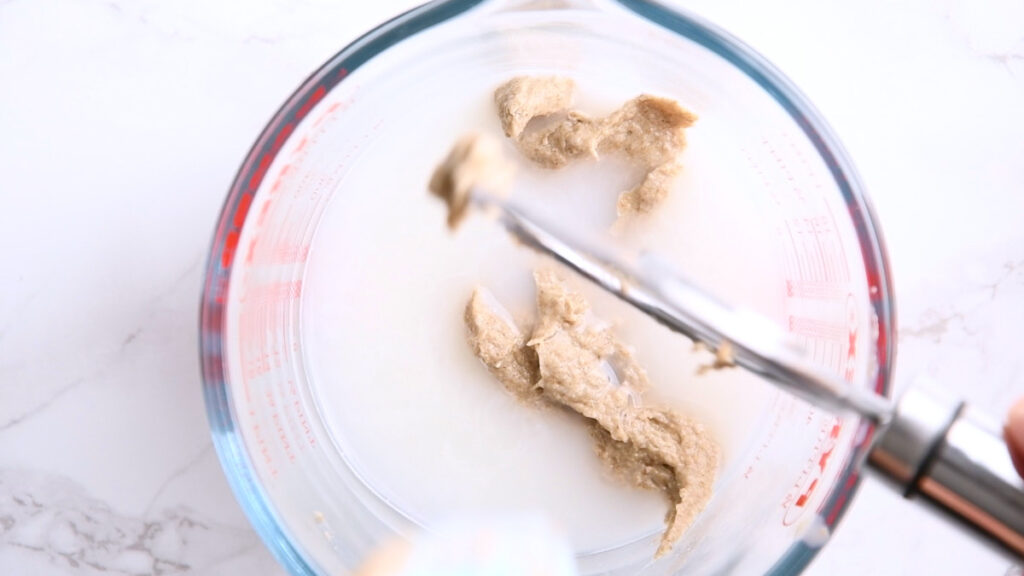
Using a dough whisk, stir in the remaining water and 100g of the sourdough starter.
You could probably blend it, but I’m trying to be respectful of the little sourdough bacteria and treat them gently. Not everyone appreciates the wild ride in a blender!
Keep the remaining 25g of the starter for your next bread. You can keep it in a ludded jar in the fridge, and it’ll last for at least a week.
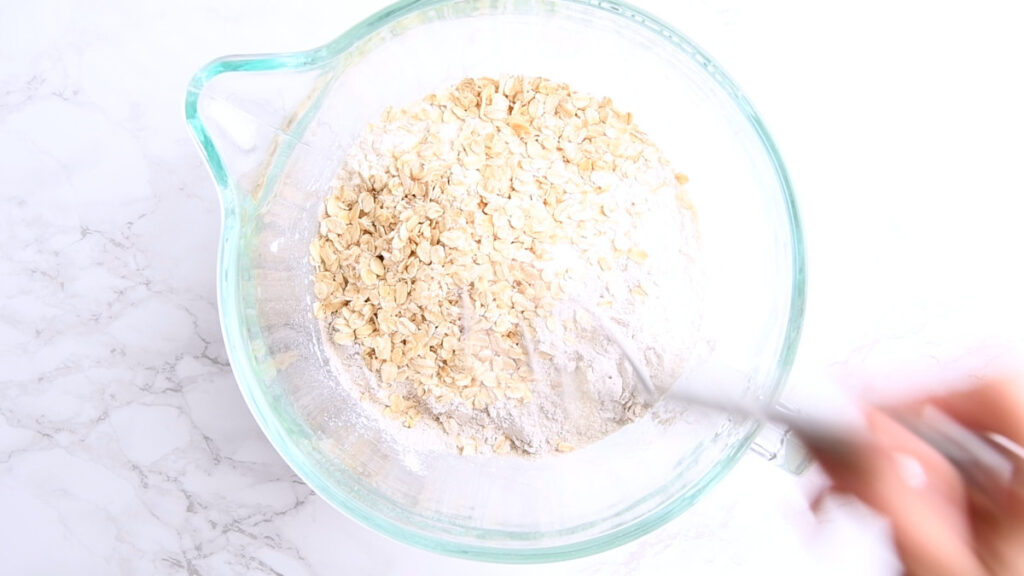
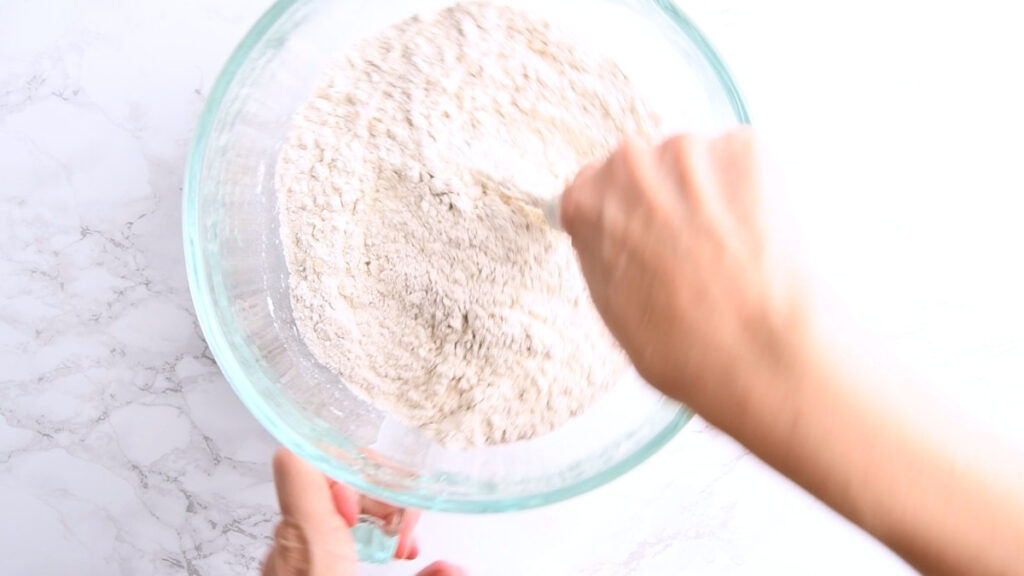
Mix the dry ingredients
In a large bowl stir together both of the flours, oats and salt. I’m using kosher salt, which has a higher volume per gram, so for me this is 2 tsp. If you are using sea salt, use 1 tsp.
Mix The Dough
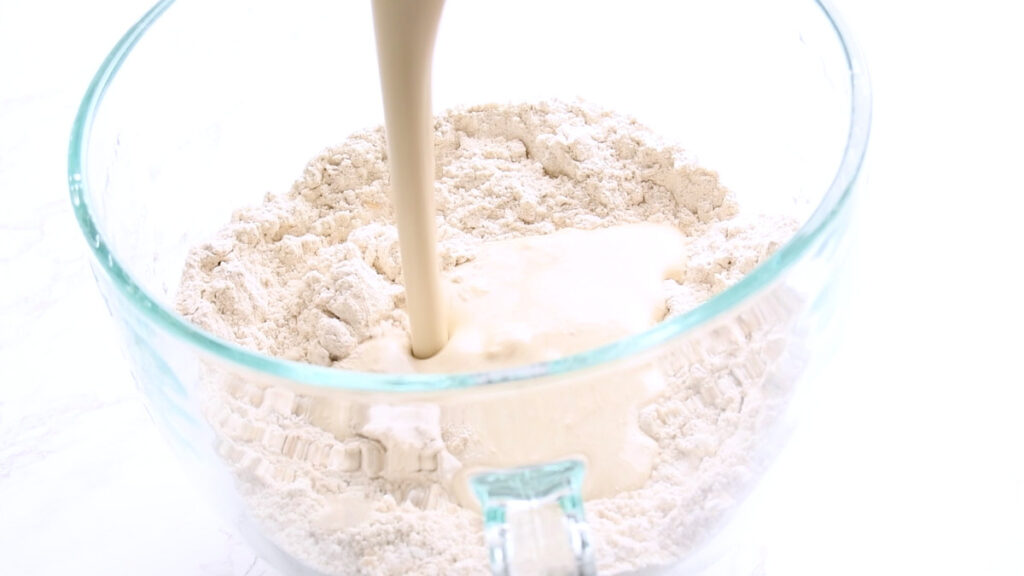
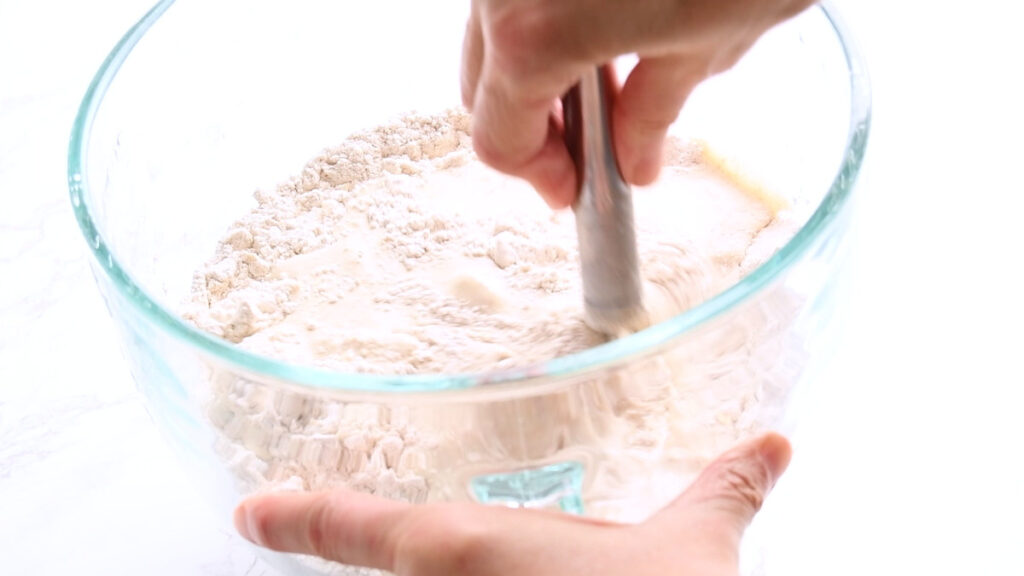
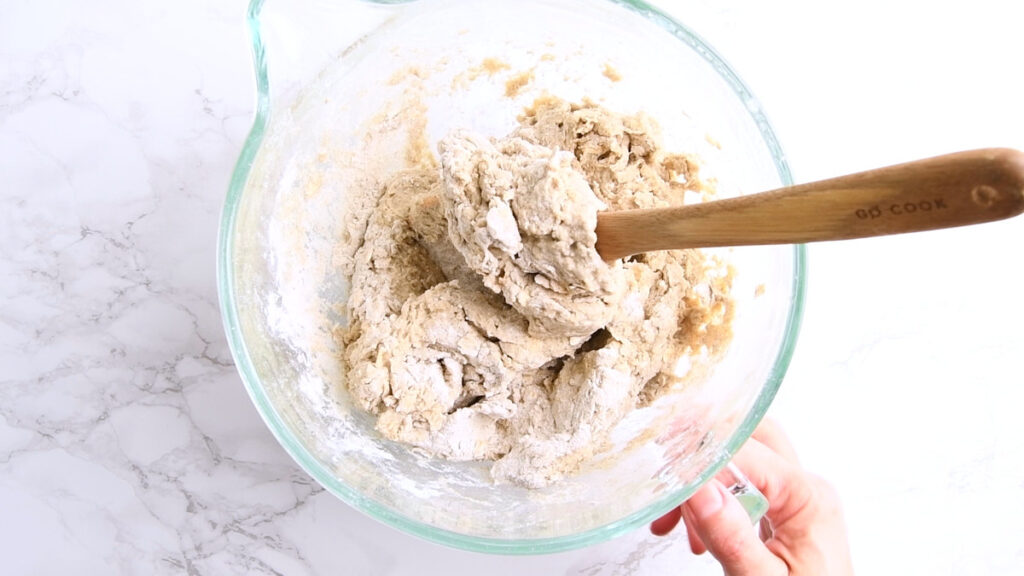
Stir the wet into the dry ingredients using your dough whisk or spoon, make a little well in the middle of your flour then pour in your wet ingredient blend, stirring as you go. Mix until no dry flour patches remain.
You can also do this in a stand mixer as I did, as the dough is very firm.
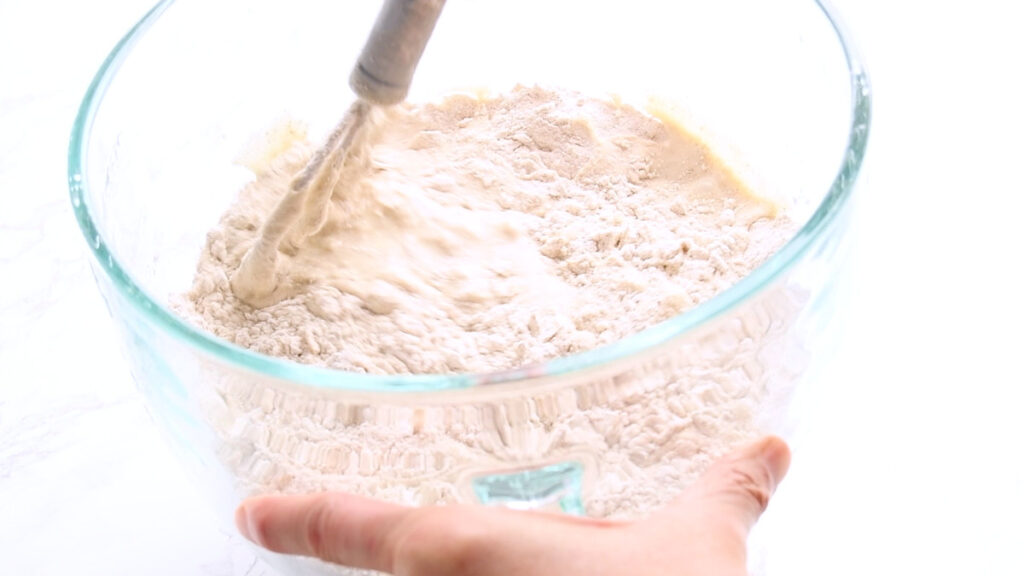
The dough will be very sticky and lumpy at this point, that’s totally fine.
Leave it to rest for 30 minutes to 1h for the autolyse, allowing the flour to hydrate.
Tip for the yeasted bread bakers:
If you only made yeasted bread before, this dough will seem too wet and sticky and you’ll be tempted to throw a cup of flour into it, thinking the recipe is totally off and can’t work.
Resist the temptation and trust the process.
I sure did add the flour in my first few sourdough attempts and wondered why I kept ending up with “Dwarf Bread” (from the Discworld novels.) as we called it: Hard as a rock, well suited to smacking intruders over the head, and you always find something better to eat.
Sourdough by nature is much wetter, softer and stickier than yeasted dough. But it will get easier to handle as soon as you start the stretch and folds.
For the sourdough Bakers:
For those of you being used to white sourdough, rye bread will not be as soft and jiggly, but rather on the firm side when it comes to sourdough bread. This is working as intended.
Stretch and Folds: Building Structure (Optional but Recommended)
This part, while flexible and not absolutely crucial to making decent bread, helps developing the gluten rapidly during the bulk ferment, gives the dough structure and helps trapping air inside for those bubbles you keep seeing in the pictures of sourdough bread. I also find it very satisfying.
I have left it out when making for example my German Rye Beer Bread , which has a similar high rye flour content, but a wetter dough and won’t be as bubbly even if I kept stretching and folding all day long. But for this bread I usually do it, as I see the difference right away.
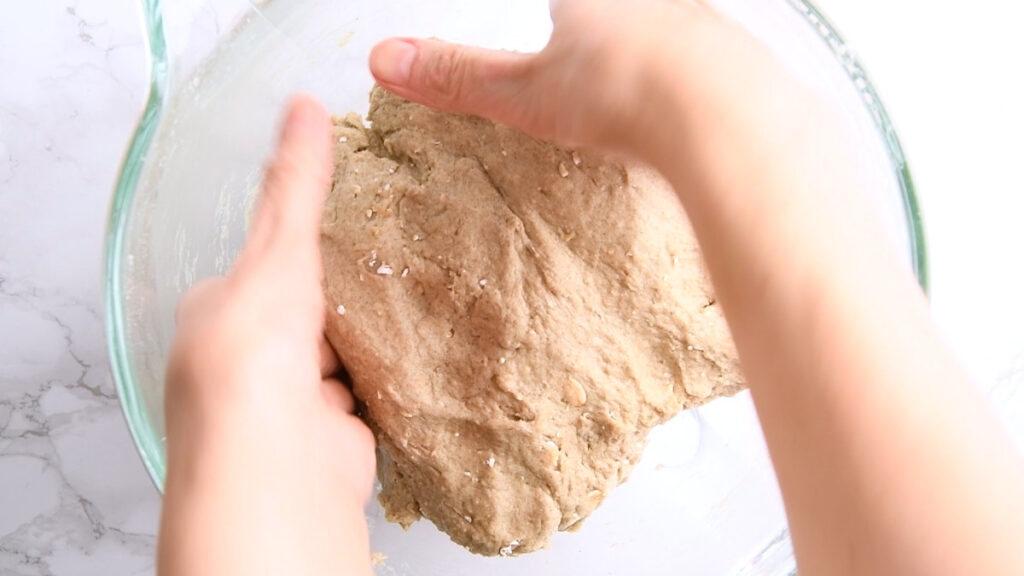
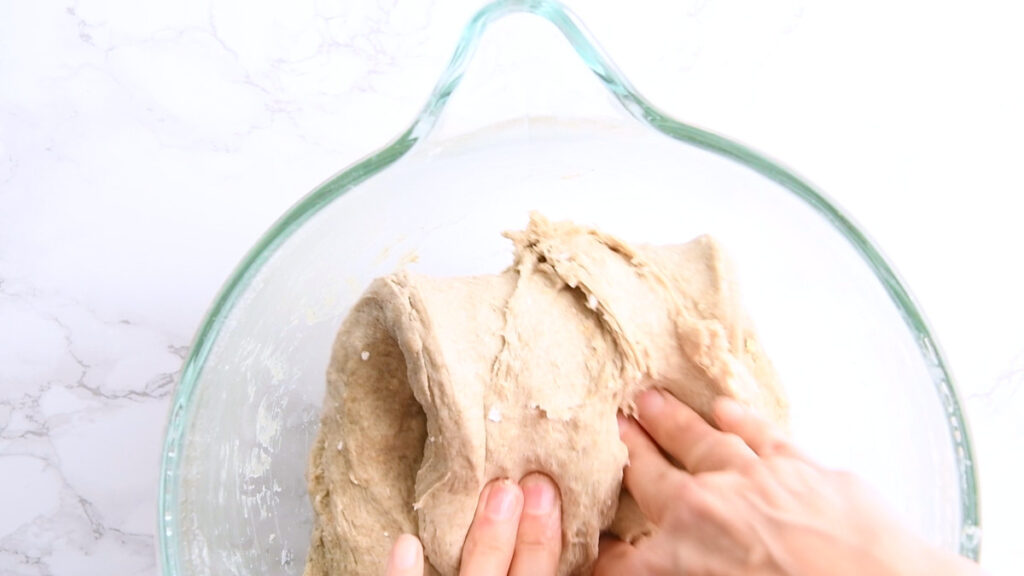
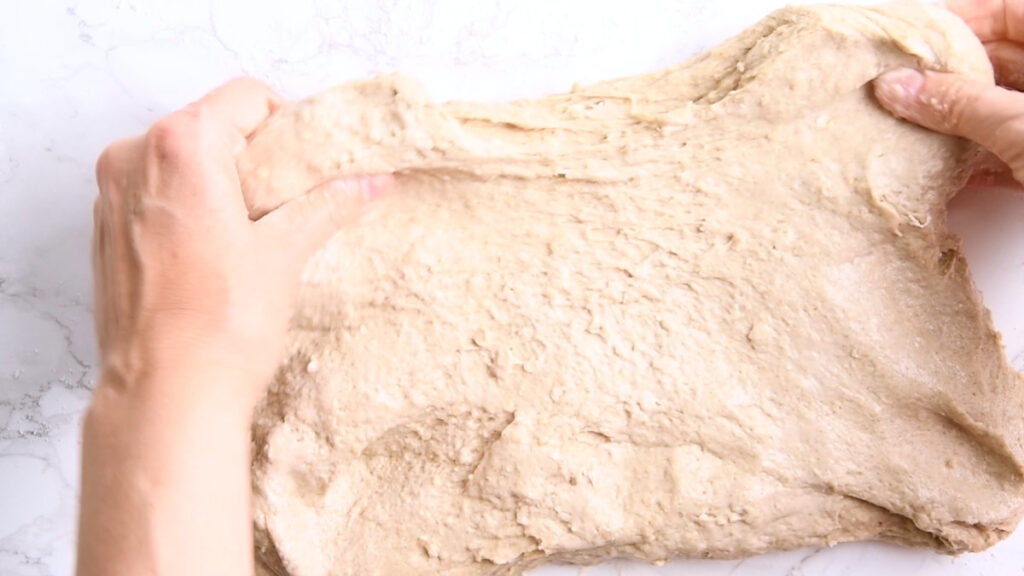
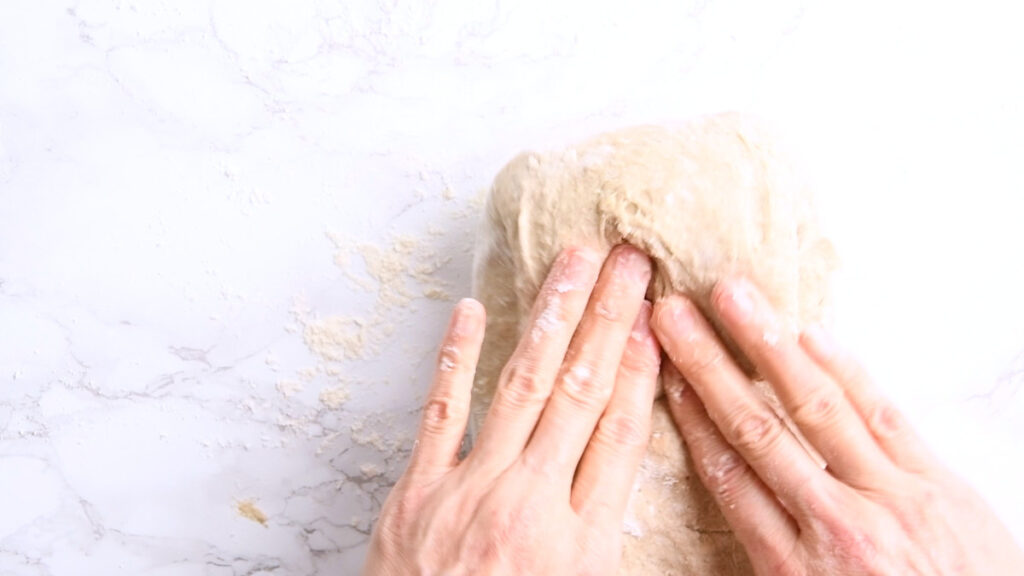
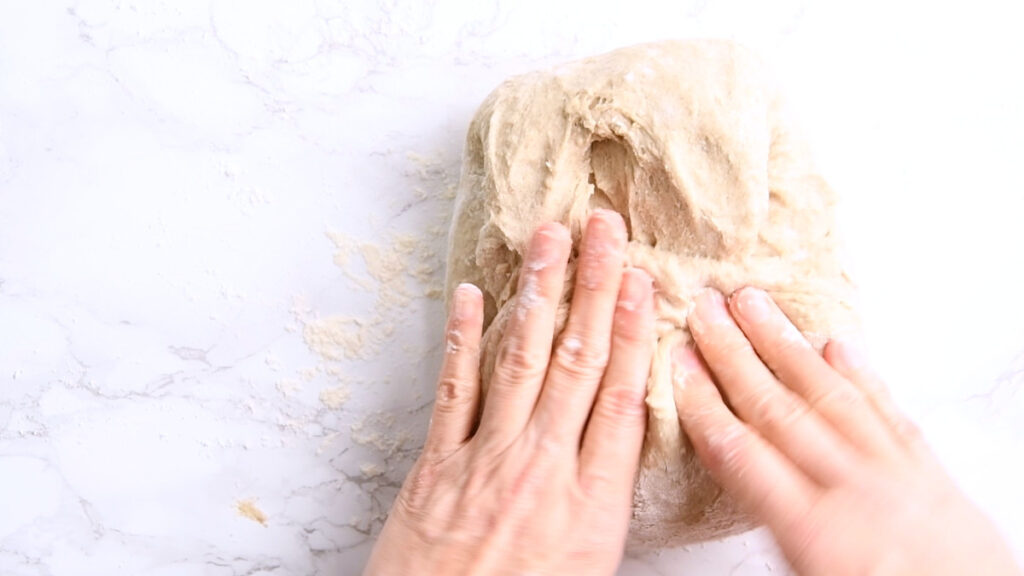
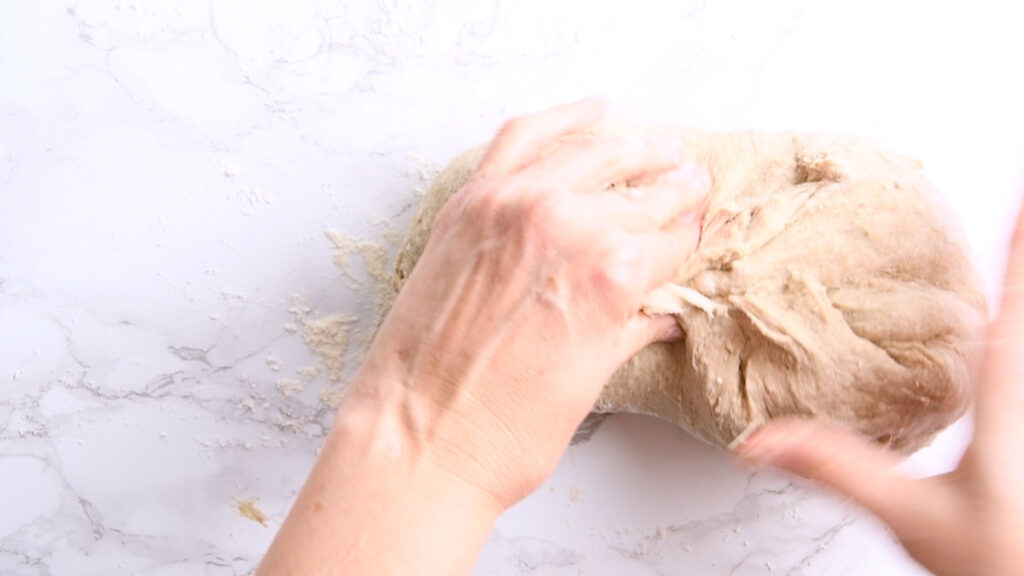
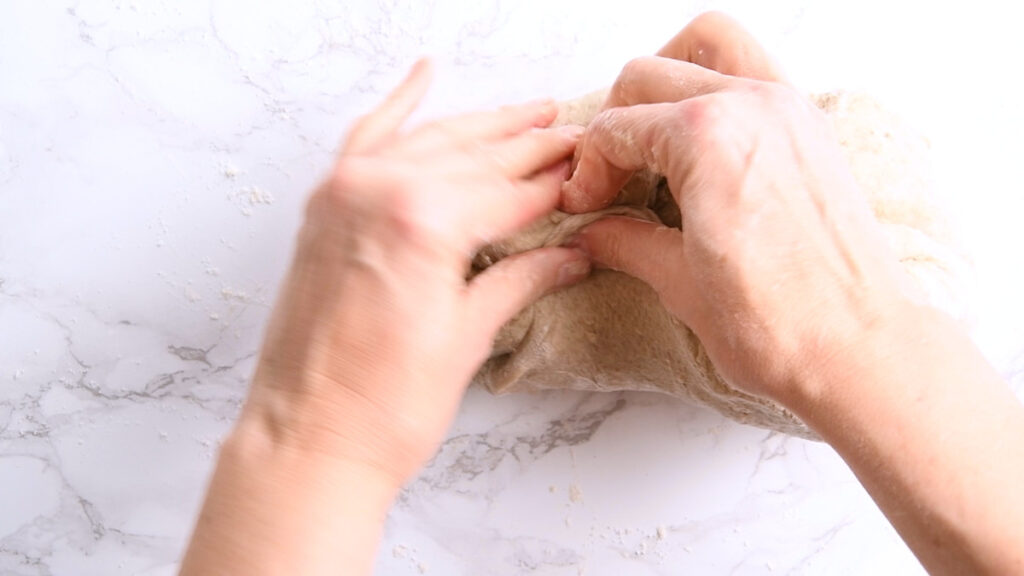
How To Do Stretch And Folds
Wet your hands. This will mostly prevent the sticky dough fingers. Contrary to flour, which makes them worse.
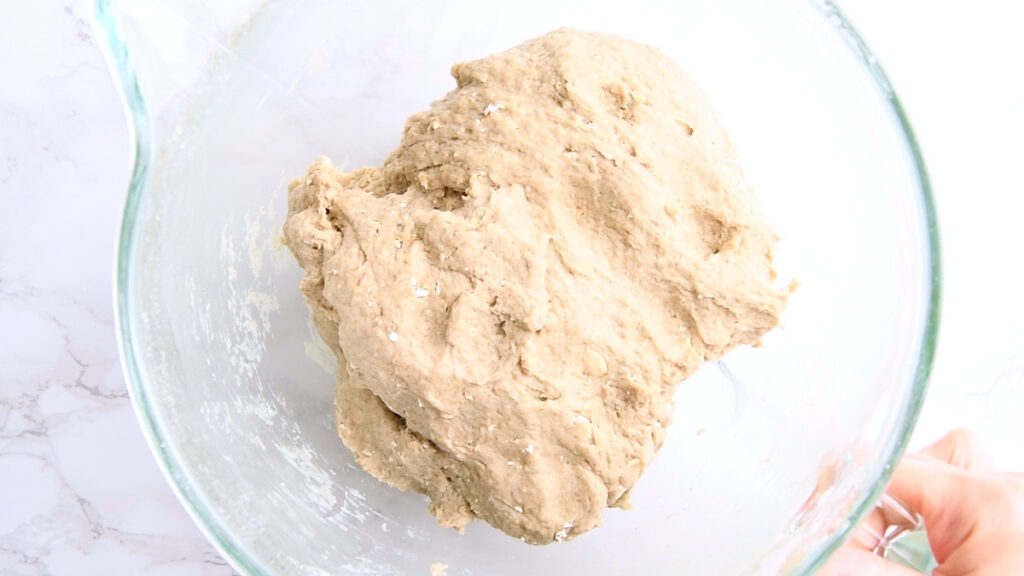
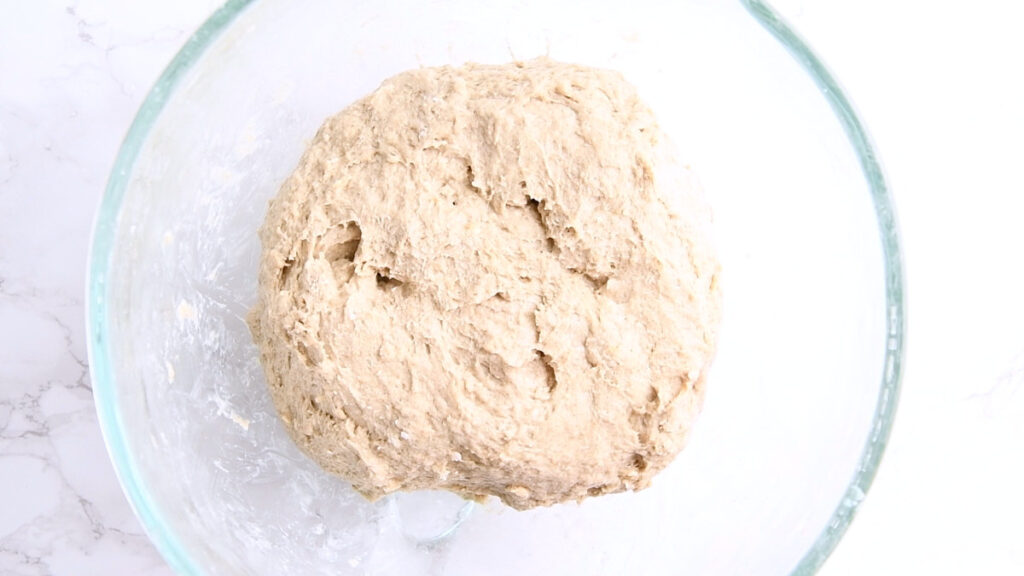
Push both hands under the dough and lift one side up. Stretch it until nearly the whole dough is lifted out of the bowl, then fold it over itself. Turn the bowl by 90 degrees and repeat. Do this 4 times, until the bowl has turned back full circle. Cover.
The pictures above are the results right after the first stretch and fold. This will look very different to a classic white sourdough loaf. That’s working as intended.
Repeat the process 2-3 more times after 30 minutes each, until you feel the dough is a bit smoother and easier to handle. After the last stretch and fold, either shape or cover and leave to ferment overnight in the fridge.
Shape Your Loaf
You can do this the evening before baking. If you do shape on the day of baking, your dough will need another two or three hours of resting to puff up again. Rye dough take a lot longer than white sourdough to rise.
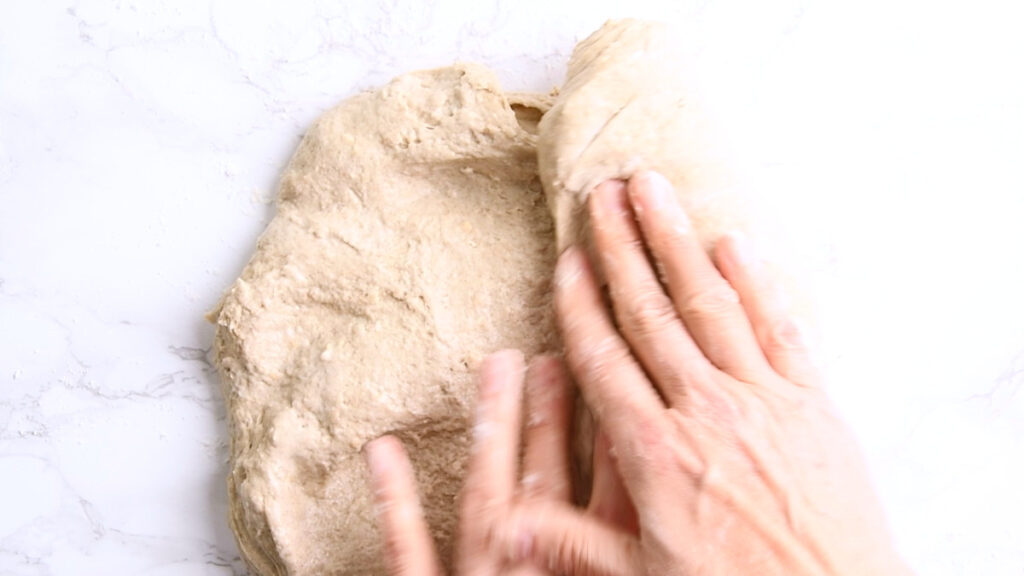
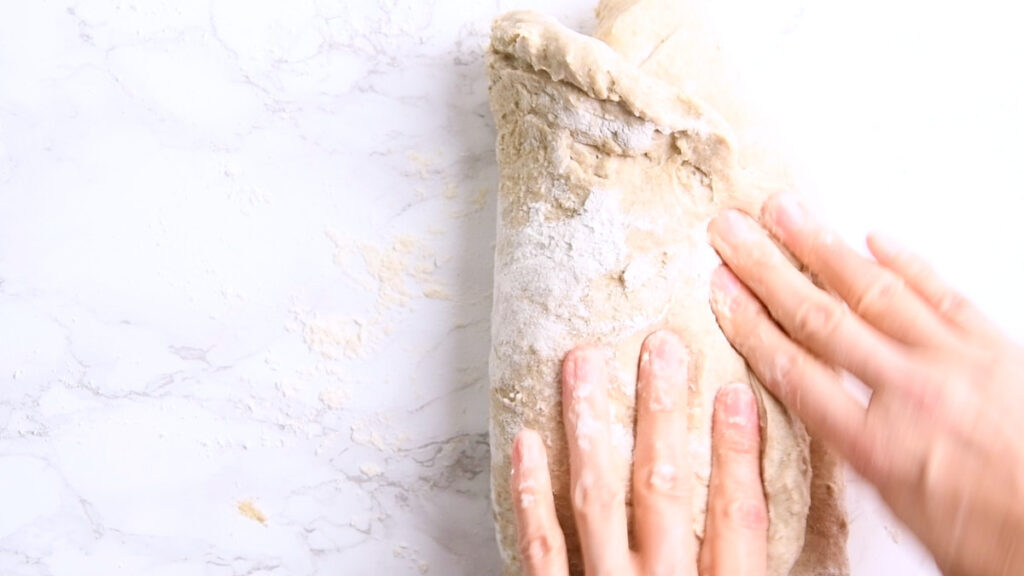
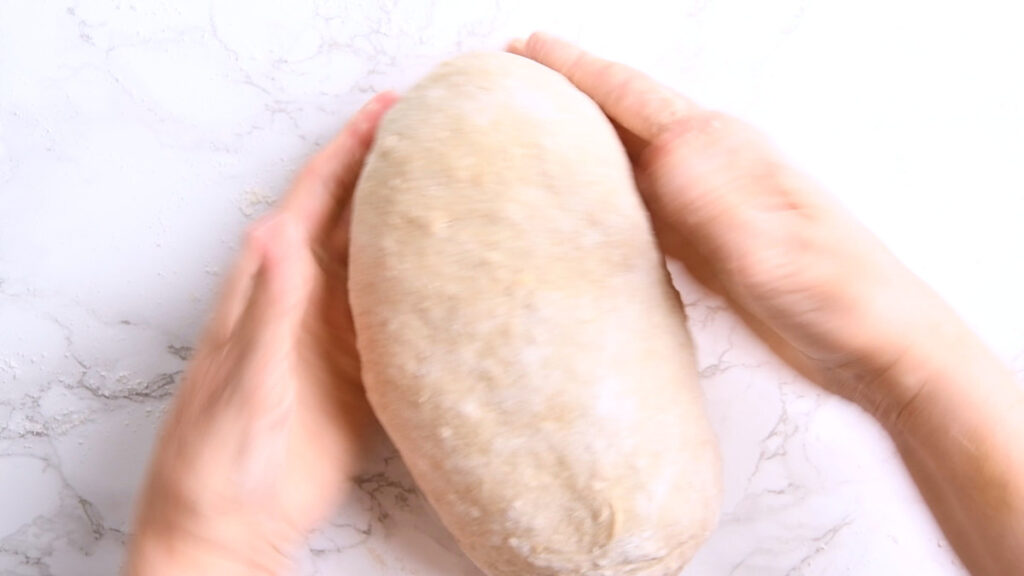
On a floured surface, tip your dough out of the bowl.
Gently stretch it into a rough rectangle, then fold the sides into the middle, overlapping like an envelope. Rotate the dough and fold in the other two ends so they meet in the middle, pinching the dough slightly in the middle, until you feel a good surface tension and it looks relatively oval.
Add a little more flour, then turn around and push the dough underneath itself with either the side of your hand or a bench scraper, until you have a pretty smooth oval shape.
Of course you can also create a round boule shape for this bread. I just happen to love the classic oval for this loaf.
Flour your banneton or bowl well and flip your dough ball upside down inside. Cover with a very damp kitchen towel or a shower cap and store in the fridge overnight for the cold ferment.
Or, if you decided to shape it in the morning before baking, allow to rise, covered, for another two or three hours.
Bake Your Protein Sourdough Bread
Either prepare some baking parchment to fit your dutch oven or use a silicone baking mat.
Tip For Measuring out Baking Parchment
(Optional but practical)
I started doing this after one of my earlier rye breads got stuck on the bottom of my Dutch oven and it was a mess to clean up. Using parchment or a silicone baking mat helps keep the pot clean and your bread come out easily. Even when it, for whatever reason, didn’t work perfectly well.
Turn your Dutch oven upside down on your worktop.
Get a piece of baking parchment that’s about 2cm/1in wider than your Dutch Ovens bottom.
Fold in half, then in half again, so you have a smaller square. Then keep folding into a triangle about 2-3 times.
Hold it on top of your pots bottom with the tip roughly in the middle of it. Fold it over the edge to measure about 2cm/1in down the side and cut the rest off with a pair of scissors.
Open out and admire your perfectly measured baking parchment, ready to hold your dough.
With the Dutch oven inside, pre-heat your oven to 475°F/245°C for 30 minutes to 1h.
Even if it shows as pre-heated after a shorter time, the longer time is needed to reach the optimal temperature.
Score Your Bread
While the oven heats up, carefully tip your dough onto the center of the prepared baking parchment. If necessary, gently push it back into shape. Sprinkle the top with a little flour, then, using a lame or a sharp knife, score your bread.
You can get as creative or simple as you like.
For the perfect scoring patterns you see online, you can freeze your bread for 10-20 minutes, which hardens the surface and makes precise scoring much easier. I admit I usually don’t bother.
One long score, about 1cm deep, at about a 45-degree angle slightly towards the side of the bread gives you the “classic” opening flap when the bread rises in the oven. Without scoring it would just break wherever it wants under the surface tension and might not rise as high. So one score is a good idea. Anything else is decoration.
Now it’s time to bake:
Using oven gloves, remove your pot from the oven onto a heat proof surface. Take off the lid.
Be mindful where you put this. I managed to burn a dark ring into a wooden chopping board. Ever since I put it either directly on my hob or a baking tray.
Using the edges of the baking parchment, carefully lower your loaf into the Dutch oven. Close the lid and put it back into the oven.
Immediately lower the temperature to 425°F/220°C and bake for 30 minutes.
After that time take off the lid and bake for 15-20 minutes longer or until deep caramel brown with darker edges on the scored parts, where it puffed up.
Usually it is baked through at this point, but you can tap the bottom to check: If it sounds hollow your bread is ready. If not, bake for a few minutes longer.
Cool
Remove the bread from the oven. You can allow it to rest for about 20-30 minutes inside the Dutch oven. After that transfer to a cooling rack to avoid condensation and soggy crust.
Now comes the hard part. I know this smells really, really good and you want a slice right now!
But be patient. Leave to cool for at least 2 hours, to get a nice clean cut.
Watch The Video
How To Store
Homemade sourdough bread is incredibly meal prep friendly:
You can prepare it the day before and just push it into the oven in the morning or 3 hours before you’d like to eat it. Or prepare the dough up to 3 days in advance and leave it in the fridge. The sourdough flavor will get more pronounced the longer it ferments.
This bread keeps well in a bread tin for about 3 days or up to 5 in the fridge.
It freezes perfectly for up to 6 months and is excellent toasted.
FAQ
My Starter doesn’t rise, what can I do?
This can have different reasons: I would first check if your starter is alive and well. If there were no bubbles whatsoever when you fed it or very few, it might need a few feeds more to revive. This can take a few days if you didn’t feed it for a few weeks. If there were bubbles, but it rose very slowly, it could be either needing more flour, or your kitchen is too cold. Try put it into a warm room and see what happens.
If you used the correct amounts of flour and water and a warm room, yet even after a few days nothing happens, you’ll have to start fresh. It’s dead, Jim. This happens thankfully very rarely.
My Starter was fine, but my dough doesn’t rise
The most common reason for this is room temperature. Sourdough bacteria enjoy the same temperatures as humans (I suppose that’s why we all get along so well) of 20 to 30 °C /68 to 86 °F. Anything below will dramatically slow the rise, anything above will speed it up to a degree that leads to very quick overfermentation.
This shows by the dough rising and then falling again. Not all is lost if it does. You can still bake it. But it might not rise as high and be a bit more pronounced in sour flavor.
Omitting the salt can have the same effect.
My Bread feels rubbery
This usually happens when the dough is overworked. Often when using a stand mixer for too long, so the gluten strands are too developed, leading to the rubbery feeling.
Now I’d love to hear from you in the comments!
Have you tried this? Did you enjoy it? What other recipes would you like to see?
And if you enjoyed this recipe, please consider rating, sharing, or leaving a comment – your feedback truly helps my blog grow!
Ready to bake a delicious, authentic German rye bread with a secret healthy twist? This recipe for German Sourdough Protein Rye Bread (or Krustenbrot) combines the traditional, earthy flavors and hearty, crusty texture you’d find in a German bakery with an incredible boost of protein, perfect for keeping you full and energized. Whether you’re a seasoned baker or just starting your sourdough journey, this loaf is surprisingly easy to make and tastes just like the real deal.
Ingredients
UnitsScale
The Starter
25gripe, existing starter
50grye flour
50gwater
The Dough
425gstrong white flour
200grye flour
50g rolled oats
100gsourdough starter
180gcottage Cheese
50gwhey protein powder,unflavored
300mlwater
1 tbsp malt extract (or honey)
2 tbsp olive oil
2 tsp kosher salt
Instructions
2 days before you plan to bake your bread (or the morning before, if your kitchen is very warm)
Prepare your active starter (levain)
Take 25g of your existing sourdough starter. Add 50g rye flour and 50g filtered water (or good quality drinking water). Add a tablespoon more water if the 50g aren’t enough to wet all the flour. Rye can vary wildly in absorption.
Your starter should become fairly hard to stir while mixing and end up as very stiff, heavy sort of pancake/warm peanut butter consistency. If in doubt, rather go too firm than too liquid, as a very soft starter doesn’t have enough rising powder for rye bread.
Leave it in a lightly covered container on your kitchen counter until the next day. If your kitchen is particularly warm, especially in summer, preparing it the morning about four hours before mixing the dough might be best.
1 day before baking
Blend the wet ingredients
In the afternoon start by blending the cottage cheese with some of the water and the protein powder until smooth.
Using a dough whisk, stir in the remaining water and 100g of the sourdough starter.
You could probably blend it, but I’m trying to be respectful of the little sourdough bacteria and treat them gently. Not everyone appreciates the wild ride in a blender!
Keep the remaining 25g of the starter for your next bread. You can keep it in the fridge, and it’ll last for at least a week.
Mix the dry ingredients
In a large bowl stir together both of the flours and salt. I’m using kosher salt, which has a higher volume per gram, so for me this is 2 tsp. If you are using sea salt, use 1 tsp.
Stir the wet into the dry ingredients using your dough whisk or spoon, make a little well in the middle of your flour then pour in your wet ingredient blend, stirring as you go. Mix until no dry flour patches remain.
The dough will be very sticky and lumpy at this point, that’s totally fine.
Leave it to rest for 30 minutes to 1h for the autolyse, allowing the flour to hydrate.
Stretch and Folds: Building Structure (Optional but Recommended)
This part, while flexible and not absolutely crucial to making decent bread, helps developing the gluten rapidly during the bulk ferment, gives the dough structure and helps trapping air inside for those large bubbles you keep seeing in the pictures of sourdough bread. I also find it very satisfying.
I have left it out when making for example my German Rye Beer bread, which has a similar high rye flour content, but a wetter dough and won’t be as bubbly even if I kept stretching and folding all day long. But for this bread I usually do it, as I see the difference right away.
How To Do Stretch And Folds
Wet your hands. This will mostly prevent the sticky dough fingers. Contrary to flour, which makes them worse.
Push both hands under the dough and lift one side up. Stretch it until nearly the whole dough is lifted out of the bowl, then fold it over itself. Turn the bowl by 90 degrees and repeat. Do this 4 times, until the bowl has turned back full circle. Cover.
The pictures above are the results right after the first stretch and fold. You can see how fast this develops the gluten structure.
Repeat the process 2-3 more times after 30 minutes each, until you feel the dough is much smoother, easier to handle and shapes into a neat (if wobbly) loaf. After the last stretch and fold, either shape or cover and leave to ferment overnight in the fridge.
Shape Your Loaf
You can do this the evening before baking. If you do shape on the day of baking, your dough will need another two or three hours of resting to puff up again.
On a floured surface, tip your dough out of the bowl.
Gently stretch it into a rough rectangle, then fold the sides into the middle, overlapping like an envelope. Rotate the dough and fold in the other two ends so they meet in the middle, pinching the dough slightly in the middle, until you feel a good surface tension and it looks relatively oval.
Add a little more flour, then turn around and push the dough underneath itself with either the side of your hand or a bench scraper, until you have a pretty smooth oval shape.
Of course you can also create a round boule shape for this bread. I just happen to love the classic oval for this loaf.
Flour your banneton or bowl well and flip your dough ball upside down inside. Cover with a very damp kitchen towel or a shower cap and store in the fridge overnight for the cold ferment.
Or, if you decided to shape it in the morning before baking, allow to rise, covered, for another two or three hours.
Bake Your Protein Sourdough Bread
Pre-heat Oven
With the Dutch oven inside, pre-heat your oven to 475°F/245°C for 30 minutes to 1h.
Even if it shows as pre-heated after a shorter time, the longer time is needed to reach the optimal temperature.
Score Your Bread
While the oven heats up, carefully tip your dough onto the center of the prepared baking parchment. If necessary, gently push it back into shape. Sprinkle the top with a little flour, then, using a lame or a sharp knife, score your bread.
You can get as creative or simple as you like.
For the perfect scoring patterns you see online, you can freeze your bread for 10-20 minutes, which hardens the surface and makes precise scoring much easier. I admit I usually don’t bother.
One long score, about 1cm deep, at about a 45-degree angle slightly towards the side of the bread gives you the “classic” opening flap when the bread rises in the oven. Without scoring it would just break wherever it wants under the surface tension and might not rise as high. So one score is a good idea. Anything else is decoration.
Now it’s time to bake:
Using oven gloves, remove your pot from the oven onto a heat proof surface. Take off the lid.
Be mindful where you put this. I managed to burn a dark ring into a wooden chopping board. Ever since I put it either directly on my hob or a baking tray.
Using the edges of the baking parchment, carefully lower your loaf into the Dutch oven. Close the lid and put it back into the oven.
Immediately lower the temperature to 425°F/220°C and bake for 30 minutes.
After that time take off the lid and bake for 15-20 minutes longer or until deep caramel brown with darker edges on the scored parts, where it puffed up.
Usually it is baked through at this point, but you can tap the bottom to check: If it sounds hollow your bread is ready. If not, bake for a few minutes longer.
Cool
Remove the bread from the oven. You can allow it to rest for about 20-30 minutes inside the Dutch oven. After that transfer to a cooling rack to avoid condensation and soggy crust. Now comes the hard part. I know this smells really, really good and you want a slice right now! But be patient. Leave to cool for at least 2 hours, to get a nice clean cut.
Notes
For those used to white sourdough bread:
Rye sourdough is much firmer. Don’t be tempted to add lots of water to get the typical “jiggly” texture.
How To Store
Homemade sourdough bread is incredibly meal prep friendly:
You can prepare it the day before and just push it into the oven in the morning or 3 hours before you’d like to eat it. Or prepare the dough up to 3 days in advance and leave it in the fridge. The sourdough flavor will get more pronounced the longer it ferments.
This bread keeps well in a bread tin for about 3 days or up to 5 in the fridge.
It freezes perfectly for up to 6 months and is excellent toasted.
Prep Time:30 minutes
Cook Time:1 hour
Category:Protein Sourdough
Method:Bake
Cuisine:German
Sonja Goeden
My name is Sonja and “For The Pleasure Of Eating” is my food blog that focuses on the joy of eating while fuelling my body in a healthy way. I create mostly Sourdough and Protein recipes and find ways to incorporate more plants into meals.
8 Comments
German sourdough protein rye bread, so good, I enjoyed with homemade soup so yummy.
To provide the best experiences, we use technologies like cookies to store and/or access device information. Consenting to these technologies will allow us to process data such as browsing behavior or unique IDs on this site. Not consenting or withdrawing consent, may adversely affect certain features and functions.
Functional
Always active
The technical storage or access is strictly necessary for the legitimate purpose of enabling the use of a specific service explicitly requested by the subscriber or user, or for the sole purpose of carrying out the transmission of a communication over an electronic communications network.
Preferences
The technical storage or access is necessary for the legitimate purpose of storing preferences that are not requested by the subscriber or user.
Statistics
The technical storage or access that is used exclusively for statistical purposes.The technical storage or access that is used exclusively for anonymous statistical purposes. Without a subpoena, voluntary compliance on the part of your Internet Service Provider, or additional records from a third party, information stored or retrieved for this purpose alone cannot usually be used to identify you.
Marketing
The technical storage or access is required to create user profiles to send advertising, or to track the user on a website or across several websites for similar marketing purposes.

 Buy Now →
  Buy Now →
  Buy Now →
  Buy Now →
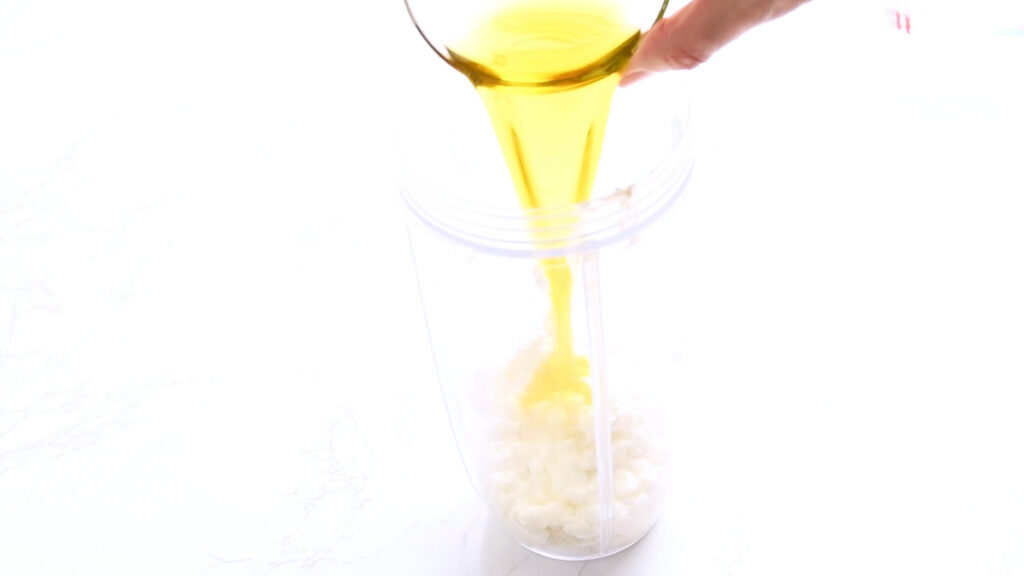


German sourdough protein rye bread, so good, I enjoyed with homemade soup so yummy.
Ahh yes, it’s fabulous with soup indeed.
Thanks a lot for letting me know. 🙂
This sourdough rye bread was very flavorful. It’s a cozy bread baking project to do on the weekend!
Thanks so much!
Cosy weekend baking is my favorite really. 🙂
Such a beautiful, delicious sourdough bread! It’s perfect for breakfast and sandwiches.
Thanks so much!
It’s my favorite breakfast! 🙂
Love the detailed instructions! This loaf turned out so flavorful with a wonderful balance of chewy and crusty.
Aww, so happy to hear! Thanks a lot for letting me know. 🙂