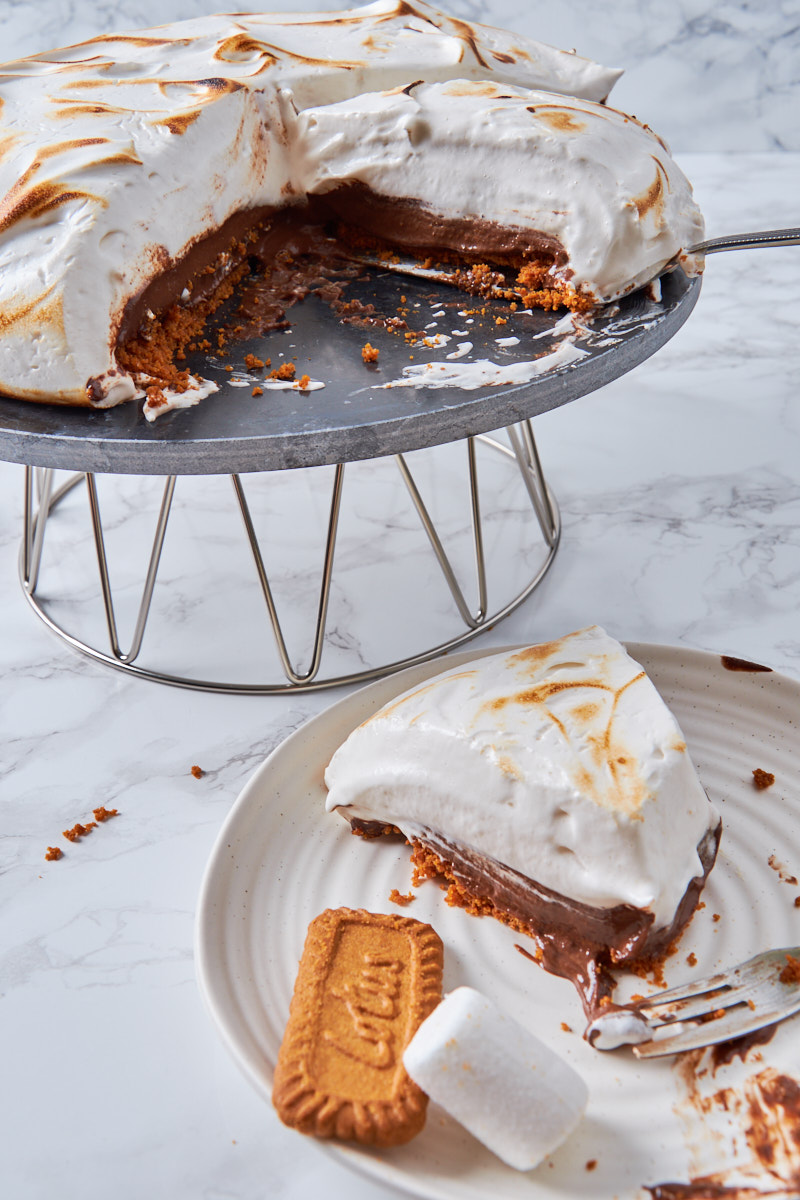
No-Bake Mini S’mores Pies
These No-Bake Mini S’mores Pies capture the essence of summer evenings around a bonfire—no kindling or smoke required! It features a scrumptious no-bake Biscoff base, a healthier chocolate ganache made with a cashew cream and protein powder base, and a flavor so incredible, they will amaze all your guests; no one will even guess it’s better for them!

This post may contain referral links for products I love.
For The Pleasure Of Eating earns a small commission on these links at no cost to you.
- Why You’ll Love This
- The Ingredients
- Substitutions
- Equipment Used
- How to Make this
- How To Store
- FAQ
- Other Recipes You Might Enjoy
Why You’ll Love This
Who Doesn’t Like S’mores?
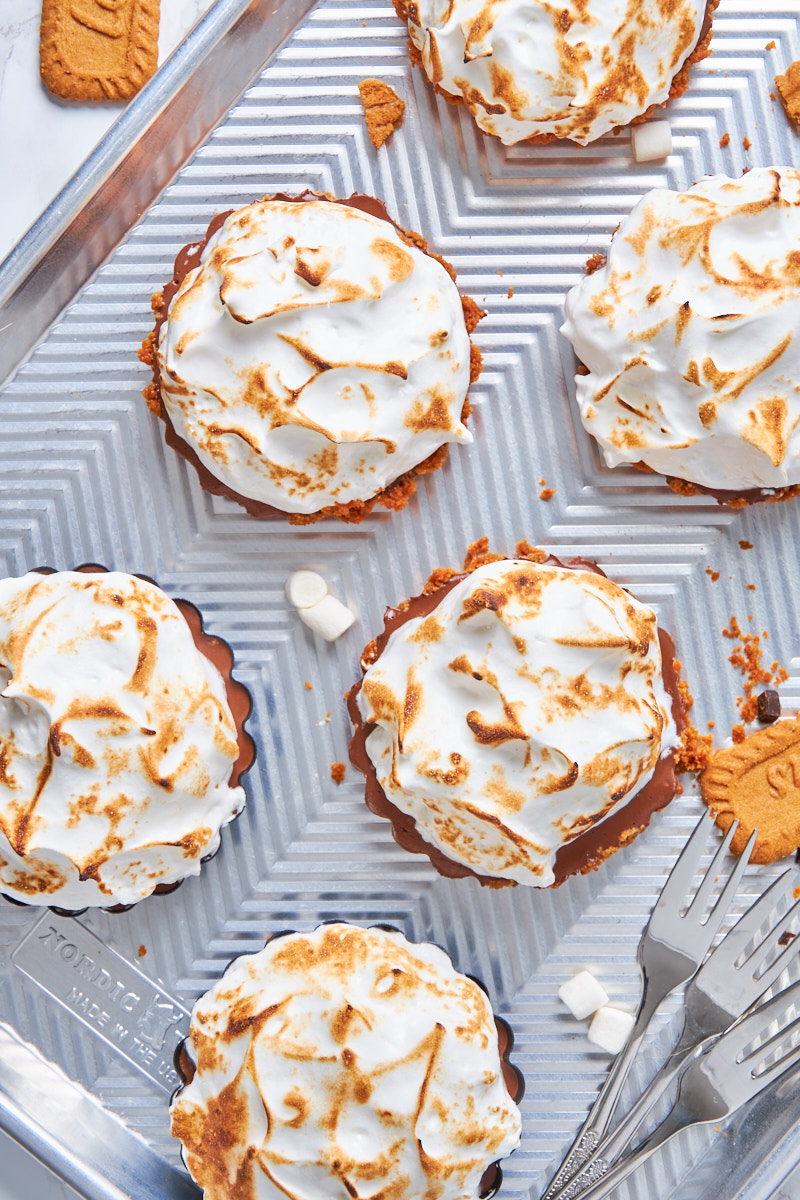
It’s a quintessential summer treat for a reason, and now you can serve it to family and friends as a mini pie, no bonfire required! (Unless you count a fun kitchen torch for toasting, that is!)
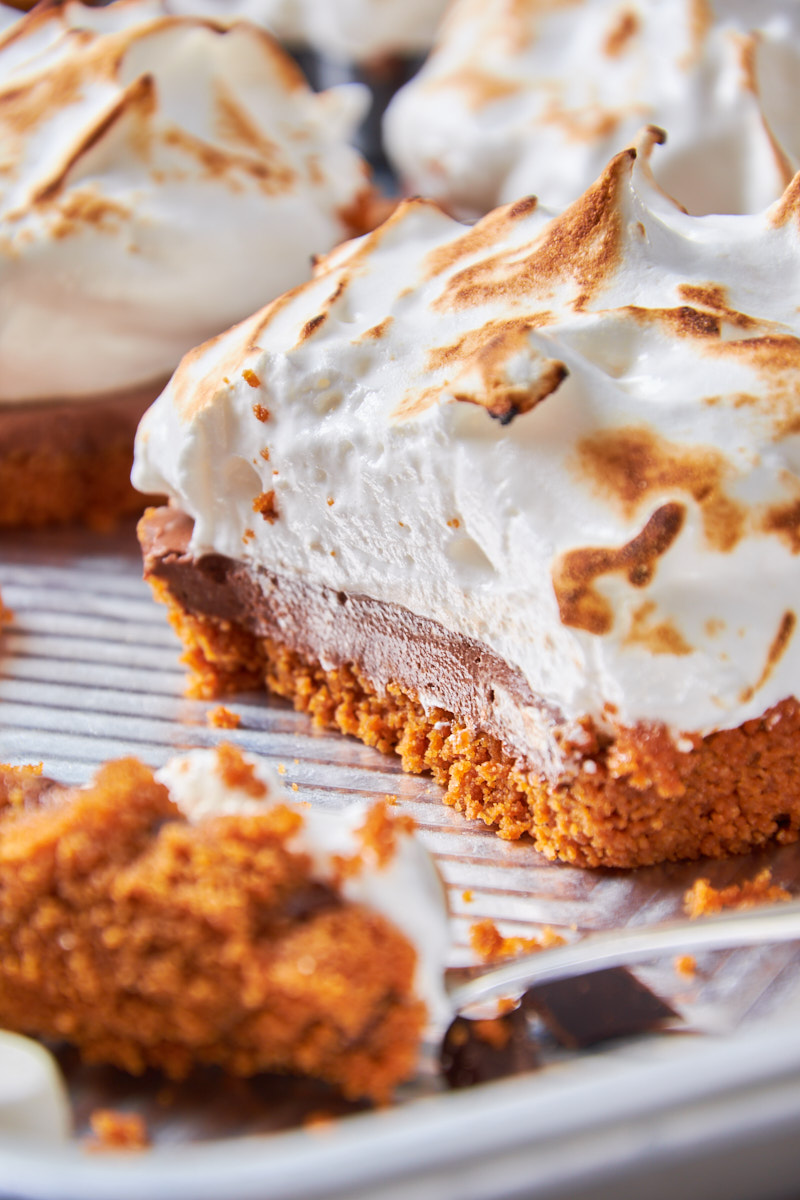
These S’mores pies offer the perfect balance: a crunchy cookie crust, a luscious and creamy chocolate ganache, and a fluffy meringue crown that you can torch to your heart’s desire for that ideal marshmallow caramelising.
Super Cute Mini Pies
I love that these are already portioned and look super cute on any table. There is just something special about having your very own mini pie!
Easy To Make
Despite their three layers, these easy no-bake S’mores Pies come together quickly by letting your food processor and blender do all the hard work. You can even prepare the base and filling a day before, making this a great make-ahead dessert.
A Healthier Chocolate Ganache With Added Protein
Look, I love a rich, decadent chocolate ganache as much as anyone (it is everyone, right? Right?). But if I can have a healthier version that tastes just as amazingly creamy and deeply chocolatey as the classic, plus has added protein, you bet that’s what I’m choosing! How about you?
The secret? Cashews. Soaked and blended until super creamy, they add healthy fats, fibre and protein all in one. For good measure, I added two scoops of vegan barley protein powder, which imparts a deliciously malty flavor to the chocolate filling. You can of course use whey protein too.
No Bake Biscoff Crust
Considering this is a quintessential summer pie, not having to switch on the oven is a huge perk. That’s why I included a two-ingredient Biscoff crust with this pie. All you’ll need is a food processor or a freezer bag and a rolling pin.
If you’d like a more wholesome crust, use the almond crust from my Strawberry Protein Mousse Pie. That one does need baking, but it’s so crisp and flavorful, you’ll make it again and again.
Dairy Free With One Swap
The chocolate ganache, which is based on cashews and plant milk with added vegan protein powder, for a nice nutrition kick in these indulgent pies, makes the filling naturally dairy free. Swap the butter from the Biscoff crust to vegan butter, and you have an entirely lactose free dessert.
Optional Vegan Version
If you’d like to make these no bake pies completely vegan, only 2 changes are needed: Use vegan butter instead of dairy based and follow the recipe for my vegan meringue instead of using egg whites. This makes it also safe to eat for immunocompromised folks.
The same disclaimers I note below for the egg based version also go for the vegan one: Rainy or hot days are not your meringues friend.
The picture below is the vegan version in a large pie on the hottest day of summer in Ireland.
Still reasonable, isn’t it? But not ideal for keeping longer.
I have to say I do love the super smooth vegan meringue texture though.
Make Ahead And Lasting Days with One Change
If you want to prepare the pies a day in advance, simply make an Italian meringue using the recipe from my Cranberry Meringue Pie and leaving out the Cranberry sauce.
Because it’s cooked, Italian Meringue stays stable and is safe to eat for much longer than the raw egg white based version I used here in order to make this the easiest it can be.
How to Have Success with Any Meringue
After making these S’mores Pies on both the wettest and hottest days of Irish summer, I feel I need to add a few disclaimers for meringue in general.
It won’t withstand rainy days, and on hot days, it will slowly deflate.
Hot days aren’t ideal either, as you can see in the photo of the large vegan version above. It has a tendency to melt quickly.
This didn’t happen with the Vegan Raspberry Meringue Pies I made in the spring. They kept, as you can also see in the pictures, nice and sturdy.I feel 4 things worked together to keep them as firm as they were:
- A dry day
- A cool day
- The addition of freeze dried raspberry powder, binding some of the liquid.
- The recipe including xanthan gum for vegan meringue.
So, there are a few lessons I learned over time:
- If you’re making it on a hot day, prepare the meringue just before serving.
- Refrigerate it as soon as possible if you need it ready a while before serving.
- Never make meringue on a rainy day.
- Not all eggs are created equal. I had the best success with fresh, free range eggs.
While one attempt when I only got regular indoor eggs, (because everything else was sold out) didn’t even whip up. Go figure…- Grease Free Equipment – Make double and triple sure (with any meringue) that any tools touching it—be it a bowl, whisk, or spatula—are absolutely grease-free. The tiniest speck of pistachio butter killed one of mine!
- Don’t attempt to transport a large pie in your car. I tried it in one of those fabulous transport boxes, but driving around corners proved a bit too challenging.
- Small pies will keep their shape better than one large pie. For a large pie you are better off using Italian Meringue.
If you need to transport it—say, for a potluck or BBQ at a friend’s house—make smaller pies and keep them in their mini tartlet pans, only topping them with meringue once you arrive.
None of the above has any negative influence on the flavor of the meringue though. Even slightly softer, it tastes like fresh marshmallows and feels wonderfully fluffy.
Ingredient Notes
No-Bake Biscoff Crust
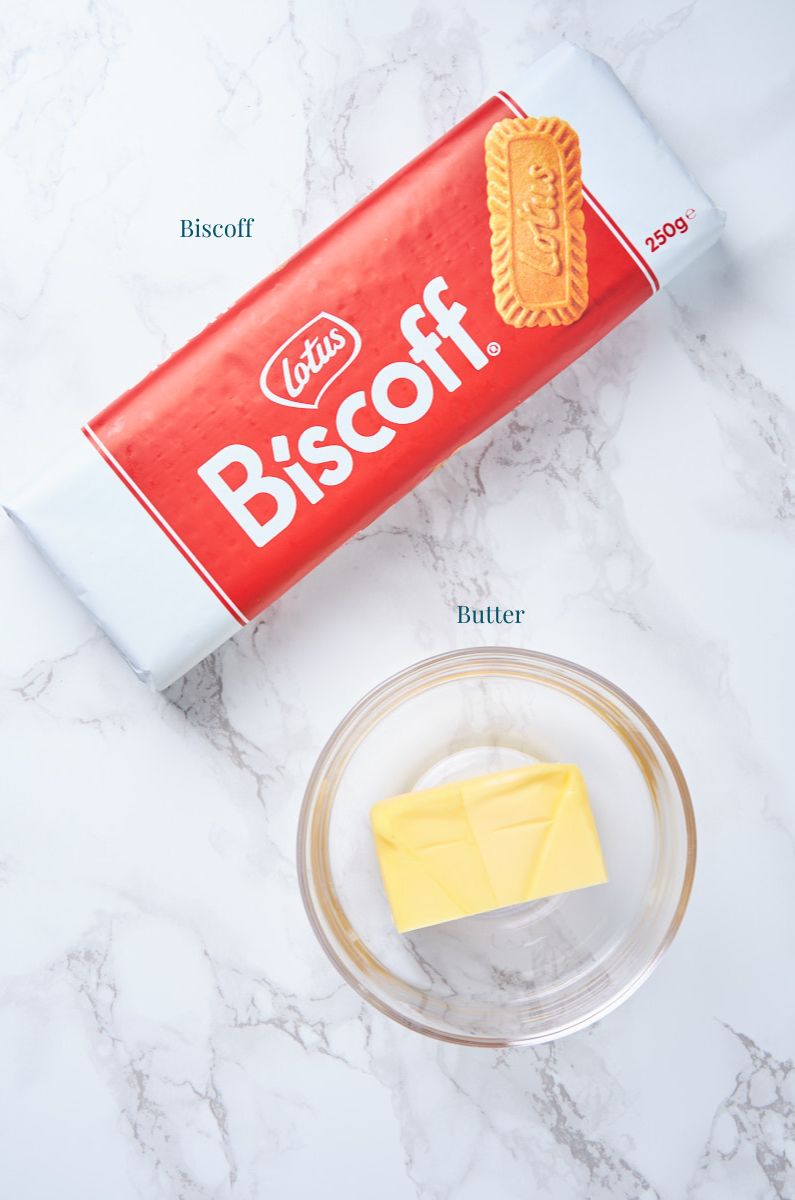
- Biscoff Biscuits – The fact that they are already baked makes this crust incredibly easy
- Butter – It binds the cookie crumbs together and storing it in the fridge allows it to harden, creating a cohesive crust.
Protein Cashew Chocolate Ganache
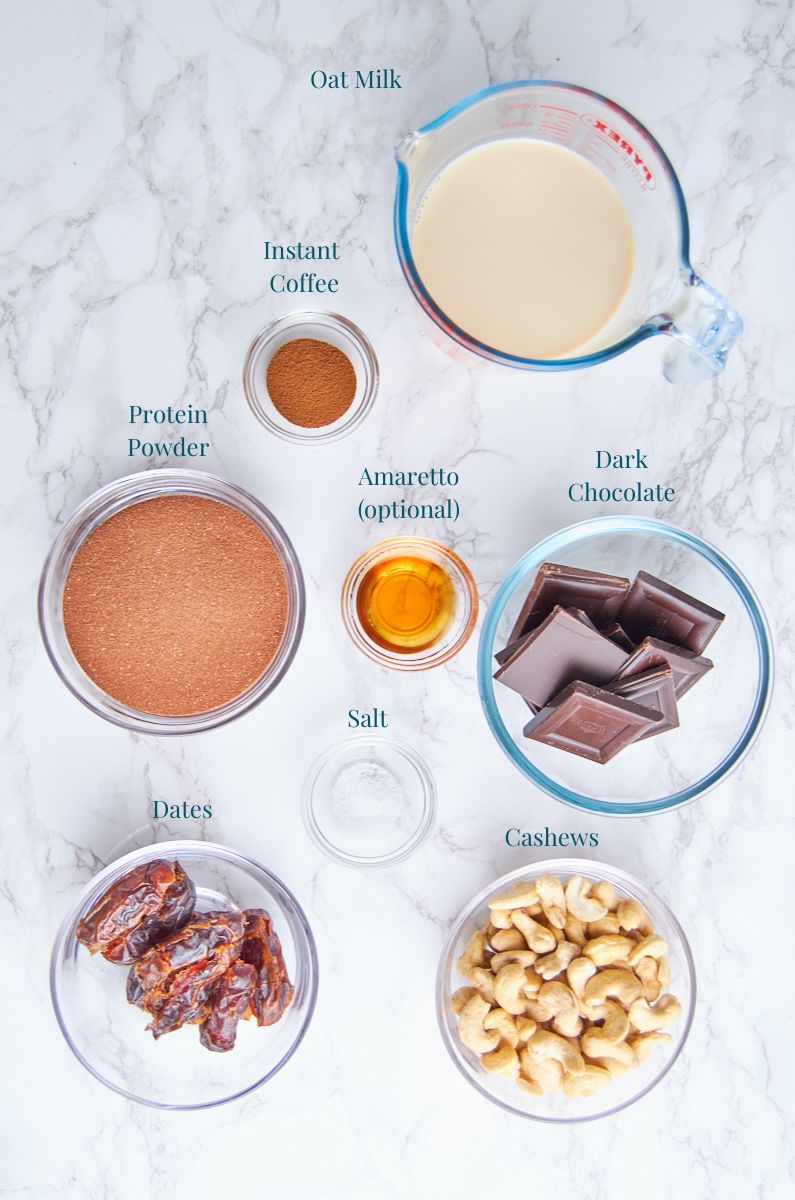
- Cashews – Soaked cashews have the marvellous ability to become super creamy when blended (which is why many use them as vegan cream), yet they still offer significant nutritional value, including healthy fats and fiber.
- Plant Milk – I’ve used both unsweetened almond milk and oat milk with great success. It forms the base for the ganache, making it very easy to melt the chocolate without any risk of splitting.
- Dark (70%-80% cacao) chocolate – These high-percentage chocolate bars usually contain cocoa, cocoa butter, and sugar as main ingredients, making them naturally vegan. If you are vegan, double-check the ingredients just to be sure.
- Protein Powder – I recently discovered an incredible vegan protein powder from MyProtein, made from upcycled barley and rice used in the brewing process. It’s not just a fantastic and sustainable way to utilize barley that was used for beer brewing, but it also adds an incredible malty flavor to anything it touches (including bread).
- Of course you can use any protein powder you enjoy. Bonus points if it’s chocolate flavor.
- Dates – They contribute sweetness to this creamy ganache. We don’t need much, as both the chocolate and protein powder already add plenty of sweet flavor. Because the sweetness comes from a mix of natural sources plus sweetener, it’s both reasonably low in calories and tastes amazing.
- Instant Espresso – Deepens the chocolate flavor. Optional
- Amaretto – Also optional, but it adds another layer to this already decadent pie with an ever-so-gentle touch of almond, which pairs incredibly well with the Biscoff crust.
Fluffy Meringue Topping
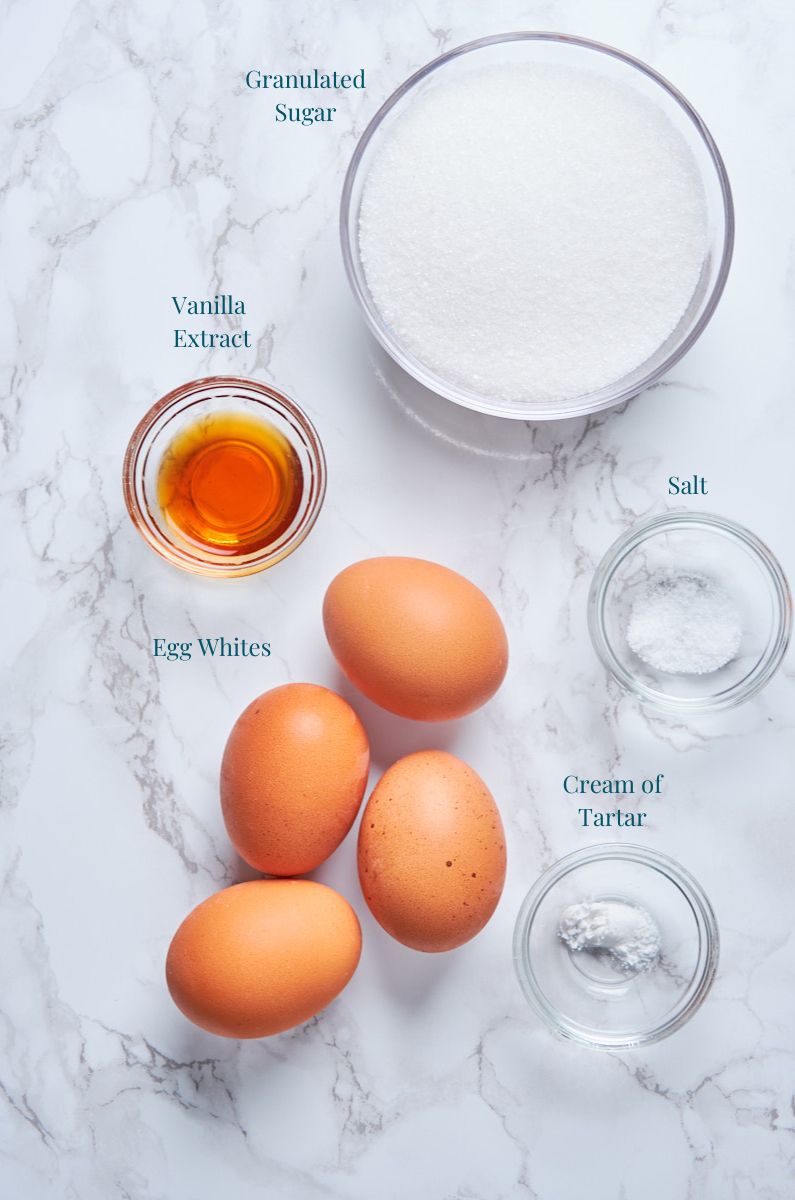
- Egg Whites –With no speck of egg yolk. Ideally separate your eggs the day before and “ripen” the whites in a lidded container in the fridge. This gives you better results with the meringue.
Also: The fresher the eggs, the better. If your meringue deflates, your eggs might be too old. - Sugar – The meringue is the only place in this pie where I add refined sugar, as that’s what gives it its structure.
- Cream of Tartar – A classic for stable meringue, which we use to our advantage here too. It adds acidity, which stabilizes the protein.
substitutions
No Bake Crust
- Biscoff – You can, of course, use the more classic Graham crackers. I can’t get them here, plus I adore the Biscoff flavor. Use any biscuit you love. Try digestives or even Oreos. If using filled ones, you might have lower the butter content a bit to get the same texture. Use gluten-free biscuits to make this a gluten free pie.
- Butter – Use vegan butter to make these mini pies vegan, it’ll give you the same result. Coconut oil that solidifies at room temperature should also work, but it may result in a slightly softer, coconut-flavored crust.
Protein Cashew Ganache
- Cashews – If you have a nut allergy, you can make a simple ganache using oat cream instead of the oat milk, skipping the cashews and doubling the chocolate. The cashews have a lot of stabilising power, which you’ll compensate for by using more chocolate and fat.
- Oat Milk – Any plant milk will work here. Or cow’s milk, of course, if you’re not vegan.
- Chocolate – Most types of chocolate will work, but lower cocoa content might lead to a softer ganache. Plus, many contain milk powder. So if you are vegan, make sure to check the ingredients.
- Protein Powder – I’ve used both the vegan barley protein mentioned above and whey protein (chocolate flavor) with great success; both turned out delicious. In theory, any protein powder that gives you perfectly smooth and creamy results when mixing with liquid will work here.
Though be mindful of the flavor you choose. Peach Iced Tea might be…. controversial. (Though if you do use it, I’d love to hear about the results! Just don’t say I didn’t warn you!) - Dates – You can absolutely use sugar or honey instead. Or, frankly, even leave them out. I totally forgot to add them one day and found the ganache rather pleasant. Not as sweet, but since both protein powder and chocolate already contain sugar and sweetener, I didn’t miss them. It really depends on your preference. Try the ganache before adding them and judge for yourself.
- Instant Espresso – While you can leave it out, you could also add a shot of freshly brewed espresso, which will taste even better.
- Amaretto – If you don’t have Amaretto, ½ tsp almond extract works too. Though if you are trying to omit the alcohol altogether, be aware that most flavor extracts are alcohol based. So it’s best to just leave it out if making this for kids.
Fluffy Meringue Topping
- Egg Whites – For the vegan version use aquafaba and follow my recipe for vegan meringue.
- Sugar – While I personally haven’t tried it, I’ve read that xylitol is a replacement that works pretty well. No guarantees, though!
- Cream of Tartar – You could use a tablespoon of lemon juice instead, if you prefer.
Equipment Used
- Food Processor – I use it to make the crust within minutes and for a million other tasks in my daily cooking. If you don’t have one, grab a freezer bag and a rolling pin to smash your cookies into crumbs. Be sure to push out the air from the bag first, or you’ll have a cookie crumb explosion on your hands!
- Mini Tart Pans – This recipe makes about 8-10, depending on their size. Both crust and ganache are held in shape by the tins until they firmed up in the fridge. Alternatively, a large loose-bottom tart tin works well too if you’d like a large pie. Or, if you don’t want to take the pie out of its form in one piece for serving, you can use a pie dish.
- Vitamix – Any high-speed blender will do to pulverize the cashews into a silky-smooth cream to mix with the melted chocolate. Small ones like Nutribullet work too. Though you might have to work in batches.
- Stand Mixer or hand mixer– While I’m using a hand mixer in the video to demonstrate (and because my KitchenAid is currently on a rather wild journey to get repaired), a stand mixer makes whipping egg whites into meringue much easier.
- Kitchen Torch – Optional. For caramelizing the meringue at the end.
 Buy Now →
  Buy Now →
  Buy Now →
  Buy Now →
  Buy Now →
 How to Make this
The Day Before Serving
- Separate your eggs and store your egg whites in a lidded container in the fridge so they are cool when you’re ready to whip.
- Ideally, make both the crust and ganache the day before to give them a chance to firm up in the fridge. Though in a pinch, about three hours of cooling time will suffice.
No Bake Biscoff Crust
- Start by greasing your mini tart pans with a bit of oil. I found that using butter makes the crust stick more, while oil helps them slide off very easily.
- Melt the butter and let it cool a little.
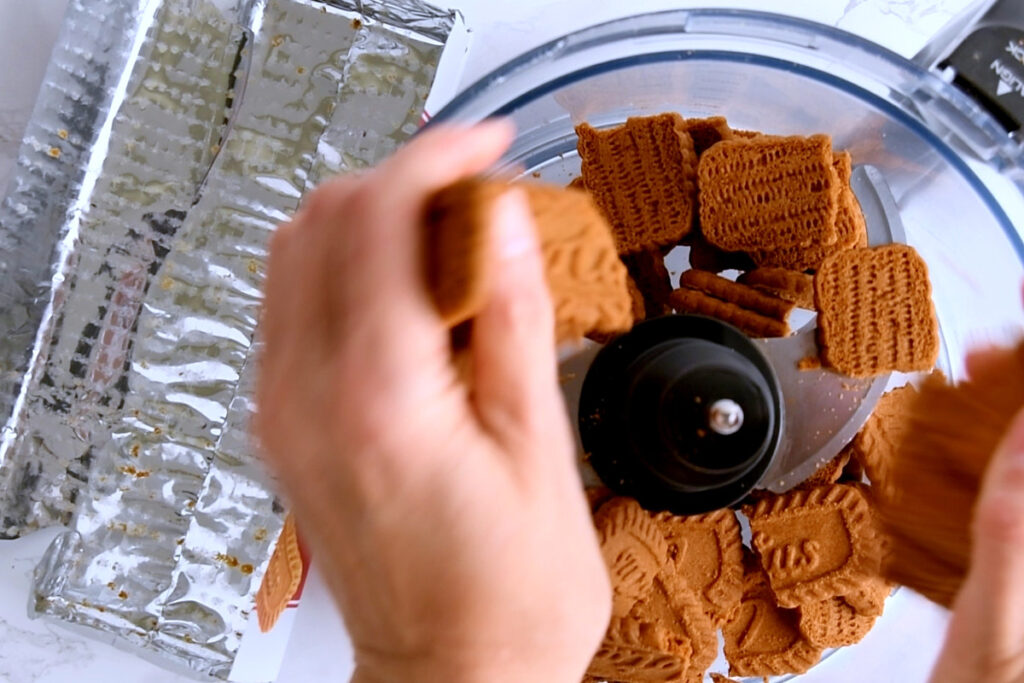
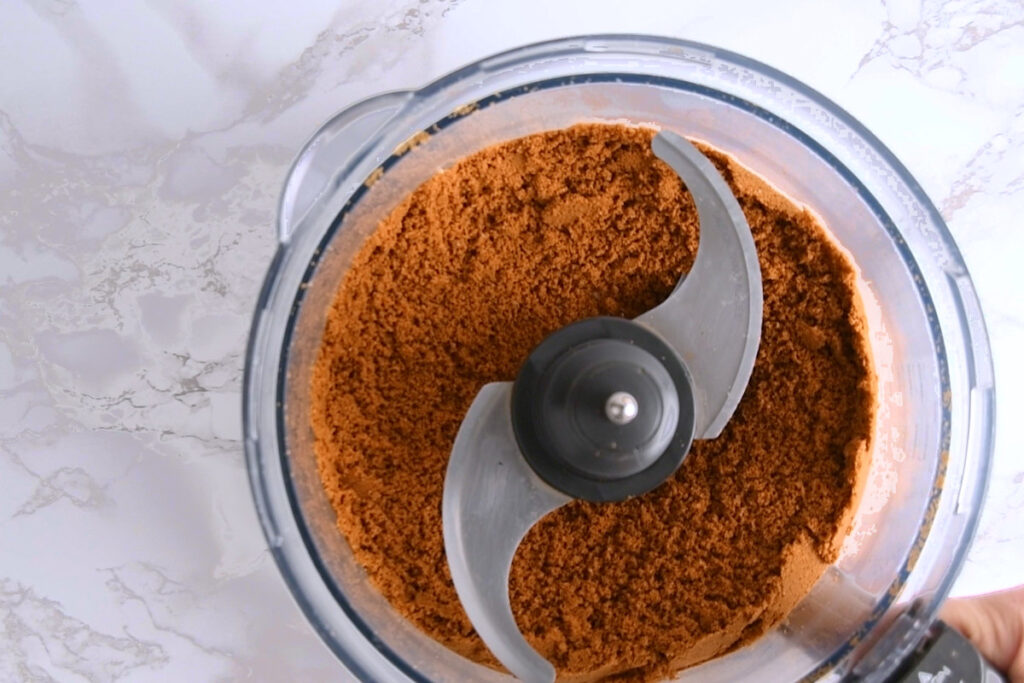
- Using the blades in your food processor, crush the Biscoff biscuits into fine crumbs.
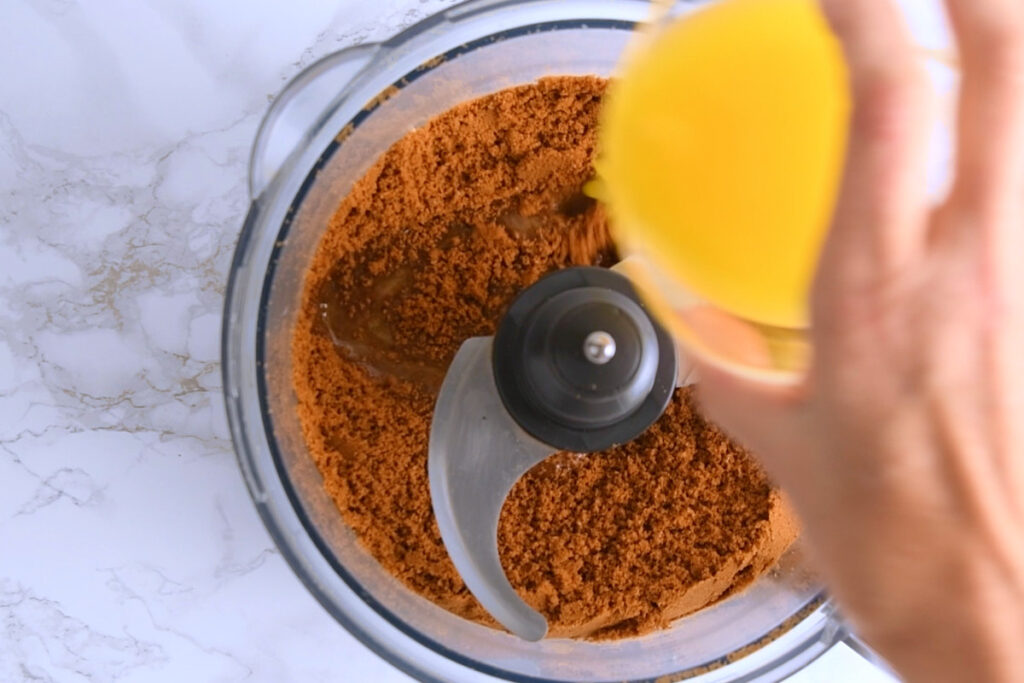
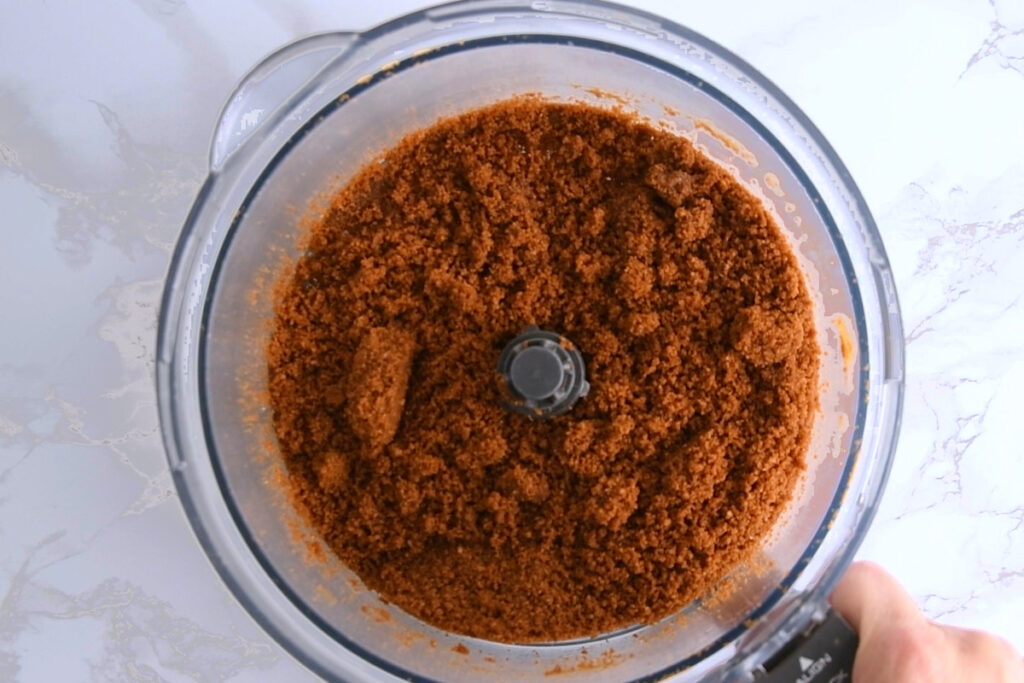
- Drizzle the butter over the crumbs and process until well incorporated.
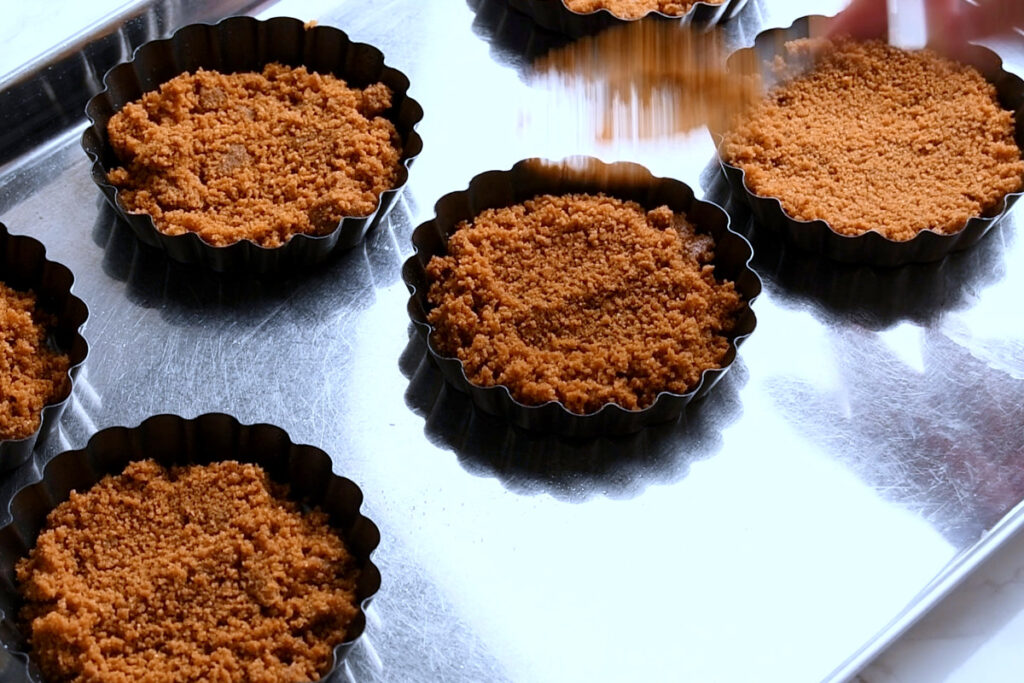
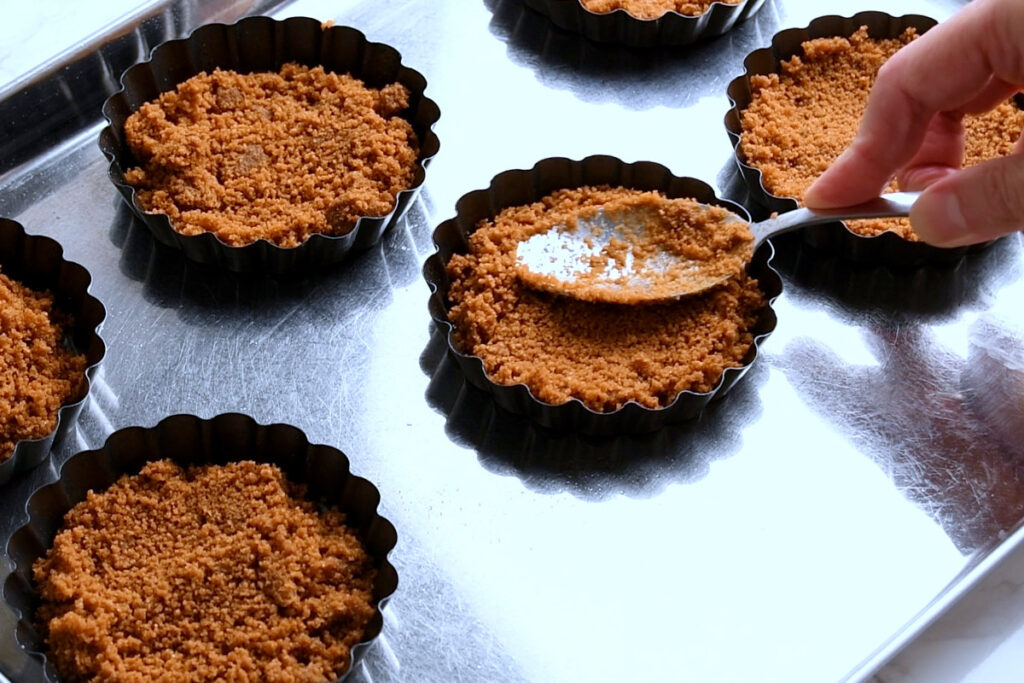
- Divide the cookie crumb base between your tartlet tins and spread it out (about 2 heaped tablespoons per pan)
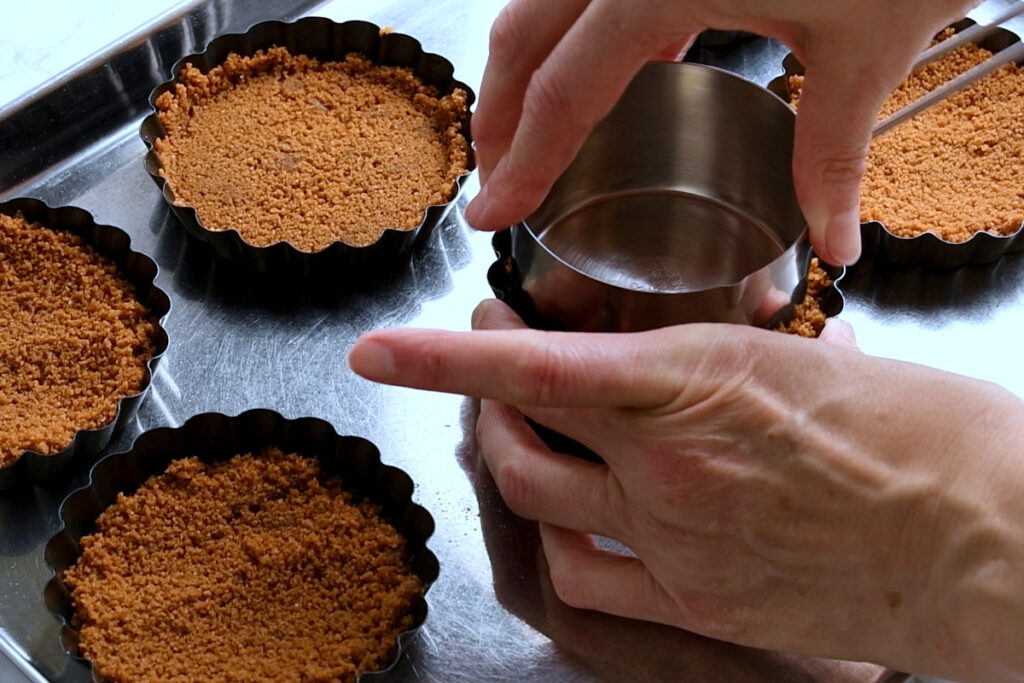
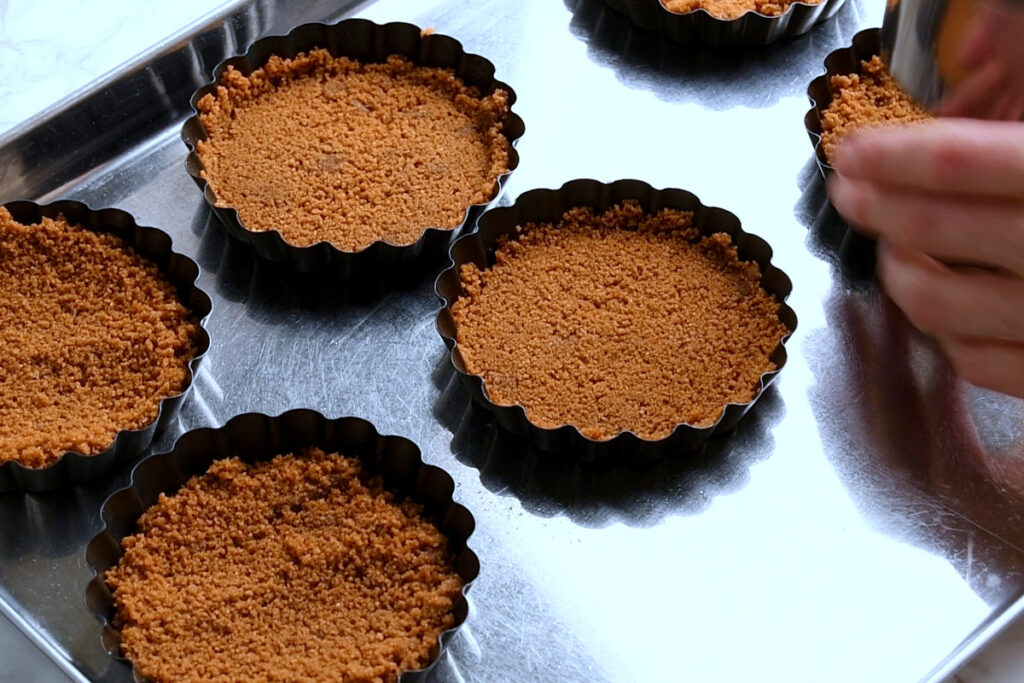
- Using your hands or the bottom of a flat measuring cup, firmly press it flat and slightly up the sides.
- Let them cool and firm up in the fridge while you make the filling
Protein Cashew Ganache
- Boil a kettle and soak your cashews in the hot water for at least 10 minutes. Drain.
- If you have a Vitamix, you could skip this step. I still do it, though, as I feel the results are ever so slightly smoother.
- In a microwave-safe container, mix the plant milk, chocolate, salt, and instant espresso (if using).
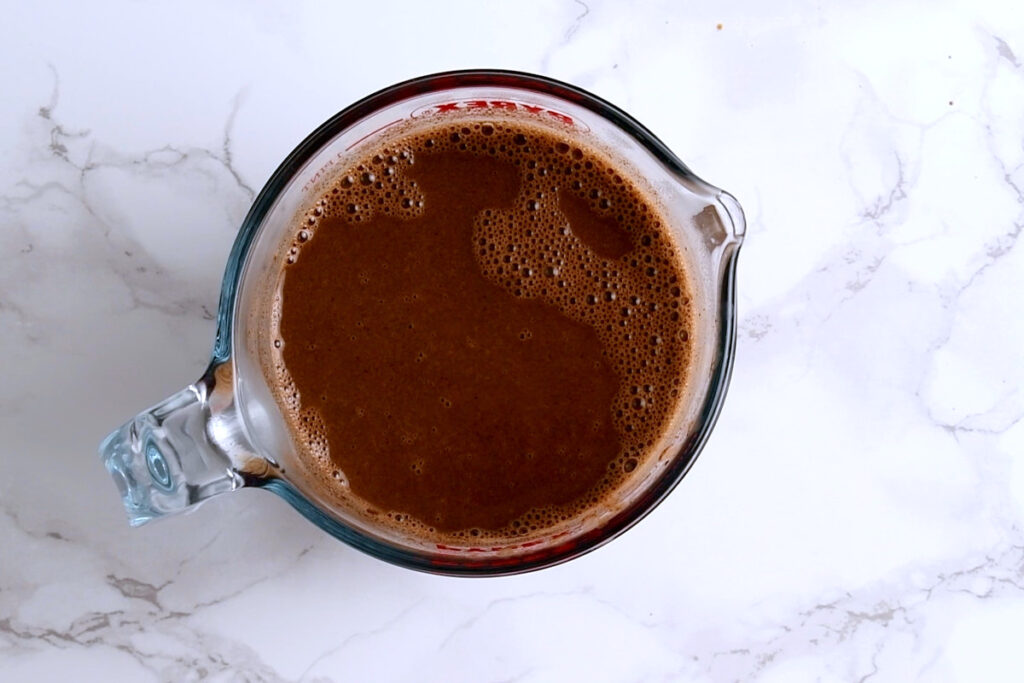
- Microwave for about two minutes, or until the chocolate begins to melt into the milk.
- Whisk or stir with a silicone spatula until the melted chocolate is fully incorporated into the milk.
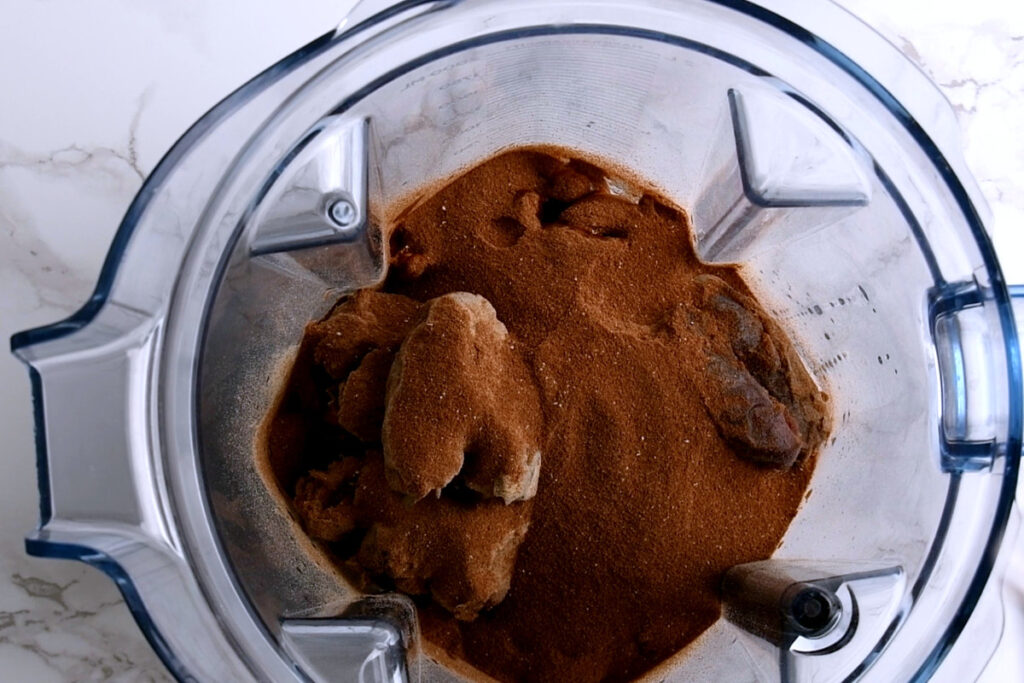
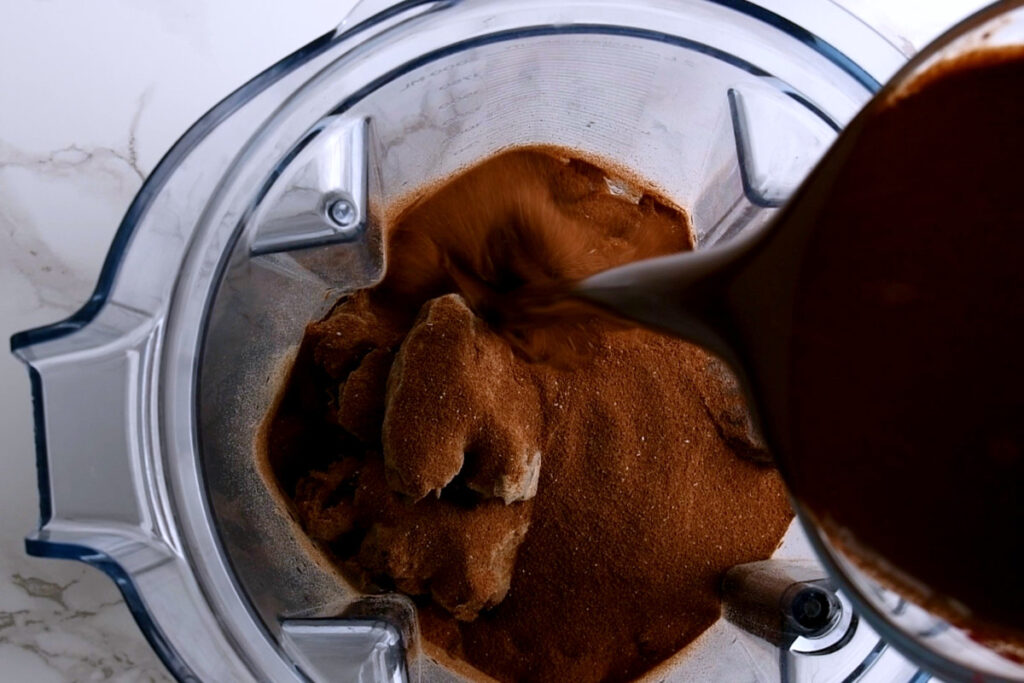
- Add the drained cashews, chocolate milk, protein powder, and if using, Amaretto, to your blender.
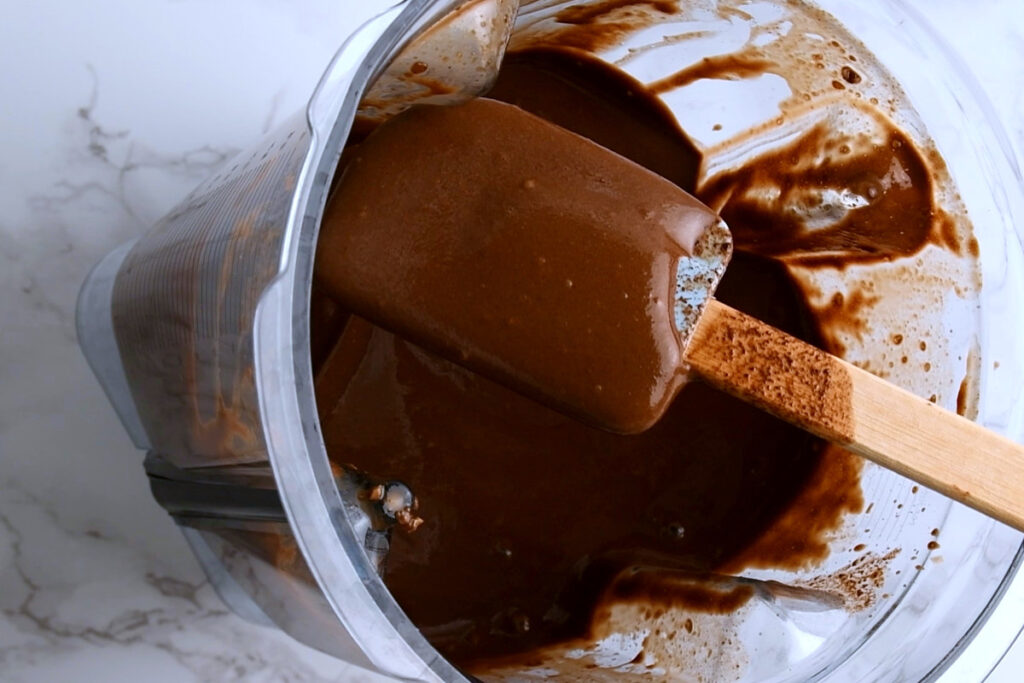
- Blend until you have a perfectly smooth and shiny ganache.
- Have a taste, purr, and perhaps consider just making chocolate mousse from this. (Oh… wait, different recipe…)
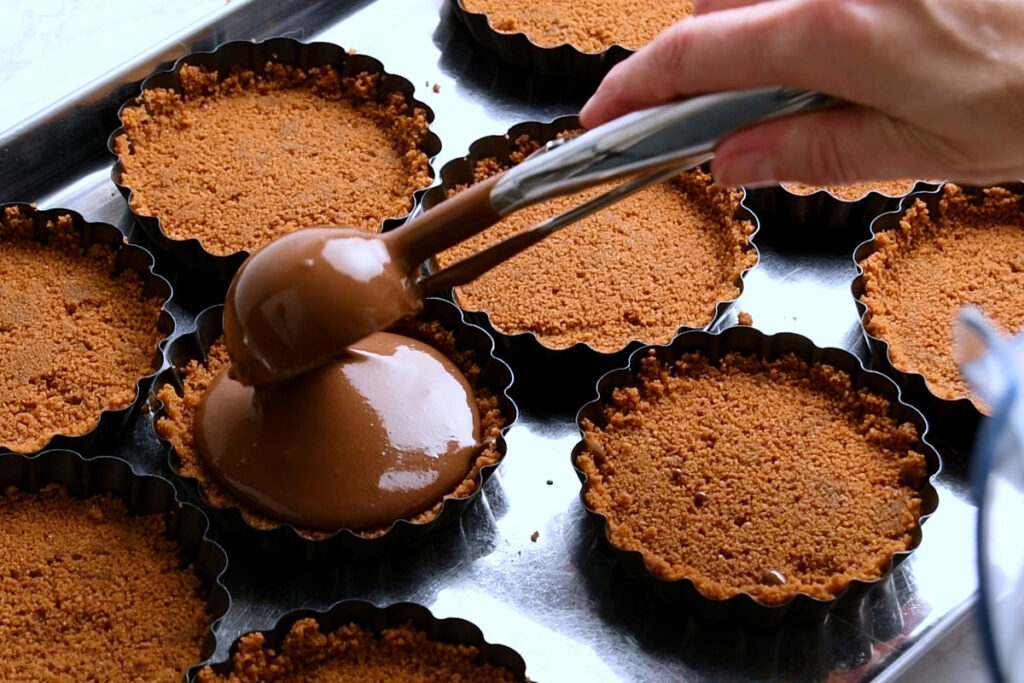
- Scoop the ganache onto the Biscoff cookie bases.
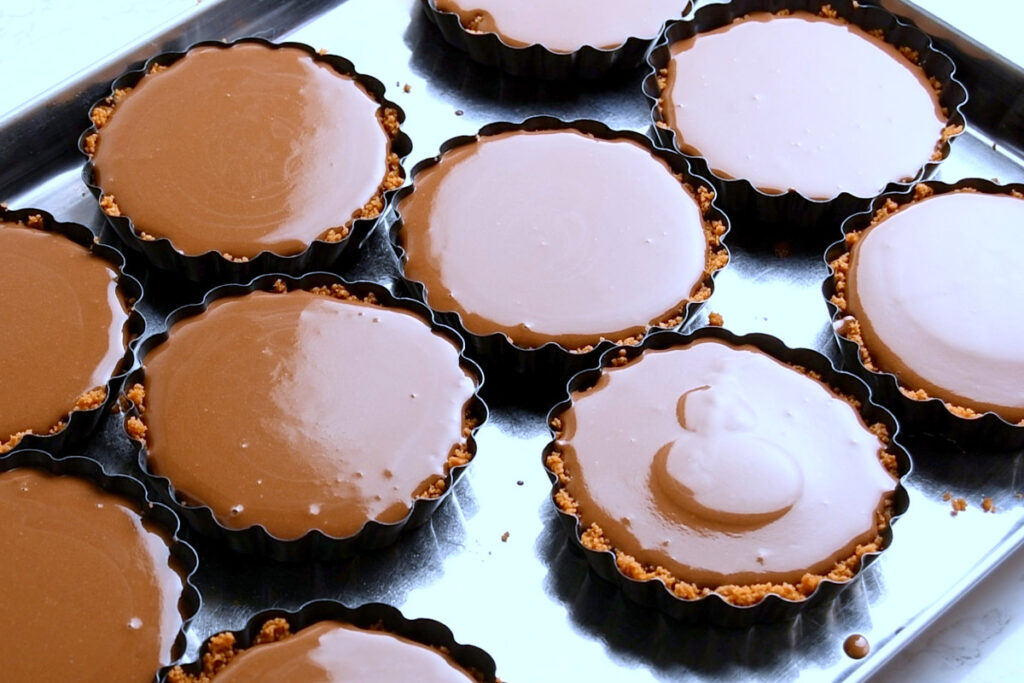
- Leave to cool and set for at least 3 hours, ideally overnight.
Fluffy Meringue
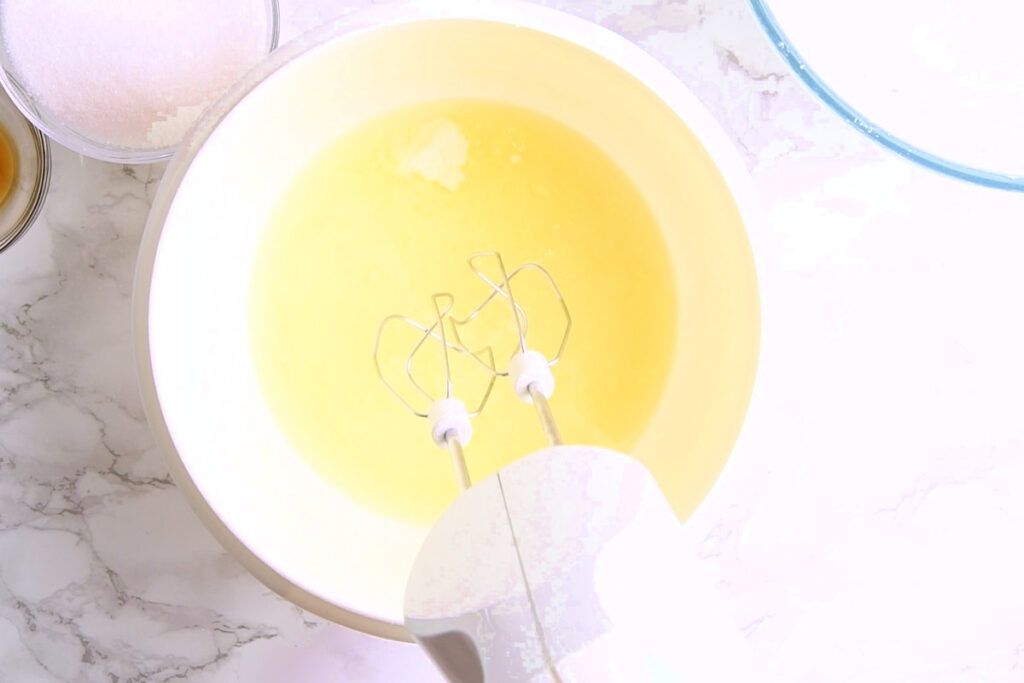
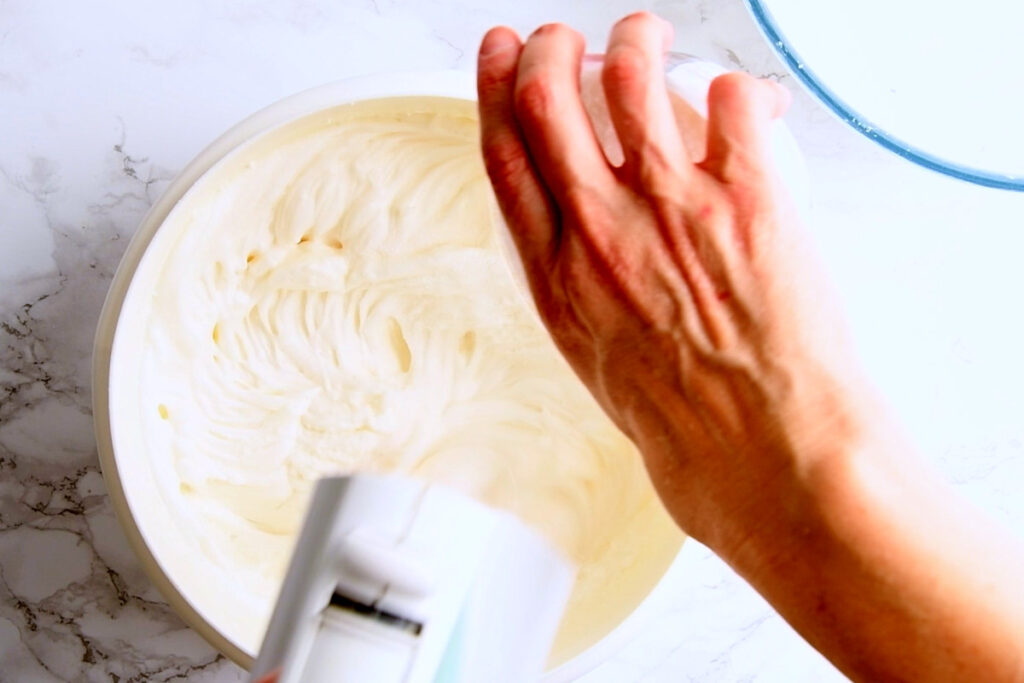
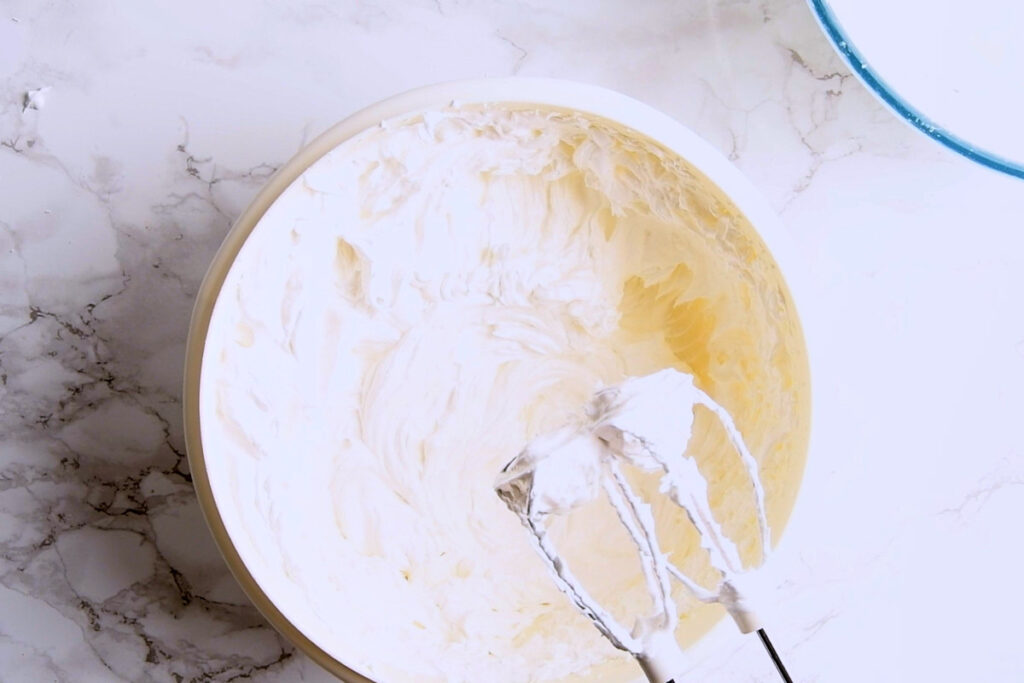
- Get your egg whites out of the fridge and gather the remaining ingredients.
- Pour the egg whites into a bowl, then add the salt and cream of tartar.
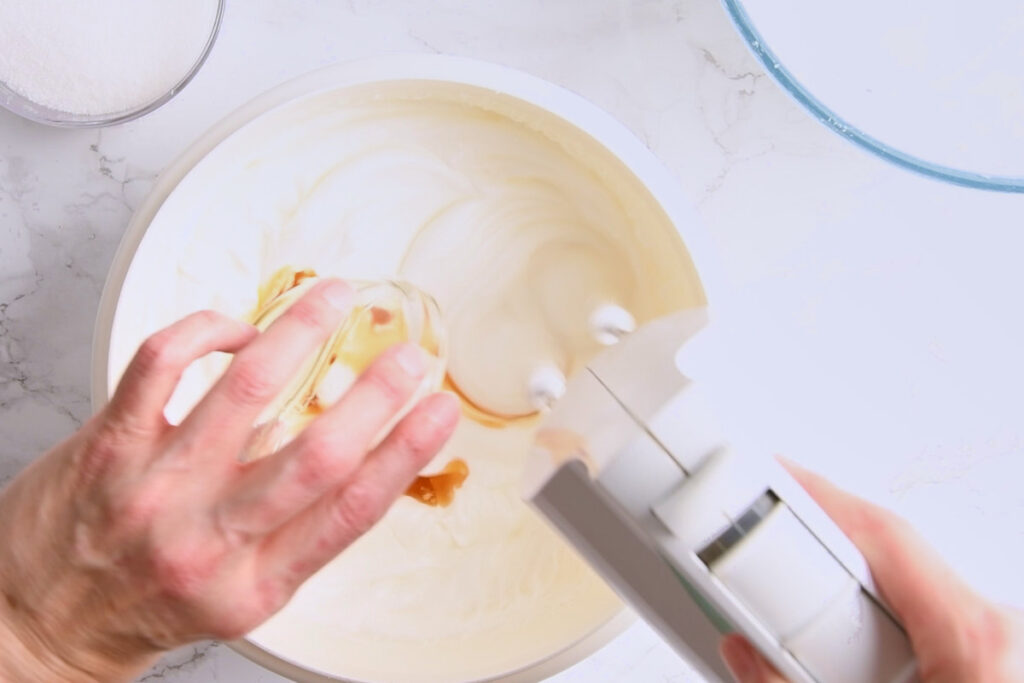
- Whisk until you achieve soft peaks, then add the vanilla extract.
- Then, while still whisking, slowly pour in your sugar.
- Continue until you have stiff peaks and the sugar is completely dissolved. To test, rub a little meringue between your fingers; once it feels completely smooth without any sugar grains, it’s ready.
Assemble and Caramelise
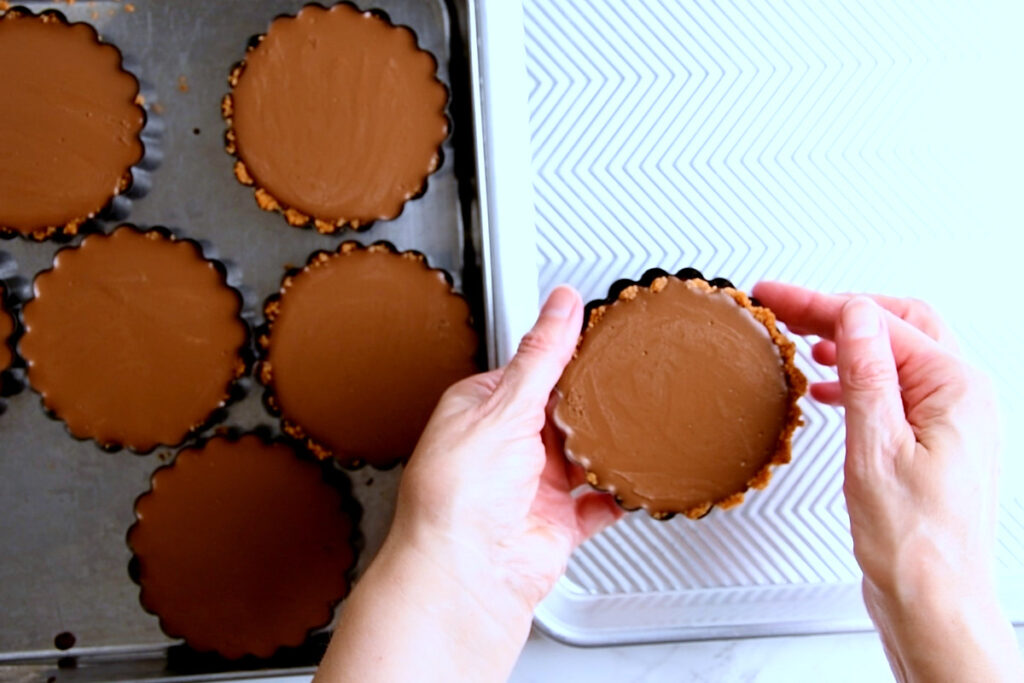
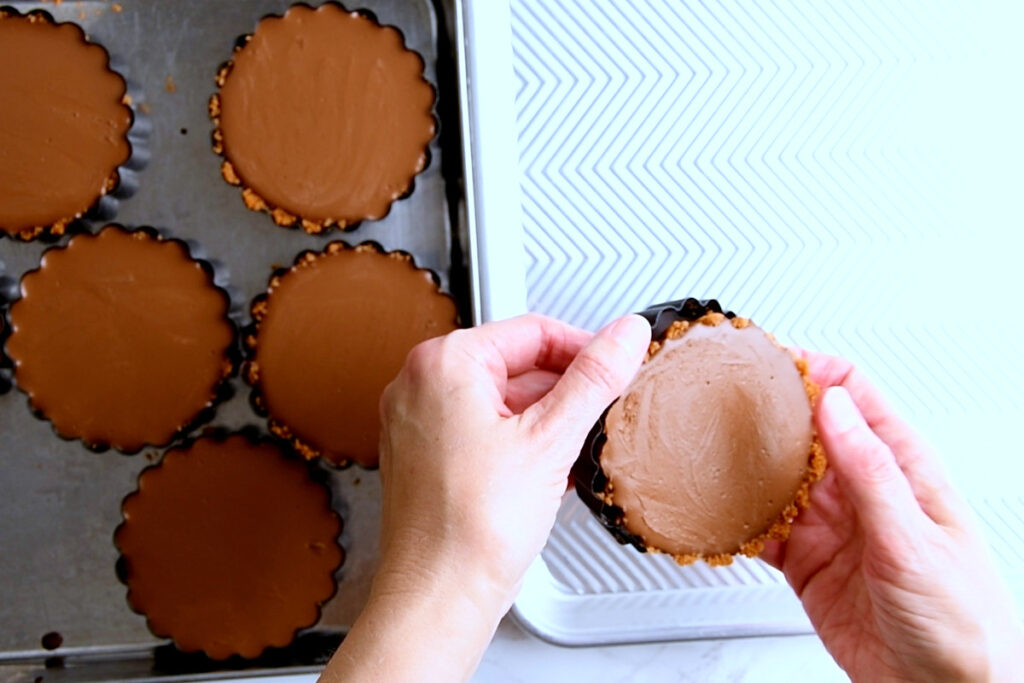
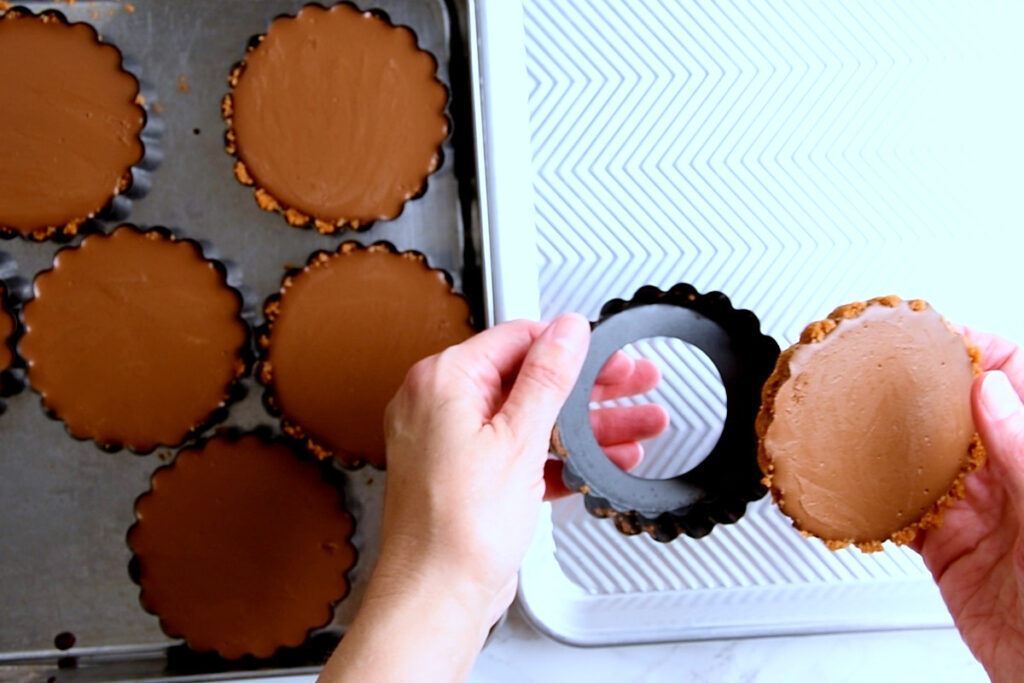
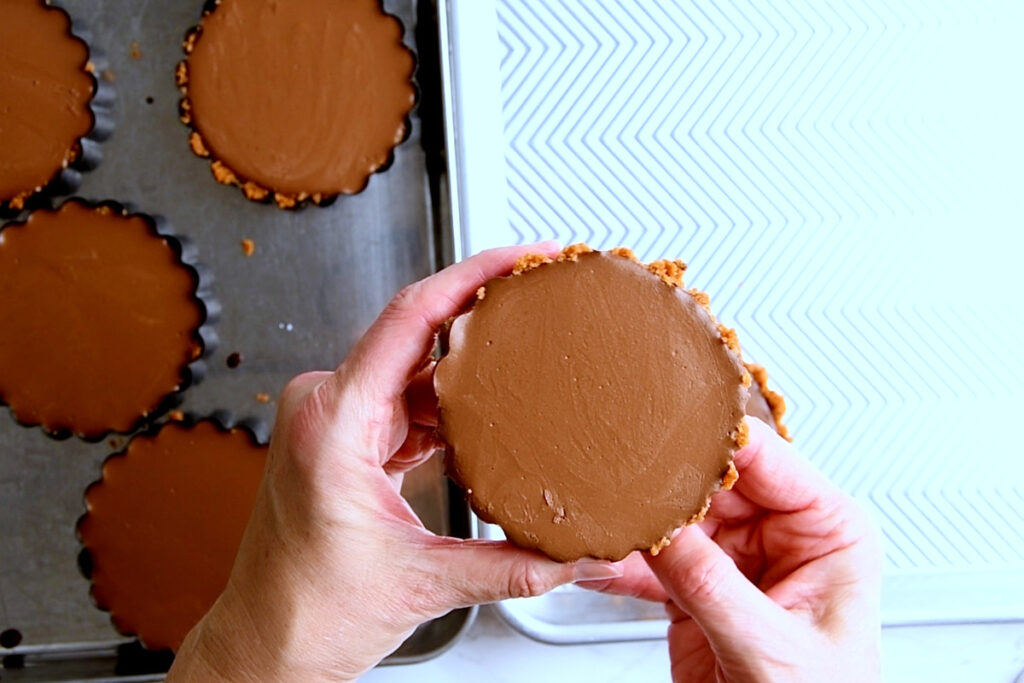
- Now get the mini tartlets with the cashew ganache out of their tins, because it will be very tricky once the meringue is on top. (Have a wild guess how I know…)
- Gently push from below with one hand, to loosen the bottom and sides, hold the tartlet with one hand while you put the rim to one side. Then slide a fingernail (works best I found) or a very small palette knife between the crust and the bottom and gently slide them onto a plate. They should be sturdy enough, thanks to the combined holding powder of cooled crust and ganache, so you can handle them gently.
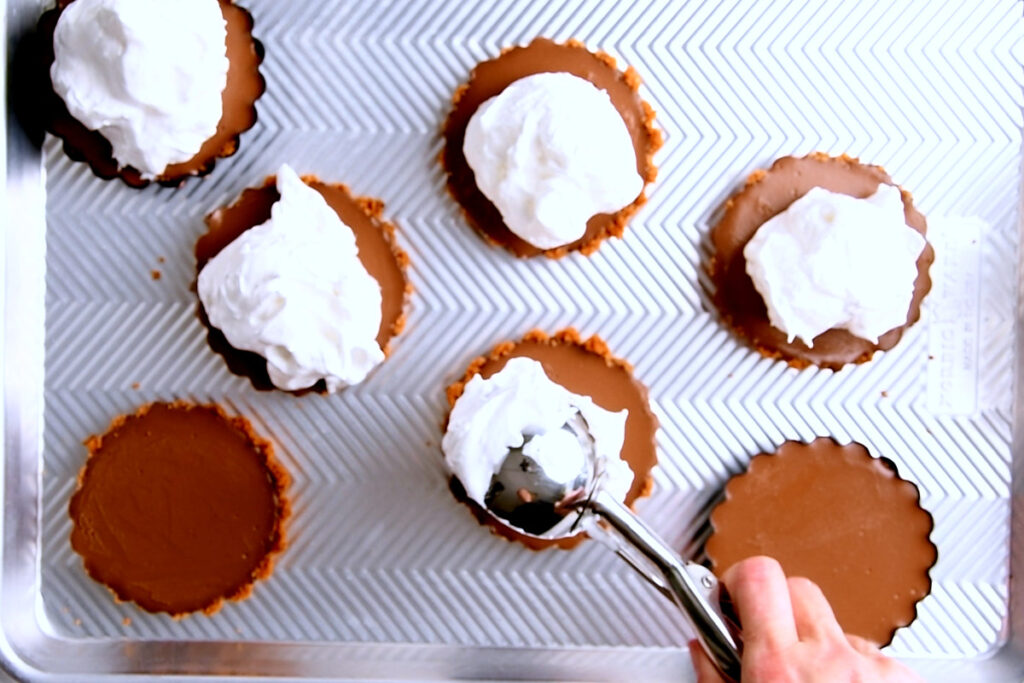
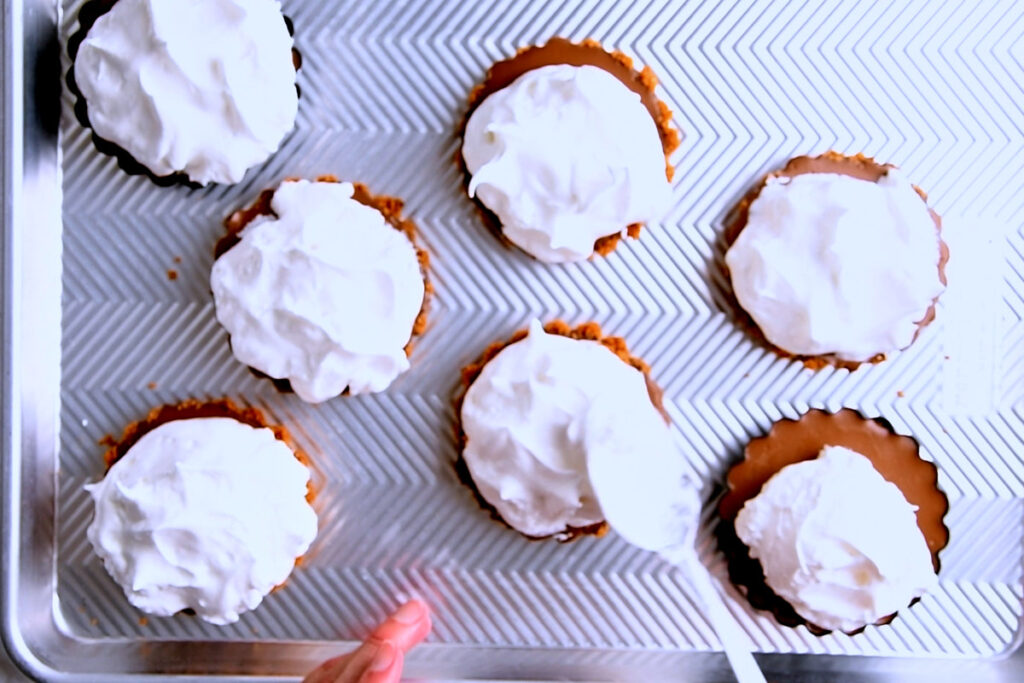
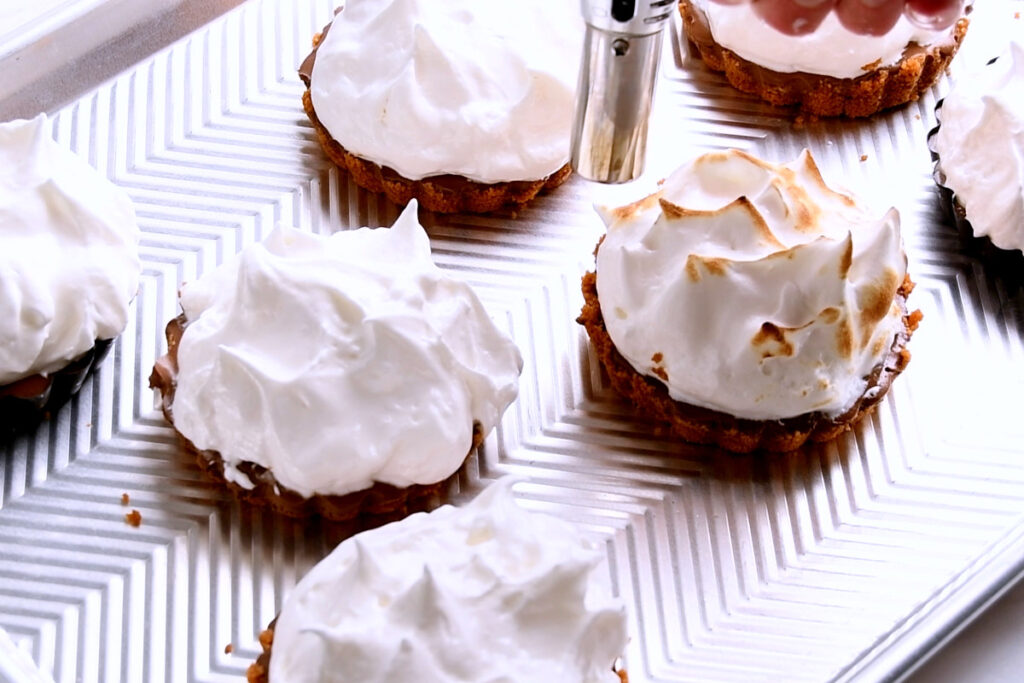
- Top the pies with the meringue and create a few decorative swirls with a spatula or spoon
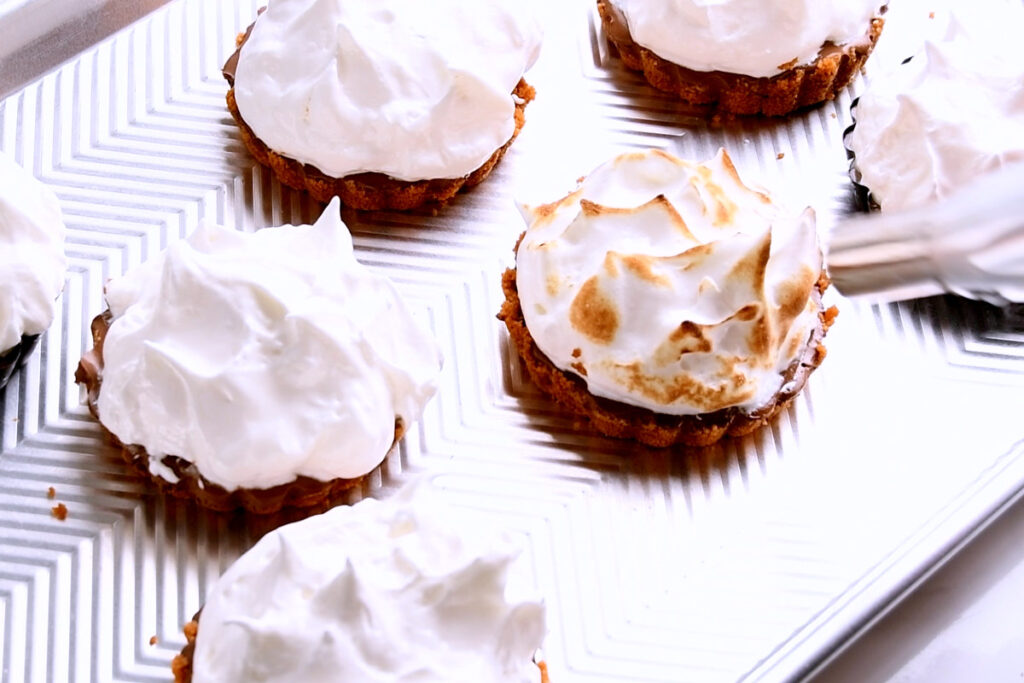
- Ensure your pie platter and surroundings are fireproof (I used a metal tray, just in case).
- Use a kitchen torch to caramelise the peaks of your meringue.
- Enjoy your incredibly fluffy and creamy No Bake Mini S’mores pies!
How To Store
While this meringue is reasonably stable, it still deflates a little over time. So it’s usually best eaten soon after assembly and kept in the fridge before serving.
If you’d like to transport it, opt for keeping the pies in their individual tartlet pans until ready to serve. The given amount yields about 8-10 tartlets.
As these Mini S’Mores Pies are made with raw egg whites, they are best eaten on day 1 and 2 after making. If you want leftovers for longer, consider making them with an Italian Meringue as described in the Cranberry Meringue Pie recipe.
FAQ
I would not advise it. Raw egg white meringue liquidizes over time again and is hard to re-whip.
You could if you’d make it using the Italian Meringue method. It becomes slightly chewy when freezing, which can be rather pleasant considering this is supposed to be the “Marshmallow” of the S’mores pie. I wouldn’t advise defrosting it after freezing and before eating, as the meringue might dissolve and the biscuit base could get soggy.
Now I’d love to hear from you in the comments!
Have you tried this? Did you enjoy it?
What other recipes would you like to see?
And if you enjoyed this recipe, please consider rating, sharing, or leaving a comment – your feedback truly helps my blog grow!
Other recipes you might enjoy

If you loved these pies, you’ll adore my Pumpkin S’mores cookies!
They are made with sourdough discard!

These Vegan Raspberry Meringue Pies follow a very similar principle, but with a creamy Pistachio White Chocolate Ganache.

Or try some Cottage Cheese Strawberry Pretzel Pies! A protein-packed summer recipe.

No-Bake Mini S’mores Pies
- Total Time: 3 hours 45 minutes
- Yield: 10 1x
Description
These No-Bake Mini S’mores Pies capture the essence of summer evenings around a bonfire—no kindling or smoke required! It features a scrumptious no-bake Biscoff base, a healthier chocolate ganache made with a cashew cream and protein powder base, and a flavor so incredible, it will amaze all your guests; no one will even guess it’s better for them!
Ingredients
Biscoff No Bake Crust
- 8.8oz Biscoff biscuits
- 1/3 cup butter
Protein Cashew Cream Filling
- 1 cup cashews
- 1 cup oat milk
- 5 dates
- 4.2oz chocolate
- 2 scoops protein powder
- 1/8 tsp salt
- 1 tsp instant espresso powder (optional)
- 1 tbsp Amaretto (optional)
Fluffy Meringue
- 4 large egg whites
- 1/8 tsp kosher salt
- 1/2 tsp cream of tartar
- 1 cup sugar
- 1 tsp vanilla extract
Instructions
The Day Before Serving:
- Separate your eggs and store your egg whites in a lidded container in the fridge so they are cool when you’re ready to whip.
- Ideally, make both the crust and ganache the day before to give them a chance to firm up in the fridge. Though in a pinch, about three hours of cooling time will suffice.
No Bake Biscoff Crust
- Start by greasing your mini tart pans with a bit of oil. I found that using butter makes the crust stick more, while oil helps them slide off very easily.
- Melt the butter and let it cool a little.
- Using the blades in your food processor, crush the Biscoff biscuits into fine crumbs.
- Drizzle the butter over the crumbs and process until well incorporated.
- Divide the cookie crumb base between your tartlet tins and spread it out (about 2 heaped tablespoons per pan)
- Using your hands or the bottom of a flat measuring cup, firmly press it flat and slightly up the sides.
- Let them cool and firm up in the fridge while you make the filling
- Protein Cashew Ganache
- Boil a kettle and soak your cashews in the hot water for at least 10 minutes. Drain.
- If you have a Vitamix, you could skip this step. I still do it, though, as I feel the results are ever so slightly smoother.
- In a microwave-safe container, mix the plant milk, chocolate, salt, and instant espresso (if using).
- Microwave for about two minutes, or until the chocolate begins to melt into the milk.
- Whisk or stir with a silicone spatula until the melted chocolate is fully incorporated into the milk.
- Add the drained cashews, chocolate milk, protein powder, and if using, Amaretto, to your blender.
- Blend until you have a perfectly smooth and shiny ganache.
- Have a taste, purr, and perhaps consider just making chocolate mousse from this.
- Scoop the ganache onto the Biscoff cookie bases.
- Leave to cool and set for at least 3 hours, ideally overnight.
Fluffy Meringue
- Get your egg whites out of the fridge and gather the remaining ingredients.
- Pour the egg whites into a bowl, then add the salt and cream of tartar.
- Whisk until you achieve soft peaks, then add the vanilla extract.
- Then, while still whisking, slowly pour in your sugar.
- Continue until you have stiff peaks and the sugar is completely dissolved. To test, rub a little meringue between your fingers; once it feels completely smooth without any sugar grains, it’s ready.
Assemble and Caramelise
- Now get the mini tartlets with the cashew ganache out of their tins, because it will be very tricky once the meringue is on top. (Have a wild guess how I know…)
- Gently push from below with one hand, to loosen the bottom and sides, hold the tartlet with one hand while you put the rim to one side. Then slide a fingernail (works best I found) or a very small palette knife between the crust and the bottom and gently slide them onto a plate. They should be sturdy enough, thanks to the combined holding powder of cooled crust and ganache, so you can handle them gently.
- Top the pies with the meringue and create a few decorative swirls with a spatula or spoon
- Ensure your pie platter and surroundings are fireproof (I used a metal tray, just in case).
- Use a kitchen torch to caramelise the peaks of your meringue.
- Enjoy your incredibly fluffy and creamy No Bake Mini S’mores pies!
Notes
How to Store
While this meringue is reasonably stable, it still deflates a little over time. So it’s usually best eaten soon after assembly and kept in the fridge before serving.
If you’d like to transport it, opt for keeping the pies in their individual tartlet pans until ready to serve. The given amount yields about 8-10 tartlets.
As these Mini S’Mores Pies are made with raw egg whites, they are best eaten on day 1 and 2 after making. If you want leftovers for longer, consider making them with an Italian Meringue as described above.
- Prep Time: 45 minutes
- Chilling time: 3 hours
- Category: Dessert
- Method: Mix
- Cuisine: American


The Biscoff base was so yummy! My family loved these mini pies and asked to make them again. DELICIOUS!
Oh good! So happy your family liked them!
Thanks so much for letting me know. 🙂
Love the Biscoff instead of traditional graham crackers! Such a great dessert!
I’m just a bit Biscoff addicted. Ahem.
So glad you like them too!
No bake mini smores pies are delicious my kids asked me to make it again. It is so simple to make
Can imagine! My mom made a similarly fluffy pie for me when I was a kid and I adored it too.
Glad you like them. 🙂
S’mores are a favorite summer dessert, and even better in mini pies! These turned out great!
We sure have that in common. I have catching up to do, as we didn’t have them in Germany.
So happy you enjoyed them!
These were fabulous!!! My family gobbled them up—-totally irresistible!!
Aren’t they just?
I was so tempted to hide some of them myself!
Thanks a lot for letting me know. 🙂